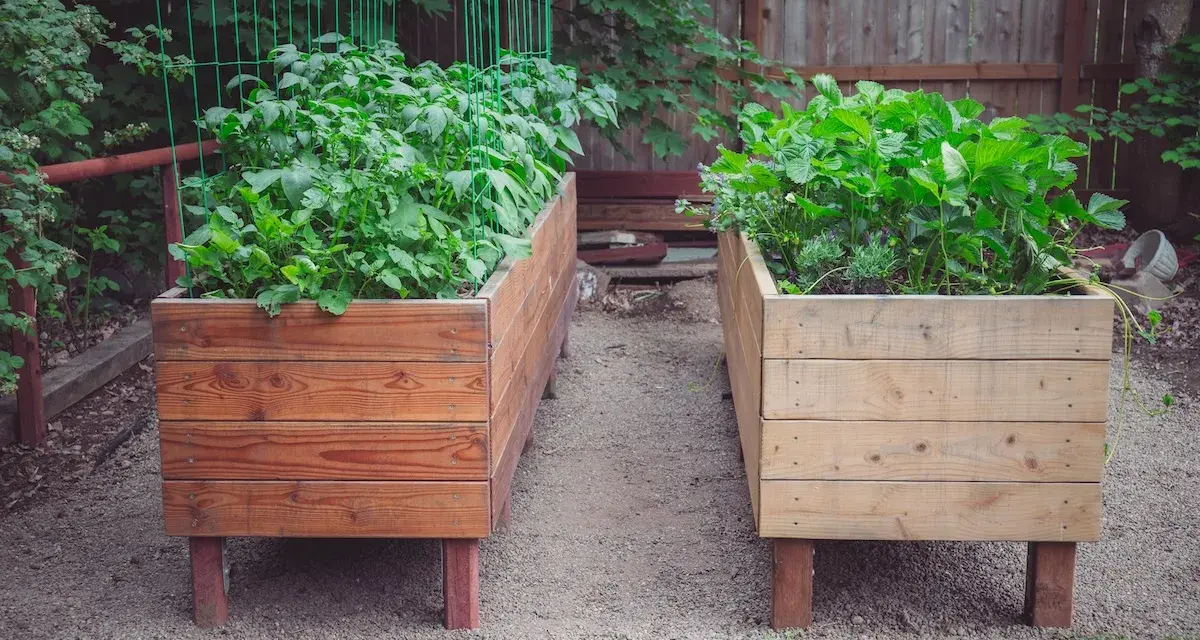
Growing potatoes in raised beds gives you cleaner digging, better drainage, and a crop that is easier to manage in a backyard space. The trade-off is that a bed dries faster and leaves less room for sloppy spacing, so success comes down to soil depth, hilling, and consistent watering. I’ll walk through the setup, planting choices, care routine, and harvest timing that actually matter.
The few decisions that matter most for a raised-bed potato crop
- Use loose, well-drained soil with a slightly acidic pH, ideally around 5.3 to 6.0.
- Give the bed at least 12 inches of usable depth; 16 inches is easier to work with if the variety is vigorous.
- Plant seed pieces 4 to 6 inches deep and about 10 to 12 inches apart.
- Start hilling when shoots are 6 to 8 inches tall so developing tubers stay covered.
- Water consistently; raised beds dry faster than in-ground plantings.
- Harvest new potatoes in about 6 to 8 weeks, or wait for full-size tubers until the vines die back.
Why raised beds suit potatoes so well
Potatoes want loose soil, good drainage, and enough room to build tubers below the surface. Raised beds help because they warm sooner in spring, they avoid the soggy pockets that cause rot, and they make harvest cleaner. But the same bed can work against you if it is shallow, compacted, or allowed to dry out between waterings. In practice, I treat the bed as a controlled environment, not a shortcut.
That is why the first question is not which potato to buy, but whether the bed itself can support a healthy root zone. Once that is clear, the planting method becomes much easier to choose.
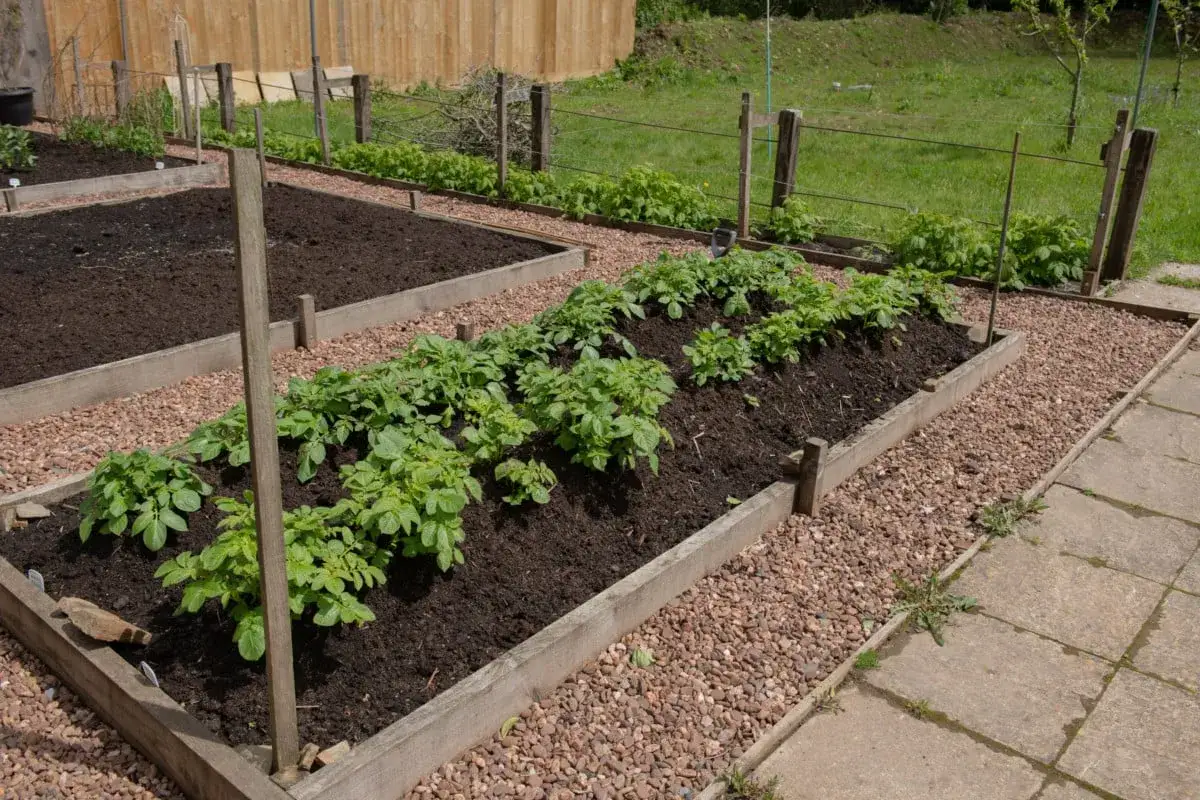
Prepare the bed before you plant
Before I plant anything, I want loose soil 12 inches deep at minimum. If the bed is 16 inches or deeper, the crop is easier to hill and less likely to expose tubers later. Potatoes prefer a slightly acidic soil, roughly pH 5.3 to 6.0, full sun for at least 6 hours, and a bed that drains freely after rain. I mix in compost, but I do not overdo nitrogen, and I avoid fresh manure unless a soil test and timing make it safe.
If your bed is shallow, you can still grow a crop, but I would keep expectations realistic and choose a variety with a shorter season. The next decision is how to plant it so the bed’s depth works for you rather than against you.
Three planting methods that fit different bed depths
There is no single right way to plant potatoes in a bed. The best method depends on how deep the bed is, how loose the soil is, and how much hilling room you have later in the season.| Method | Best for | How I plant it | Main trade-off |
|---|---|---|---|
| Trench and hill | Most 12- to 16-inch beds | Set seed pieces 4 to 6 inches deep, 10 to 12 inches apart, then pull soil back up as the plants grow. | Needs repeated hilling during the season. |
| Deep planting | Very loose, deep beds | Plant about 7 to 8 inches deep and add more loose soil later if stems need covering. | Works best only when the bed drains well and warms up quickly. |
| Mulch layering | Beds with plenty of straw, shredded leaves, or coarse compost | Plant shallowly, then add loose mulch in layers as the stems rise. | Must stay airy and evenly moist, or the layer can pack down. |
I still prefer trench-and-hill in most backyard beds because it is simple, predictable, and easy to correct if the weather turns cold. Use certified seed potatoes if you can, and if you cut larger seed pieces, make sure each piece has at least two eyes and let the cut surfaces dry before planting. In a 4-foot-wide bed, I usually run two staggered rows rather than one tight center line, because that gives each plant enough room to develop.
Once the seed is in the soil, the crop depends on how well you manage the canopy as it grows. That is where hilling and watering start to matter more than the planting date itself.
Hilling, mulching, and watering are what protect the harvest
I begin hilling when the shoots are about 6 to 8 inches tall. The goal is simple: keep the growing tubers in the dark, leave only the top leaves exposed, and add just enough loose soil to support more underground growth. I repeat the process once or twice during the season, then stop when the plants are flowering and the bed is already carrying a good mound of soil or mulch. Mulch helps more than most gardeners expect. Straw, shredded leaves, or fine compost can reduce weeds, hold moisture, and keep the soil cooler during tuber formation. In a raised bed, that cooling effect matters because the bed warms fast in spring, but it can also dry out quickly in summer. I treat watering as a weekly discipline: about 1 to 2 inches of water per week, delivered deeply rather than sprayed lightly every day. Drip or a soaker hose is better than overhead watering because it keeps the foliage drier and makes the bed easier to manage.If the soil swings from dry to soaked, tubers can come out misshapen or cracked. That is the kind of problem a raised bed exposes quickly, which is annoying at the moment but useful if you want to learn fast. With the care routine established, the next question is whether you want quick eating potatoes or a longer-storage crop.
Choose varieties and harvest on purpose
For a raised-bed setup, I think in three groups: early potatoes, maincrop potatoes, and fingerlings. Early varieties are the easiest fit when space is limited or summer heat arrives quickly. Maincrop types need more room and more time, but they give you better storage potential. Fingerlings are a good compromise when you want flavor, useful yields, and a bed-friendly plant size.
| Type | Best use | Raised-bed note |
|---|---|---|
| Early potatoes | Fresh eating and quick turnover | Often ready as new potatoes in 6 to 8 weeks, which is helpful in smaller beds. |
| Maincrop potatoes | Storage and bigger harvests | Need a longer season and more consistent moisture to size up well. |
| Fingerlings | Flavor and moderate yields | Fit tight spaces well, but tuber size is less uniform. |
I harvest new potatoes once the plants are flowering or about 6 to 8 weeks after planting, depending on the variety. For storage potatoes, I wait until the vines die back, then lift the tubers gently with a fork so I do not bruise them. If I plan to store them, I brush off soil and cure them in a dark place at roughly 50 to 60 degrees Fahrenheit for about two weeks before moving them to cooler storage. That waiting period is boring, but it pays off in better keeping quality.
Even with the right variety, a raised-bed crop can go sideways if the bed repeats the same few mistakes. That is where most disappointing harvests start.
The mistakes that cut yields fastest
I see the same problems over and over, and most of them are easy to prevent once you know what to watch for. The bed itself usually gives you the clue.
| What you see | Likely cause | What to change |
|---|---|---|
| Tall green tops, but few tubers | Too much nitrogen or too little sun | Ease off heavy feeding and give the bed a brighter location next season. |
| Green shoulders on tubers | Not enough hilling or soil that is too shallow | Cover the stems earlier and keep the developing potatoes fully buried. |
| Cracked or knobby potatoes | Watering swings | Water deeply and consistently, then mulch to hold that moisture in place. |
| Seed pieces rot before sprouting | Cold, wet soil | Wait for the bed to warm and drain before planting. |
| Small tubers across the whole bed | Overcrowding | Keep the 10- to 12-inch spacing and do not try to cram too many plants into one bed. |
I also watch soil pH carefully, because beds that drift too alkaline can invite scab on potatoes. If scab is a problem in your area, skip unnecessary lime and let a soil test guide any correction. That small decision is often more useful than adding another bag of fertilizer.
Once those problems are under control, the crop becomes much more repeatable, which is the real test of a good raised-bed system. The last step is turning that into a simple plan you can use again next season.
The setup I would repeat in a 4-by-8 bed
If I were planting a typical backyard bed, I would keep the design simple. I would use a bed at least 12 inches deep, add compost to loosen the top layer, and set two staggered rows of seed potatoes about 10 to 12 inches apart. I would choose an early or midseason variety if the climate warms quickly, then start hilling as soon as the shoots reached 6 to 8 inches.
- Bed depth: 12 inches minimum, 16 inches if you want more room to hill.
- Spacing: 10 to 12 inches between seed pieces, with staggered rows for better use of space.
- Water: About 1 to 2 inches per week, ideally through drip or a soaker hose.
- Harvest goal: New potatoes first if you want a quick crop, storage potatoes if you can wait for the vines to die back.
- Rotation: Do not follow potatoes with tomatoes, peppers, or eggplant in the same bed the next year.
That is the version I trust because it keeps the crop productive without turning the bed into a full-time project. If you keep the soil loose, the moisture even, and the tubers covered, the bed will usually do its job without much drama.