Concrete cracks are common, but the repair only lasts when the method matches the crack. Learning how to fix concrete cracks is mostly about reading width, depth, and movement before you buy a filler. The same driveway can have one crack that only needs a flexible sealant and another that needs a patching compound, backer rod, or professional evaluation.
The safest repair is the one matched to the crack’s movement
- Hairline and stable surface cracks usually take a flexible filler or self-leveling sealant.
- Wider cracks often need a patching compound, backer rod, or a deeper repair system.
- Cleaning the crack and removing loose concrete matters more than the brand on the tube.
- Cracks with height differences, leaks, or settlement signs should be treated as structural clues, not just cosmetic flaws.
- Small DIY repairs often stay under $100 in materials, but structural repairs can move into contractor territory fast.
Read the crack before you buy anything
What I look for first is not the product label but the crack itself. A hairline line in a driveway, especially one that showed up during curing, is usually a shrinkage crack and often cosmetic; a crack that keeps opening, leaks after rain, or has one side higher than the other is telling you something different.
Measure the width, note whether the edges are clean or crumbling, and check whether the crack runs through a control joint or cuts across the slab in an odd direction. Movement matters more than appearance. A crack that is stable can usually be sealed. A crack that is active, offset, or tied to settlement needs a more durable repair plan. Once you know that, the product choice gets much simpler.
Choose the repair method that matches the crack
| Crack situation | Best repair | Why it works | When I would skip it |
|---|---|---|---|
| Hairline crack on a horizontal slab | Self-leveling polyurethane sealant or liquid crack filler | Flows into tight gaps and flexes with minor slab movement | Skip it if the crack is heaving or one side is higher |
| Vertical wall crack under about 1/2 inch | Textured acrylic caulk or non-sag concrete repair caulk | Stays in place on walls and blends better visually | Skip it if water is actively pouring through the wall |
| Wider dormant crack in a floor or patio | Patching compound with backer rod if the crack is deep | Fills volume and can be tooled flush with the surface | Skip it if the slab is still moving |
| Leaking basement or foundation wall crack | Polyurethane or epoxy injection | Seals deeper into the crack instead of only the surface | Skip it if the wall is bowing or badly displaced |
| Widespread crazing or many shallow cracks | Resurfacer or overlay | Restores the whole surface instead of chasing each line | Skip it if the damage is concentrated in one isolated crack |
The big split is simple: flexible materials for movement, rigid materials for dormant damage. I avoid guessing here because the wrong choice is what makes a repair fail a season later. Once that match is right, the actual repair goes much more smoothly.
Repair a narrow crack the clean way
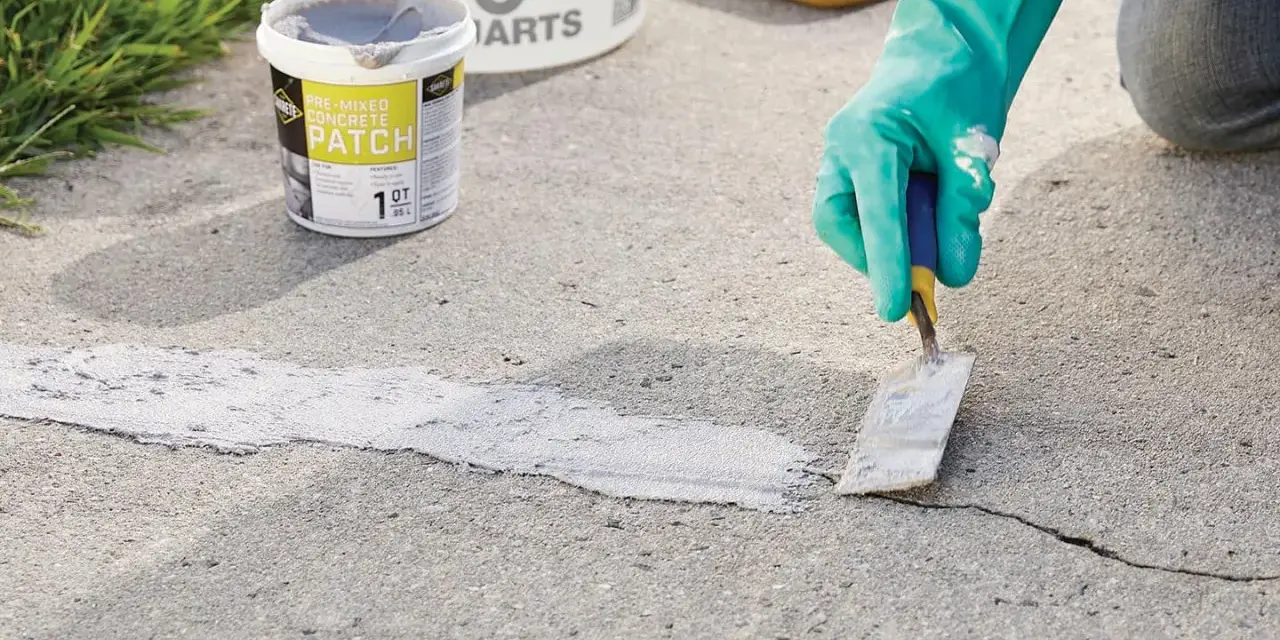
For a driveway or patio crack that is still tight and stable, I keep the process straightforward. The goal is not to bury the crack in material; it is to create a bond that survives weather, vibration, and freeze-thaw cycles.
- Clean out dust, loose chips, old caulk, and debris with a wire brush, vacuum, or chisel. Adhesion fails fast when the crack is dirty.
- If the edges are ragged, lightly widen the crack into a shallow inverted V. Many repair products hold better when they have a slightly keyed edge instead of a feather-thin opening.
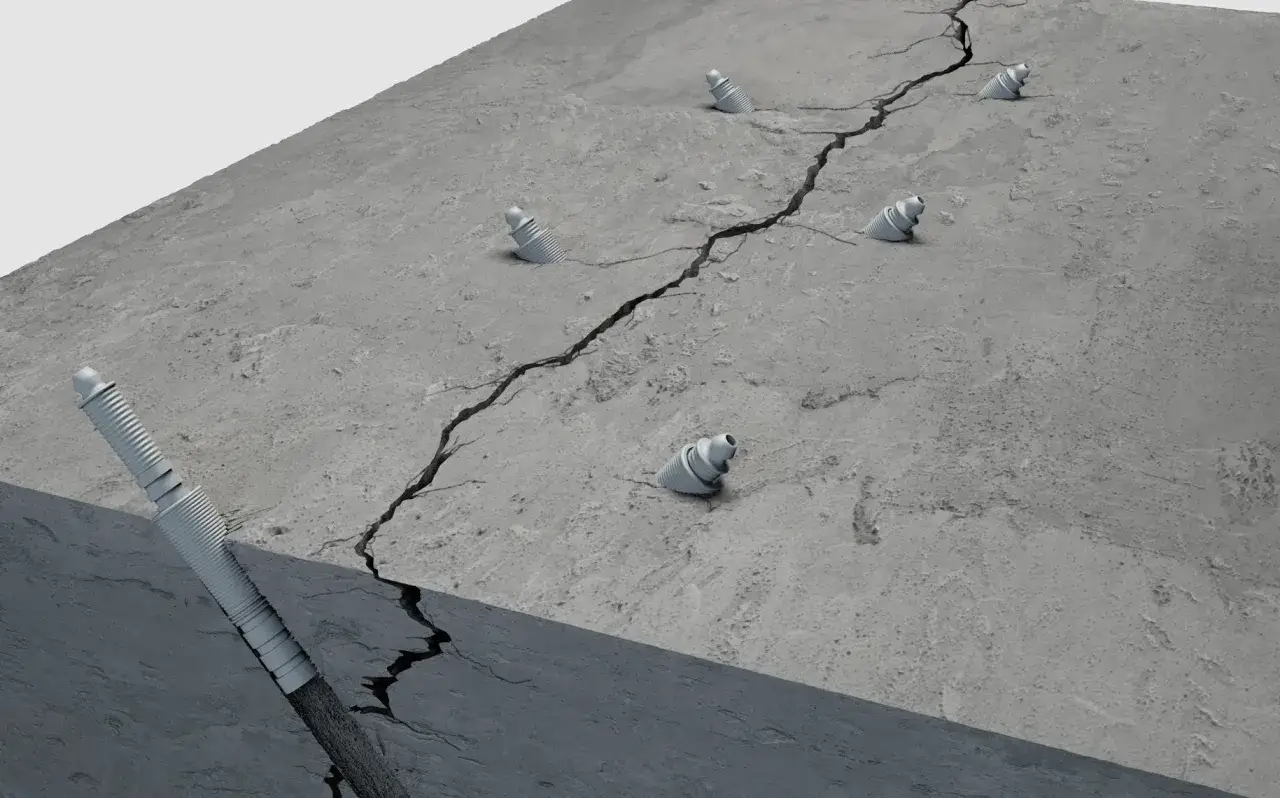
- If the crack is deeper than about 1/2 inch, insert a foam backer rod. A backer rod is a compressible foam strip that supports the sealant and keeps you from wasting product in a deep void.
- Apply the filler steadily from one end to the other. On horizontal slabs, self-leveling sealant usually settles well on its own; on vertical surfaces, use a non-sag or textured caulk.
- Tool the surface while it is still workable. Some concrete repair caulks skin in 20 to 40 minutes and harden in 1 to 2 hours, but full cure takes longer, so do not rush traffic back onto the area.
- Keep the repair dry and unloaded until the product has cured fully. Pressure washing too early or driving over a soft patch is a quick way to undo the work.
If the crack is a control joint, I use a flexible sealant rather than a rigid filler so the slab can still move where it is supposed to move. That distinction saves a lot of frustration, especially on driveways exposed to heavy sun and winter moisture.
Handle wider cracks, wall cracks, and deeper damage
Once a crack gets wider, deeper, or tied to a vertical wall, the repair method changes. Surface caulk can still be useful in the right place, but it stops being the whole answer.
Wider slab cracks
For cracks that are too wide for a thin liquid filler, I switch to a patching compound or a heavier repair product. Undercut the crack if needed, clean it thoroughly, and apply a bonding agent when the product calls for it. Then press the patching material into the crack in layers rather than trying to bridge a deep gap in one pass. Feather the edges with a trowel so the repair blends into the surrounding slab.
Vertical walls and basement cracks
On vertical concrete, textured acrylic caulk works well for cosmetic cracks under about 1/2 inch because it stays put and looks more like concrete when it cures. But if the crack is leaking, a surface patch is only a bandage. For poured foundation walls, I prefer injection systems: polyurethane for active leaks because it stays flexible, and epoxy when the crack is dormant and the goal is structural bonding. That is the point where the repair is about sealing the crack’s full depth, not just hiding the line.
Read Also: Read a Micrometer Like a Pro - Inch & Metric Guide
When resurfacing beats spot patching
If the slab has widespread crazing or a web of shallow cracks, spot repairs start to look patchy and random. In that situation, a resurfacer or overlay gives the whole surface a more consistent finish and often lasts better than trying to chase every line one by one. I reach for that option when the concrete is still basically sound but the surface has simply aged badly.
When damage moves beyond one crack and starts affecting the slab as a whole, the next question is whether DIY still makes sense at all.
Know when the crack is bigger than a DIY fix
There is a point where I stop trying to make the slab look better and start asking what moved underneath it. A filler can seal a crack; it cannot correct settlement, uplift, or a wall that is slowly shifting.
- One side of the crack is higher than the other.
- The crack keeps widening after seasonal changes.
- You see new cracks radiating from corners, posts, or slab edges.
- A basement or foundation wall crack leaks again after every hard rain.
- Doors or windows near the crack start sticking.
- The concrete is spalling, crumbling, or shedding aggregate along the break.
- The crack is wide enough to suggest movement instead of simple shrinkage.
For small cosmetic repairs, the material bill is often under $100. Once you move into injection repairs, leveling, or replacement, the cost can jump into the hundreds or more, depending on access and the size of the problem. In my view, that is money well spent if the concrete is failing structurally, but it is wasted if you keep buying surface filler for a moving slab.
If the crack looks active or the slab is uneven, I would rather pay for an inspection once than keep patching the same spot twice. When the concrete itself is stable, though, a few simple habits can make the repair last much longer.
Keep the repair from failing again
The best patch still fails if water keeps getting under the slab. Most repeat concrete damage in U.S. homes comes down to moisture, freeze-thaw stress, and movement that never got addressed in the first place.
- Keep gutters clean and extend downspouts away from slabs and foundation walls.
- Make sure soil slopes away from the house so water does not pool at the edge of the concrete.
- Seal porous concrete after the repair has fully cured if the product recommends it.
- Avoid letting de-icing salts sit on fresh repairs for long periods.
- Check the repaired area after heavy rain and after the first hard freeze.
- Touch up early if an edge starts to open again; small gaps are easier to seal than failed repairs.
That kind of maintenance is boring, but it is what actually keeps a driveway, patio, or basement floor looking repaired instead of repeatedly patched. Once moisture is under control, the right fix usually stays put.
The repair sequence I trust on most driveways and patios
When I am deciding what to do with a cracked slab, I keep the sequence simple: inspect the crack, decide whether it is moving, choose a flexible or rigid repair based on that behavior, and only then buy the product. That order saves time and keeps you from overbuilding a minor cosmetic flaw or underbuilding a real structural issue.
For a stable hairline crack, I seal it. For a wider dormant crack, I patch it properly with support and cure time. For a leaking or offset crack, I stop treating it like a surface problem and shift to injection or professional evaluation. The smartest repair is usually the smallest one that honestly matches the damage.
If you keep that rule in mind, most residential concrete repairs become much less confusing, and the fix has a far better chance of lasting through the next season.