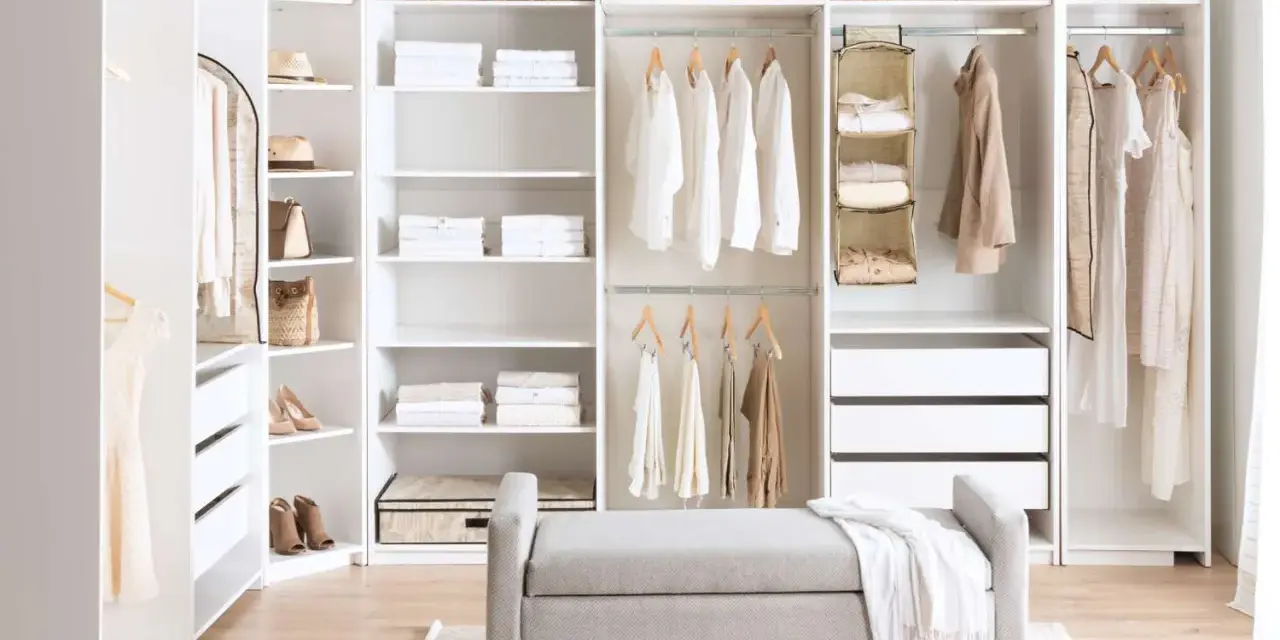
Building DIY closet shelves is less about carpentry for its own sake and more about making the closet easier to use every day. The right layout keeps folded clothes visible, shoes off the floor, and bins where you can reach them without reshuffling everything. In this guide, I cover how to plan the layout, choose materials, set shelf spacing, install the supports, and finish the system so it stays clean and organized.
The best closet shelf system is the one you can keep organized without thinking about it
- Start with what you store, not with the board size, so the shelves fit real clothing, bins, and shoes.
- For most closets, 12-inch shelves work well for folded clothes, while bins usually need 14 to 16 inches of depth.
- Plywood is the most forgiving all-around choice; melamine is cleaner-looking and easy to wipe; MDF is smooth for paint but weaker around moisture.
- Anchor supports into studs whenever possible, and add a center support or front stiffener on longer spans.
- Choose finishes that are easy to clean, because dust and clutter show up fast in a tight storage space.
- Built-in organization works best when one section stays flexible for seasonal changes and overflow.
Start with the way you use the closet
I always begin by emptying the closet and sorting the contents into clear groups: hanging clothes, folded clothes, shoes, bins, linens, and anything seasonal. That simple inventory tells me more than a rough measurement ever will, because the right shelf layout depends on what you actually own, not on a generic closet diagram.
For most reach-in closets in the United States, the usable depth is often around 24 inches, but that does not mean every shelf should use all of it. A shelf that is too deep just swallows smaller items and creates dead space at the back. What I want instead is a layout that creates a few clean zones: one for daily use, one for overflow, and one for items that only come out a few times a year.
I usually ask four questions before I cut anything:
- What needs to stay visible at a glance?
- What can be stacked, and what needs a bin?
- Which items are used daily, weekly, or seasonally?
- Do I want this closet to stay fixed, or should part of it change later?
The biggest mistake is designing around the wall instead of the storage load. A closet that looks balanced on paper can still be frustrating if the shelf heights do not fit sweaters, shoes, and baskets. Once the storage map is clear, choosing the material becomes a much easier decision.
Choose materials that fit the load and the finish you want
When I compare materials, I look at three things first: strength, moisture resistance, and how much finishing work I am willing to do. In a closet, you do not need the toughest material in the house, but you do need something that stays flat and does not make cleaning harder than it should be.
| Material | Best use | Typical U.S. cost | Strengths | Watch-outs |
|---|---|---|---|---|
| 3/4-inch plywood | Built-in shelves, painted or stained systems | About $69 to $75 per 4x8 sheet | Strong, stable, holds fasteners well | Needs edge treatment or paint to look finished |
| 3/4-inch MDF | Painted shelves with a smooth surface | About $50 per 4x8 sheet | Very smooth, affordable, easy to paint | Heavy and vulnerable to moisture or rough edges |
| Melamine shelf board | White, wipeable closet systems | About $18 for an 8-foot shelf board, more for larger panels | Clean finish, easy to wipe, fast to install | Chips easily and needs solid support under longer spans |
If the closet is humid, unfinished, or near a laundry area, I lean toward plywood over MDF. If the goal is a bright, low-maintenance white system, melamine is often the cleanest-looking option. For spans longer than about 36 inches, I add a center support or a front stiffener so the shelf does not sag after a few months of real use.
That material choice sets the tone for the build, and the next step is installing it in a way that stays straight and dependable.
Build the shelves and supports in the right order
You do not need a cabinet shop to build a solid closet system. A tape measure, level, stud finder, saw, drill/driver, square, clamps, and the right screws are enough for most projects. What matters more than fancy tools is sequence, because a clean install comes from doing the small jobs in the right order.
- Remove everything from the closet and repair obvious wall damage first. I want a flat surface before I measure anything.
- Find the studs and mark them clearly. Fastening into framing is the difference between a shelf that feels solid and one that wiggles when loaded.
- Draw a level reference line for each shelf or support track. A shelf that is even a little off becomes visibly wrong once the room is full.
- Cut the shelves and support pieces to size. Leave a small gap at the wall, usually around 1/8 inch, so the shelf can slide in without binding.
- Pre-finish exposed faces before installation if you can. It is much easier to sand and paint a board on sawhorses than inside a closet.
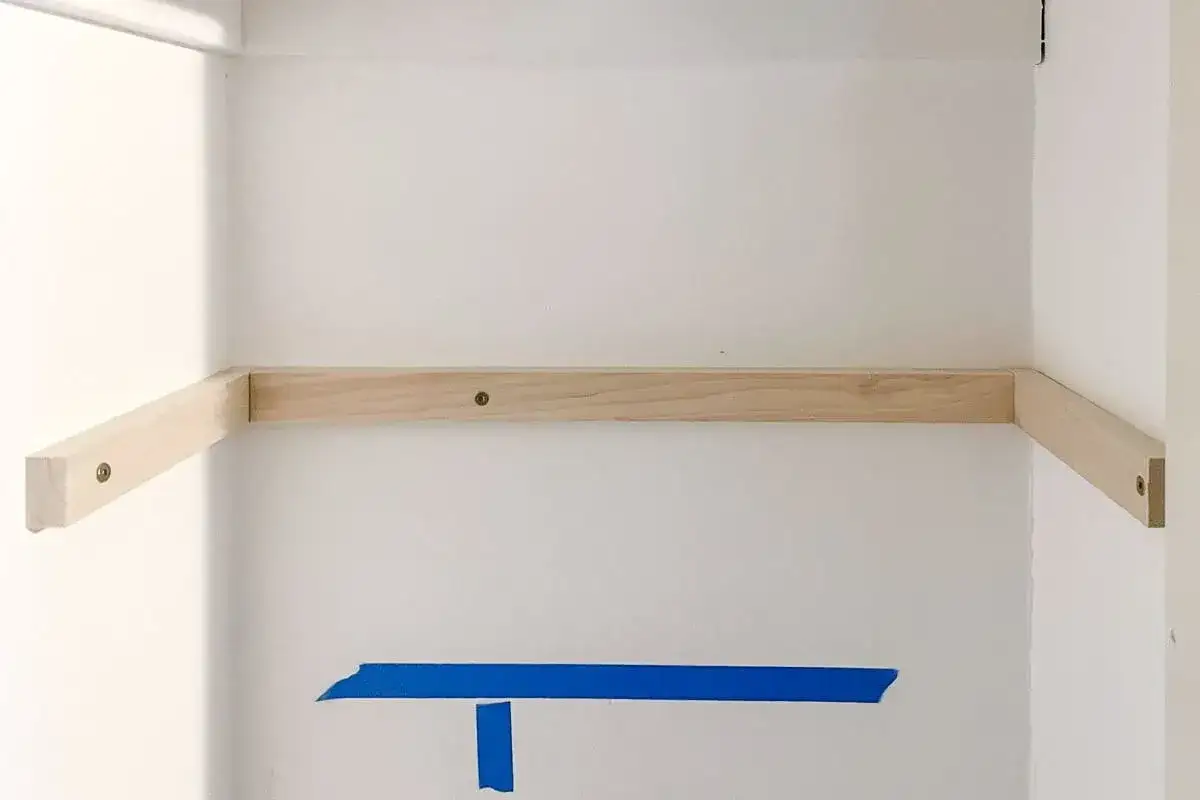
- Install the supports. A cleat is a narrow strip fastened to the wall that carries the shelf; a shelf standard is a vertical metal track with adjustable brackets.
- Set the shelf, check it for level, and secure it if the design calls for a fixed installation.
- Add edge banding, trim, or a front nosing, then touch up screw heads and seams.
I also like to dry-fit the first shelf before I commit to the rest. That one extra check catches problems with baseboards, door trim, or slightly out-of-square walls, which are much more common than people expect. Once the structure is in place, the next question is not how to build it, but how to space it so the closet actually works.
Set shelf depth and spacing for the items you actually store
This is where organization either becomes effortless or starts to fail. A shelf can be technically well built and still be annoying if the spacing does not match what goes on it. I prefer to size each section around the tallest or deepest item in that category, then add a little room so you are not forcing stacks into place every time laundry gets done.
| Stored item | Practical shelf depth | Good vertical clearance | Why it works |
|---|---|---|---|
| Folded T-shirts | 11 to 12 inches | 10 to 12 inches | Keeps stacks visible without wasting space |
| Sweaters and hoodies | 12 to 14 inches | 12 to 14 inches | Prevents bulging stacks and collapsing piles |
| Shoes | 10 to 12 inches | 7 to 9 inches | Enough room for most casual shoes without deep dead space |
| Baskets and bins | Match the bin depth | 1 to 2 inches of extra clearance | Lets the bin slide out without scraping the shelf above |
| Linens | 14 to 16 inches | 12 to 14 inches | Handles bulkier folds and irregular stacks better |
For a standard adult hanger, I like to keep enough clear depth that garments do not brush the front edge. That means a shelf can be 12 inches deep for folded items while still leaving the hanging zone comfortable if the closet is laid out sensibly. Deeper is not automatically better; once a shelf gets too deep, it becomes a hiding place for clutter instead of a storage aid.
If one section of the closet has to adapt over time, make that the adjustable section. Seasonal wardrobes change, but the main shelf sizes usually do not need to. That balance keeps the system practical without making the whole closet feel overengineered.
Finish the surfaces so the closet stays clean
Finishing is not just about looks. In a closet, the finish affects how quickly dust shows, how easy the shelves are to wipe down, and whether the whole space feels calm or dusty. I prefer a finish that can take a fast cloth wipe without leaving me worried about water marks or flaking edges.
- Use satin or semigloss paint instead of flat paint if you want easier cleaning.
- Sand exposed edges smooth before installation, especially on plywood or MDF.
- Add iron-on edge banding or a solid wood front nosing where the shelf edge will be visible.
- Caulk small wall gaps after installation so dust has fewer places to settle.
- Use shelf liners only where they actually help, because too many liners can trap dirt and make upkeep more annoying.
- Choose light colors if the closet is dark, since they make dust and misplaced items easier to spot.
Labels and bins matter here too. I like open shelves for things used every day, and labeled bins for items that tend to drift. The more obvious the home for each category, the less the closet gets messy in the first place. That is why a good finish is not decorative fluff; it helps the organization survive real life.
With the structure and finish handled, the remaining risk is usually simple design mistakes that make even a well-built closet feel cramped.
Avoid the mistakes that make custom shelving feel cramped
The most common problems are not dramatic, just irritating. I see them after the fact all the time: shelves that are too deep, too few supports, and layouts that looked fine until clothes and bins actually moved in.
- Making every shelf the same height, even though different items need different clearance.
- Building shelves deeper than the items they hold, which creates clutter at the back.
- Ignoring door swing, baseboards, trim, and hanger clearance.
- Skipping stud locations and relying on weak anchors for heavy sections.
- Buying lumber before measuring the real bins, shoes, and storage boxes that need to fit.
- Using MDF in damp or uneven spaces where moisture can shorten its life.
- Leaving no flexible section for seasonal rotation or changing storage needs.
There is also a design tradeoff worth saying out loud: fixed shelving looks cleaner, but adjustable shelving ages better. If your wardrobe changes often, or if the closet also holds household items, I would rather give up a tiny bit of visual perfection than rebuild the whole thing in a year. That is the kind of compromise that keeps a project useful long after the installation is finished.
The setup I’d choose for most homes
If I were building a typical reach-in closet, I would use 3/4-inch plywood or melamine, set the main shelves around 12 inches deep, and reserve deeper spaces only for bins or linens. I would anchor the supports into studs, keep one section adjustable, and use a wipeable finish so maintenance stays simple. That combination is not flashy, but it is reliable, easy to clean, and much less likely to turn into a clutter trap.
My final rule is simple: build around the things you use most, not the emptiest part of the wall. When the shelves match your clothing, storage boxes, and cleaning routine, the closet stops fighting you and starts doing its job. That is the real payoff of a custom system, and it is why I would rather see a clean, modest layout than a dramatic one that never quite works.