The job is easier when you follow the right order
- Shut off both supply valves first, then open the faucet to release pressure.
- A basin wrench matters because the mounting nuts are usually hidden in a cramped space under the sink.
- Disconnect the supply lines before you loosen the faucet body so you do not twist the valves or hoses.
- Expect a normal removal to take 20 to 45 minutes; corroded hardware can stretch that to an hour or more.
- Pull-down sprayers and side sprayers add extra steps, especially if there is a quick-connect fitting or hose weight.
- Penetrating oil and patience beat force when mounting nuts are seized or rusted.
Gather the right tools and read the underside of the sink
I always start by looking underneath before I touch a wrench. A lot of frustration disappears when you know whether the faucet is held by a single retaining nut, two side nuts, a deck plate, or a quick-connect hose assembly. That quick inspection also tells you whether the job is straightforward or whether you will be working around a garbage disposal, a filter system, or a tight cabinet wall.For most kitchen faucet removals, I keep the setup simple and practical. The basic tools are enough in most homes, but the basin wrench is the one tool that changes the job from awkward to manageable.
| Tool | Why I use it |
|---|---|
| Basin wrench | Reaches the mounting nuts that sit high on the faucet shank and are almost impossible to grab with a standard wrench. |
| Adjustable wrench | Disconnects supply lines and handles the fittings you can actually see and reach. |
| Bucket and towels | Catches the water left in the lines and protects the cabinet bottom. |
| Flashlight or headlamp | Lets you see the nut orientation, hose routing, and any corrosion clearly. |
| Penetrating oil | Helps loosen rusted or mineral-stuck hardware without brute force. |
| Phillips screwdriver or Allen key | Useful if your faucet uses a retaining clip, handle set screw, or accessory bracket. |
If you are planning to replace the faucet immediately, keep the new supply lines nearby and check that the sink hole pattern matches the new body. Once the tools and layout make sense, the next step is to shut the water down and create a dry workspace.
Shut off the water and make the cabinet safe to work in
Turn off the hot and cold shutoff valves under the sink. In many U.S. kitchens, those are angle stop valves tucked against the back wall of the cabinet. If your sink does not have local shutoffs, use the home’s main water shutoff instead. After that, turn the faucet on and let the lines drain until the flow stops completely.I also like to remove anything stored under the sink before I begin. It sounds obvious, but it gives you room for the bucket, lets you work from a comfortable angle, and keeps cleaning products or paper goods from getting splashed. If there is a garbage disposal, unplug it or switch off the breaker if you need to reach near the cord and motor housing.
This is also the moment to test the valves. If one will not close fully, drips after shutting off, or feels brittle when you move it, stop and deal with that first. A weak shutoff valve can turn a simple faucet removal into a bigger plumbing repair.
Once the water is isolated and the cabinet is clear, the actual removal becomes much easier to control.
Remove the faucet step by step
The fastest removals follow a very plain sequence: disconnect the water lines, free any sprayer hose or accessory hose, remove the mounting hardware, then lift the faucet out from above. I prefer that order because it avoids twisting hoses and makes the underside hardware easier to reach.
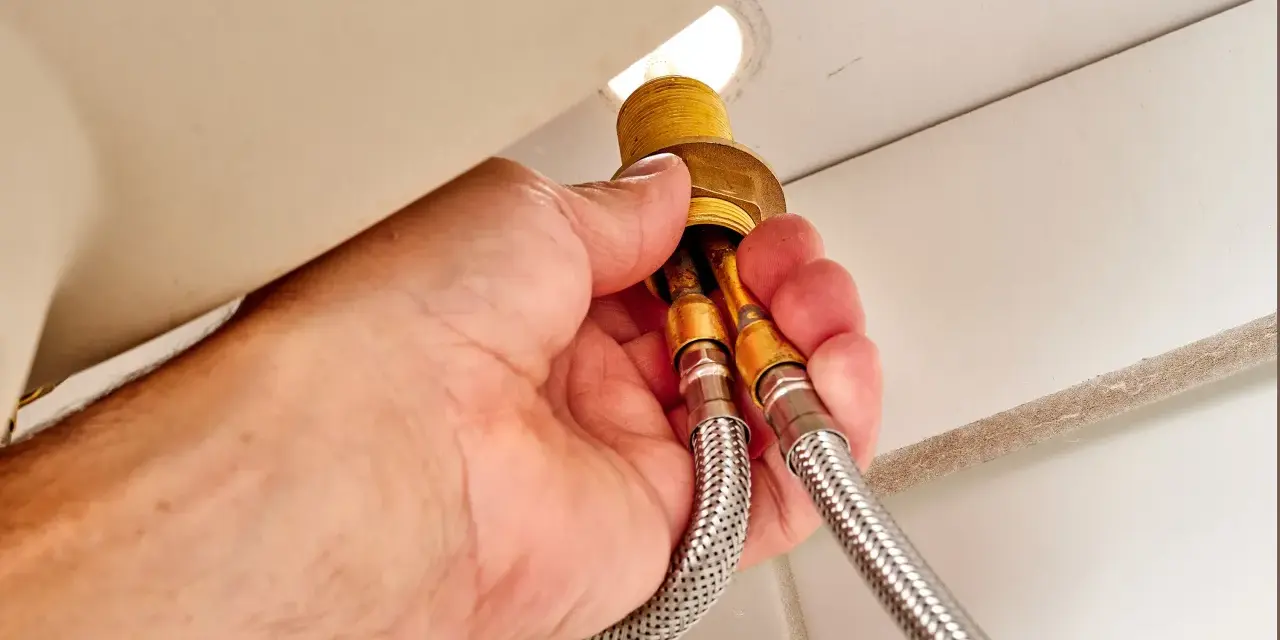
- Disconnect the supply lines. Put the bucket under the fittings and use an adjustable wrench to loosen the lines where they connect to the shutoff valves. If the valve body wants to turn with the nut, hold the valve steady with a second wrench.
- Detach any sprayer hose or quick-connect fitting. Pull-down faucets often use a clip, collar, or push-fit connector. Side sprayers may have a hose clamp or retaining nut. Work gently here; yanking the hose can crack an old connection or damage the hose guide.
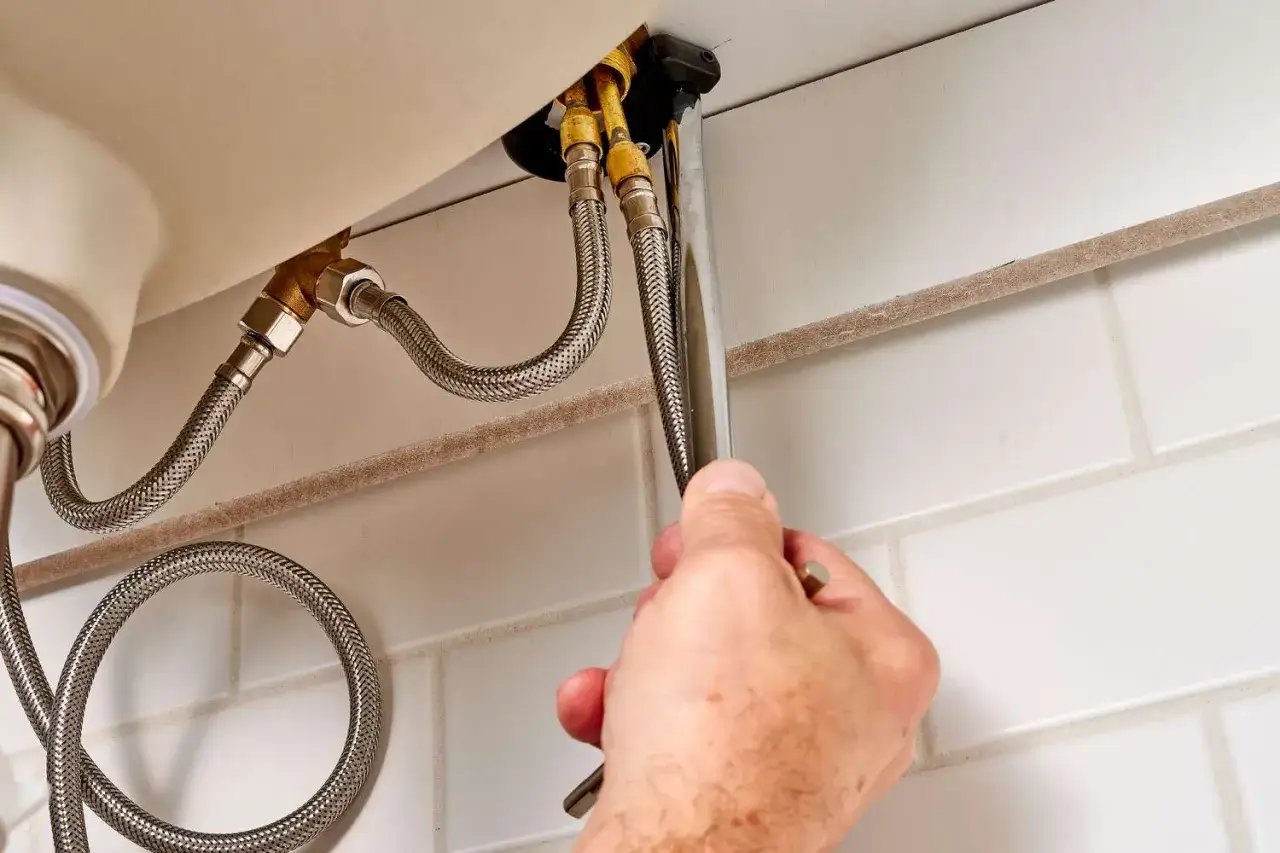
- Loosen the mounting nuts from below. Slide the basin wrench onto the nut and turn it counterclockwise. Some faucets use one large center nut, while others use a bracket with two smaller fasteners.
- Support the faucet from above while the last nut comes off. I like to keep one hand on the faucet body so it does not drop or twist when the hardware releases.
- Lift the faucet straight up and out. Feed the supply lines through the sink holes carefully. If the lines snag, do not force them; check for a clip, hose guide, or seal still holding them in place.
- Clean up the opening. Remove old putty, silicone, or mineral buildup from the sink deck so the new faucet or deck plate can sit flat later.
On a clean, modern installation, that sequence can take less than half an hour. On an older sink with tight clearance, the hidden mounting nut is usually the slowest part, and that is where the basin wrench earns its keep.
Know what changes with pull-down, sprayer, and deck-plate faucets
Not every kitchen faucet comes apart the same way. The core job is still the same, but different configurations add extra connections that have to be cleared before the faucet will lift free. I find it easier to think in terms of the setup, not the brand name on the box.
| Faucet setup | What to disconnect | Common snag | What helps |
|---|---|---|---|
| Single-handle faucet with braided lines | Supply lines at the shutoff valves, then the mounting nut(s) | Little clearance behind the bowl of the sink | A basin wrench and a strong light |
| Pull-down faucet | Supply lines, hose weight, and quick-connect hose fitting | The hose catches on the sink hole or soap dispenser | Take a photo of the hose routing before disconnecting anything |
| Faucet with a side sprayer | Sprayer hose and its retaining nut or clip | Old gaskets and mineral buildup stick the hose in place | Twist gently and free the seal before pulling |
| Three-hole faucet with deck plate | Supply lines, mounting nuts, and the trim plate if it is sealed down | Hard caulk around the plate edge | Score the seal with a utility knife before lifting |
For pull-down models, the hose weight usually hangs below the sink and must be unclipped before the body can come out. For older three-hole faucets, the deck plate often hides old sealant, so the faucet will not release cleanly until that edge is cut free. The more you identify these details before you start wrenching, the less likely you are to damage the sink surface.
Free a stuck faucet without damaging the sink or valves
Corrosion, mineral buildup, and overtightened nuts are the reason many faucet removals turn into long afternoons. My rule is simple: use force only after you have tried the smaller, safer moves. On plumbing hardware, brute force is usually the most expensive option.
Start with penetrating oil on the mounting nuts and wait 10 to 15 minutes. If the nut is still locked in place, apply a second round and tap the nut lightly to help the oil work in. A hair dryer can help soften old sealant, but I avoid open flame anywhere under a kitchen sink because of plastic tubing, insulation, and cabinet materials.If the nut starts to round off, switch tools before you make the problem worse. Locking pliers may help if there is room to grab, but the basin wrench is still the cleaner solution when space is tight. When the shutoff valve body begins to twist with the fitting, stop immediately and steady it. A damaged stop valve is a much bigger repair than a stubborn faucet.
If I am still fighting one nut after 30 to 40 minutes, I change tactics. That might mean more penetrating oil, a different angle on the wrench, or, in the worst cases, cutting the nut off carefully. The point is to remove the faucet without turning the cabinet into a rescue operation.
Clean the opening and check the plumbing before the replacement goes in
Once the faucet is out, do not rush past the cleanup. The sink deck needs to be flat and clean before anything new seals against it. Scrape away old silicone or plumber’s putty with a plastic scraper if you can, then wipe the area dry. I avoid metal blades on delicate finishes because they can leave scratches that show up later around the base of the new faucet.
This is also the right time to inspect the parts you are keeping. Look closely at the shutoff valves for seepage, check the supply line threads for wear, and make sure the cabinet is dry enough to spot a new leak quickly once the new faucet goes in. If the old braided lines are stiff, discolored, or bulging, replace them rather than trying to reuse them.
Before I close out a removal job, I also verify three practical details: the sink hole count, the deck thickness, and the routing path for the new supply lines. Those are the small details that decide whether the install feels smooth or awkward.
What I verify before I close the cabinet
Before I move on to the new faucet, I do one last round of checks. It takes only a few minutes, but it prevents most of the callbacks that happen after a rushed install. I look for a shutoff valve that closes fully, a clean sink opening, and enough slack in the supply lines to reach the new faucet without kinking.
- Shutoff valves should stop water cleanly with no slow drip.
- Supply lines should have enough length to connect without being stretched tight.
- Sink holes should match the new faucet or be covered by the correct deck plate.
- Deck surfaces should be dry, clean, and free of old sealant ridges.
- Cabinet space should allow you to reach the underside hardware later if service is needed.
That final check is the difference between a faucet removal that feels controlled and one that becomes a bigger plumbing project. If everything is clean, dry, and accessible now, the replacement goes in faster and leaks are easier to catch before they spread.