Vinyl plank floors are forgiving, but they are not maintenance-free, and the wrong cleaner can make them look tired long before their time. This guide shows how to clean vinyl plank flooring the right way: what to do every day, how to mop without flooding the seams, which products to trust, and how to remove scuffs and sticky marks without scratching the surface. I am keeping it practical, because most damage comes from ordinary habits that seem harmless at first.
The safest routine is dry first, damp second, and gentle all the way through
- Vacuum or dust-mop before any wet cleaning so grit does not act like sandpaper.
- Use a pH-neutral or manufacturer-approved cleaner and skip wax, bleach, ammonia, and abrasive pads.
- Mop with a well-wrung microfiber mop, not a soaked one, and dry any standing moisture right away.
- Spot-clean spills and scuffs as soon as you see them to prevent buildup and dulling.
- Protect high-traffic areas with mats, furniture pads, and a simple weekly routine.
Start with dry cleaning before any water
The first rule I follow is simple: remove loose dirt before it has a chance to scratch the finish. Sand, crumbs, pet hair, and tracked-in grit are what wear vinyl down over time, especially near entryways, kitchens, and hallways. A soft broom, dust mop, or vacuum on bare-floor mode is the right first pass; a beater bar is not.
For most homes, this dry step matters more than any fancy cleaner. If the floor already looks dusty after a day or two, it is better to vacuum quickly than to wait for a deep clean. That keeps the wet mop from turning debris into streaks or muddy film.
| Task | How often | What I use |
|---|---|---|
| Entryway dust removal | Daily in busy homes | Dust mop or handheld vacuum |
| Whole-floor dry cleaning | 2 to 3 times per week | Vacuum on bare-floor setting |
| Quick debris pickup after meals or pets | As needed | Soft broom or microfiber pad |
Once the loose debris is gone, the wet cleaning step becomes much more effective, and that is where the choice of cleaner starts to matter.
Use the right cleaner and skip the risky ones
Vinyl planks usually do best with a pH-neutral cleaner or a product the manufacturer explicitly approves. I treat the label as the final word, because flooring brands do not all define “safe” the same way. Some allow a mild soap solution, others want a dedicated vinyl cleaner, and a few are very specific about what should never touch the surface.
| Cleaner or method | My take | Best use |
|---|---|---|
| pH-neutral vinyl cleaner | Best default choice | Routine cleaning |
| Manufacturer-approved formula | Safest for warranty and finish | Daily or weekly mopping |
| Mild soap solution | Only if the label allows it and the dose is tiny | Light soil on compatible floors |
| Vinegar or DIY mixes | Not my default because results vary by brand | Only when the flooring maker specifically approves it |
| Bleach, ammonia, wax, abrasive powders | Too aggressive for regular care | Avoid |
| Steam mop | Use only if the manufacturer allows it and only on low heat | Occasional deep clean, not routine care |
I also test any new cleaner in a hidden spot first. That takes a minute and can save a lot of frustration later, especially on matte finishes where residue shows up fast. If the floor feels tacky after cleaning, the problem is often too much product, not too little elbow grease.
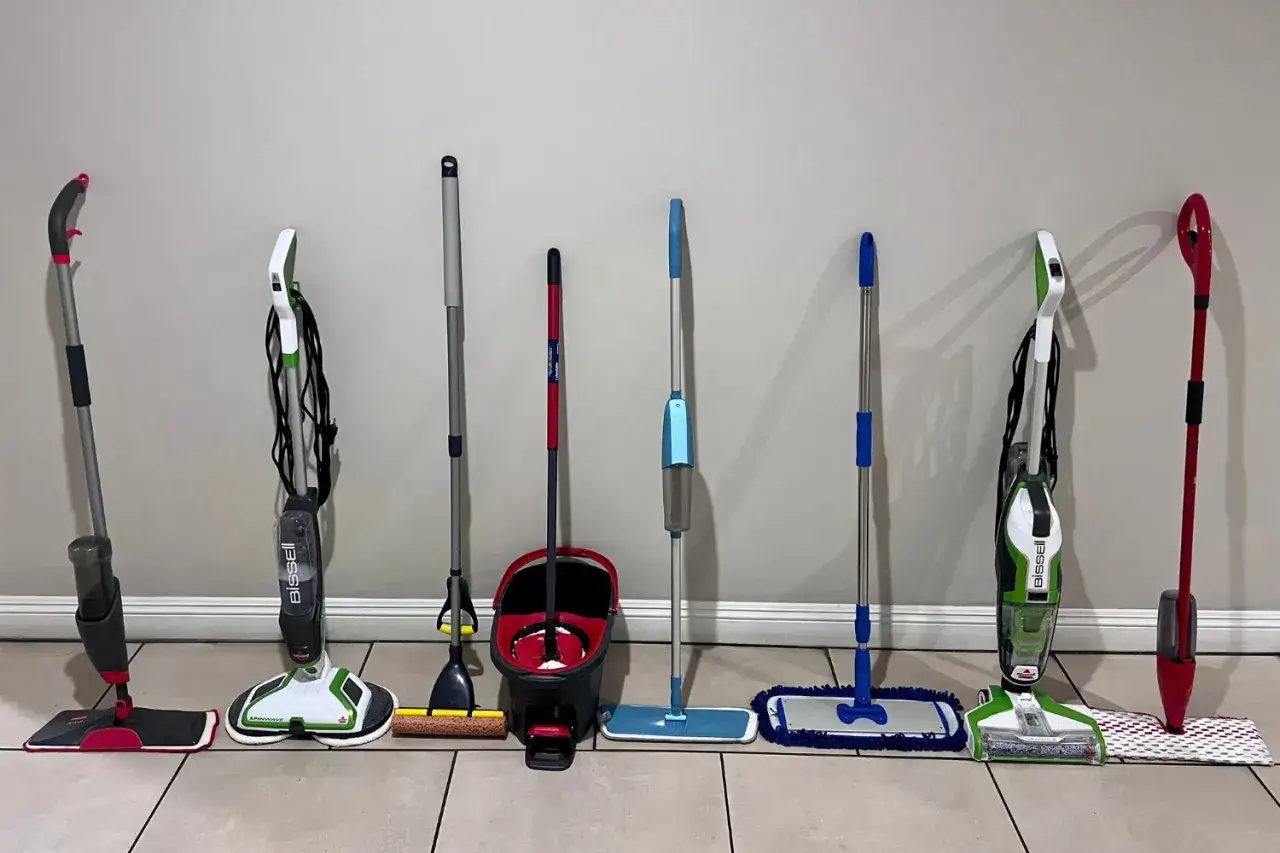
Mop with as little moisture as possible
When I mop vinyl planks, I aim for damp, not wet. Water should sit on the floor only long enough to lift soil, then be removed. The mop head should be well wrung out so it barely drips, and the room should be cleaned in small sections instead of getting flooded all at once.
- Mix the cleaner exactly as the label directs.
- Wring the microfiber mop hard until it is only lightly damp.
- Work in 4- to 6-foot sections so the surface never stays wet for long.
- Rinse or refresh the mop when it starts spreading gray water instead of lifting it.
- Wipe edges, corners, and seams with a dry microfiber cloth if moisture lingers there.
A flat microfiber mop is usually the most controllable option because it spreads just enough liquid to clean without soaking the planks. I am cautious with steam, too: some manufacturers allow it on the lowest setting with a microfiber cover, but others do not, and prolonged heat can shorten the life of the floor. If your product literature is silent, I would skip steam rather than guess.
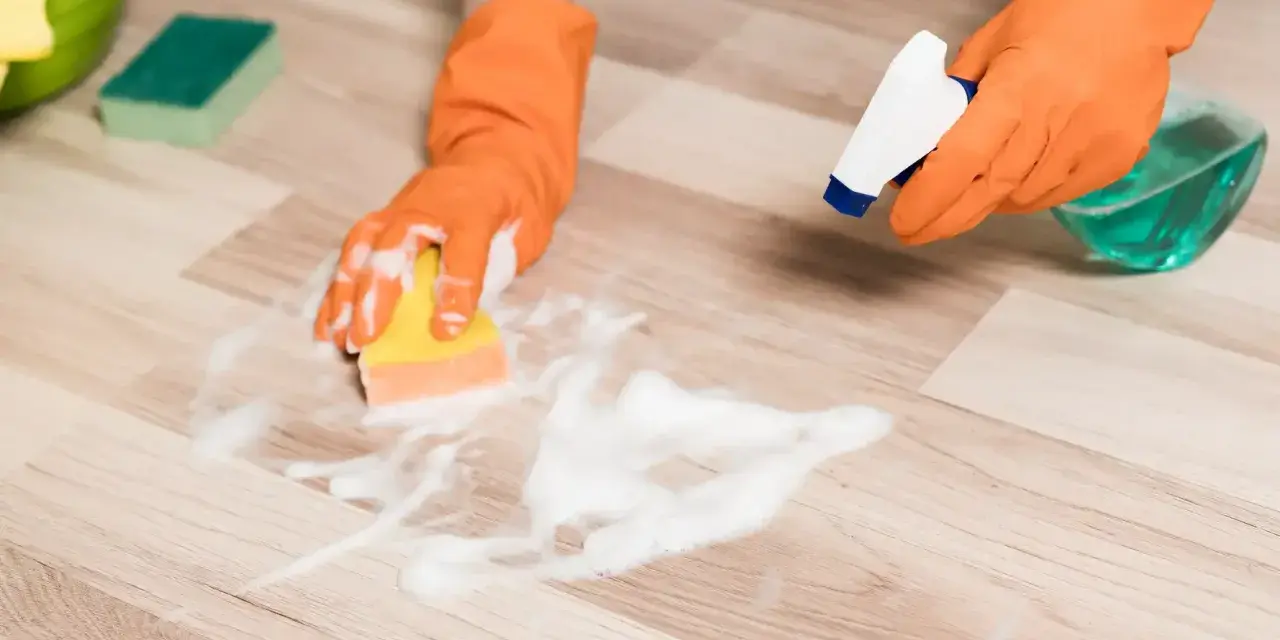
Deal with scuffs and sticky spots without scratching
Most stubborn marks on vinyl plank floors are not true stains. They are often scuffs, sticky residue, or a thin film left behind by shoes, food, or an overused cleaner. That is good news, because it means you usually do not need anything harsh to fix them.
Scuffs
Start with a damp microfiber cloth and light pressure. Rub in a small circle, then dry the area. If the mark stays, add a little approved cleaner to the cloth rather than reaching for an abrasive sponge.
Sticky spills
For syrup, soda, sauce, or pet messes, let the cleaner sit for 30 to 60 seconds so it can loosen the residue. Then wipe it up and follow with a clean damp cloth. The goal is removal, not scrubbing.
Read Also: Remove Blinds Easily - A Clean & Organized Guide
Grease and kitchen residue
Kitchen floors pick up a thin oily film faster than other rooms. A vinyl-safe cleaner handles most of it, but if the spot needs more attention, use a soft nylon brush gently and stop as soon as the mark lifts. Never switch to steel wool or a gritty pad; that is how dull patches start.
If a mark does not budge after a careful second pass, I would pause before escalating to stronger chemicals. That is usually the point where the cleaner, the finish, or the floor’s care instructions matter more than effort.
Build a routine that keeps dirt from coming back
The easiest way to keep vinyl planks clean is to reduce how much dirt reaches them in the first place. That is where small habits do the heavy lifting. A good mat at the door, furniture pads under chair legs, and a quick vacuum after high-traffic days all make the floor easier to maintain.
| Routine | What to do | Why it helps |
|---|---|---|
| Daily | Clear entry grit and spot-wipe spills | Prevents scratches and sticky buildup |
| Weekly | Vacuum the full floor and damp mop busy rooms | Keeps dust and film from accumulating |
| Monthly | Check corners, under furniture, and around appliances | Finds hidden dirt before it turns into grime |
| As needed | Replace worn pads and shake out mats | Reduces drag marks and trapped grit |
I also avoid rubber-backed mats unless the floor manufacturer says they are safe. Some backings can discolor vinyl over time, especially in sunny spots. Non-staining rugs and colorfast mats are the safer everyday choice.
When the floor looks dull, fix the residue problem first
A vinyl plank floor that looks cloudy is often not dirty in the usual sense. It is usually carrying a film from too much cleaner, a dirty mop head, or repeated passes with the wrong product. Before buying another bottle, I would rinse the mop pad thoroughly, cut the cleaner dose back, and test one small area with a simpler approach.
If the floor was newly installed with adhesive, there is one more detail that matters: avoid washing or scrubbing it for at least 5 days, because moisture and cleaning agents can interfere with the bond while it is still curing. After that, go back to the basics, keep the water level low, and let the manufacturer’s instructions overrule any generic cleaning trick you find online. That is the difference between a floor that stays clean and one that always seems to need rescuing.