Knowing how to clean aluminum without stripping the finish saves time, protects the surface, and keeps cookware, trim, and outdoor fixtures looking cared for. The safest approach is usually not complicated, but it does depend on the finish and the kind of buildup you are dealing with. I’ll walk through the routine that works for everyday dirt, what to do when the metal has gone chalky or dull, and the mistakes that turn a simple cleaning job into a permanent mark.
The safest way to clean aluminum is to start mild and match the finish
- Use warm water, a few drops of mild dish soap, and a soft cloth first.
- Identify the finish before you choose a cleaner because bare, anodized, painted, and coated aluminum do not react the same way.
- Rinse thoroughly and dry immediately to prevent streaks and water spots.
- For light oxidation, use a brief spot treatment with an aluminum-safe acidic cleaner, then stop as soon as the film lifts.
- Avoid bleach, strong acids or alkalis, steel wool, and aggressive rubbing.
- If the finish is damaged or uneven, cleaning may not be enough and refinishing may be the better fix.
Why the finish matters more than the cleaner
I start by identifying the surface, because aluminum is not one uniform material in practice. Bare metal, anodized trim, painted panels, and cookware all react differently, and that matters more than the brand name on the bottle.
Dust and finger oils are one thing. Oxidation is another. The white or gray chalk you sometimes see is the metal reacting with air and moisture, and once it appears, simple soap may not be enough. That does not mean you need a harsh product; it means you need the right level of cleaning for the finish in front of you.
My rule is simple: use the least aggressive method that gets the job done. If the surface still looks good after rinsing, stop there. The next section shows the routine I use first on most household aluminum.
The safest routine for everyday dirt and grime
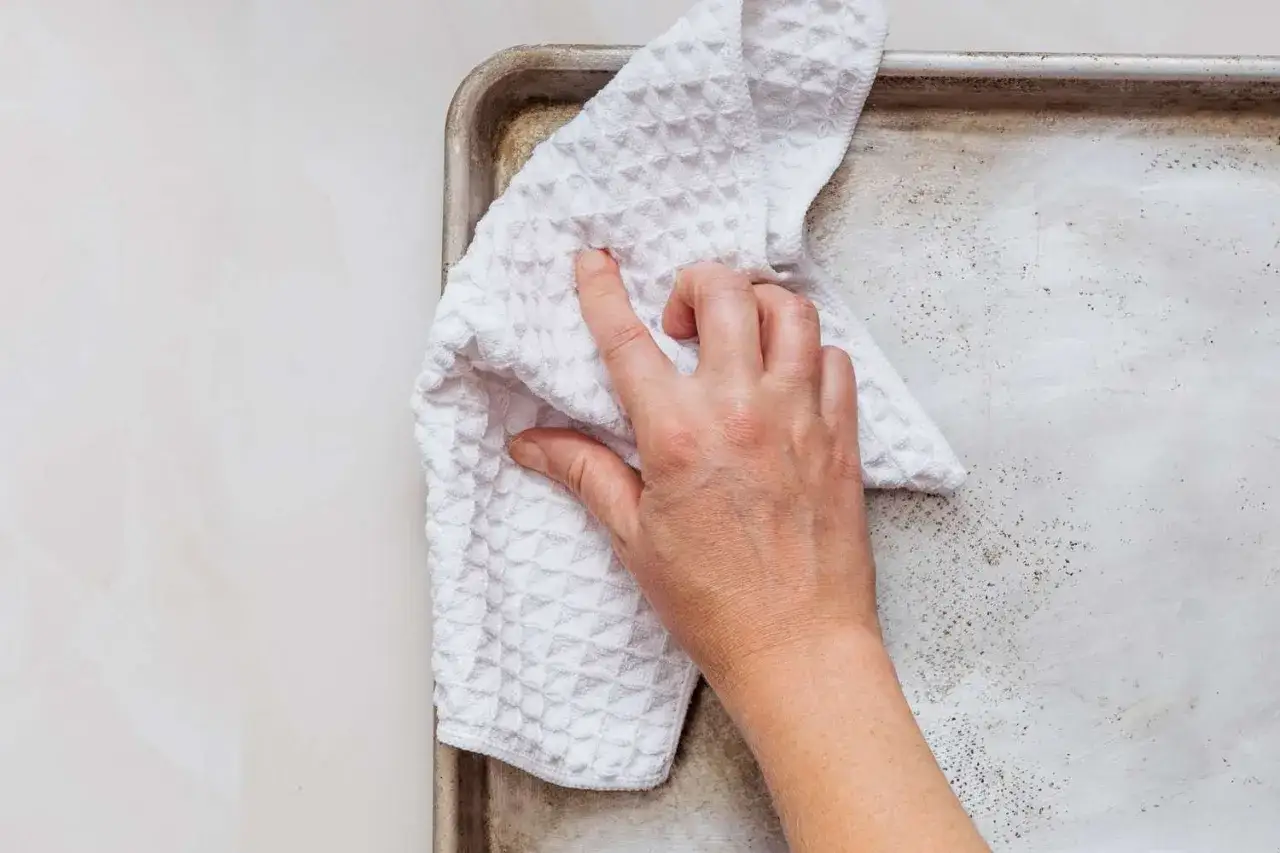
For light soil, I use warm water, a few drops of mild dish soap, a soft sponge or microfiber cloth, and a dry towel. That is usually enough for shelves, trim, pots, handles, and lightly dusty outdoor pieces. When I say mild, I mean a neutral pH cleaner that lifts grime without attacking the finish.- Remove loose dust or grit first so you do not grind it into the surface.
- Mix a bucket of warm water with a small amount of dish soap.
- Wash in a small section, using light pressure and straight strokes along the grain if the metal has a visible grain.
- Rinse with clean water so soap residue does not dry into a film.
- Dry immediately with a lint-free cloth to avoid spotting.
If the dirt is sitting in seams or around rivets, I switch to a soft toothbrush or a non-scratch nylon brush and work gently. On larger exterior pieces, I clean from the top down so dirty water does not run over areas I have already finished.
This routine handles ordinary buildup well, but oxidation needs a different touch.
How to remove oxidation and tarnish without scratching the metal
Once aluminum turns dull, the goal is not to scour it back to life. The goal is to loosen the oxidized film and rinse it away before the surface gets abraded.
For light tarnish on bare aluminum, I usually try a 1:1 mix of white vinegar and water on a hidden spot first. I let it sit only briefly, then wipe, rinse, and dry. Dwell time is simply the amount of time a cleaner stays on the surface, and on aluminum I keep that window short.
For heavier oxidation, a purpose-made aluminum cleaner or a mild oxalic-acid cleanser can work better, especially on cookware and weathered outdoor parts. Follow the label, and do not let any cleaner sit longer than necessary. If I use a commercial cleanser, I keep contact time under one minute on metal unless the directions say otherwise.
What I do not do is scrub harder and harder. Excessive rubbing creates haze, and on polished or anodized pieces it can leave a finish that looks clean but no longer looks right. If the surface is pitted, peeling, or uneven after cleaning, that is usually a finish problem, not a dirt problem.
The finish on the part decides how far you can push the cleaning, which is why the next section matters so much.
Match the method to the aluminum surface
The same cleaner can be harmless on one surface and a bad idea on another. When in doubt, test a small hidden area first and wait for it to dry before deciding whether to continue.
| Surface | Best first method | What it can handle | Avoid |
|---|---|---|---|
| Bare aluminum | Warm water, mild dish soap, soft cloth | Dust, fingerprints, light oxidation | Bleach, lye, steel wool, long acid soaks |
| Anodized aluminum | Water and mild detergent, then a soft nylon pad if needed | Regular grime and light staining | Aggressive acids or alkalis, heavy rubbing, hot-surface cleaning |
| Painted or coated aluminum | Water and mild detergent only | Surface dirt and environmental film | Solvents, abrasive pads, strong cleaners that can dull the coating |
| Cookware and pans | Soap, warm water, soft sponge, brief spot treatment if needed | Food residue and light tarnish | Wire brushes, metal scouring pads, harsh dishwasher detergents |
| Outdoor trim and railings | Rinse first, wash in shade, rinse again, dry well | Road film, pollen, and weathering | Cleaning in hot sun or letting cleaner pool in seams |
When the finish is unknown, I treat it like a delicate surface and move slowly. The wrong assumption is usually more expensive than the extra five minutes of testing.
Even with the right method, there are a few mistakes that cause most of the damage.
Mistakes that cause dulling, streaks, and white residue
- Using bleach-based or heavily alkaline cleaners on anodized or painted aluminum.
- Scrubbing with steel wool, which can leave behind particles that rust and stain.
- Cleaning in direct sun or on a hot surface, which speeds up chemical reactions and can create blotches.
- Leaving cleaner in crevices, seams, and corners where it dries into streaks.
- Mixing different cleaners together, which can be unsafe and usually makes the result worse, not better.
- Overpolishing a bright finish until it turns hazy or uneven.
- Using a harsh abrasive on a soft coating and assuming the damage is just residue.
I also avoid cleaning hot, sun-heated aluminum. Warm metal is not the problem; hot metal speeds up chemical reactions and can leave streaks or blotches that are hard to even out.
Once those mistakes are out of the way, keeping aluminum in good shape becomes a maintenance habit, not a restoration project.
A simple maintenance kit keeps aluminum looking better for longer
For most homes, I keep one microfiber cloth, one non-scratch sponge, mild dish soap, a small soft brush, and a labeled aluminum-safe cleaner in the same caddy. That small bit of organization matters because it makes it harder to grab the wrong product in a hurry.
For outdoor pieces, I check them every 3 months, and monthly if they are near saltwater, road spray, or heavy pollution. Rinse off grime before it hardens, dry seams and corners well, and do not let cleaners sit in crevices where they can leave marks.
On bare outdoor aluminum, a compatible wax or surface protectant can slow the next round of oxidation, but I skip that step on surfaces that will be painted, recoated, or refinished later. In practice, the cleaner the routine, the less likely you are to need a heavy restoration later. My default is always the same: start mild, test a hidden spot, rinse thoroughly, and dry immediately. That habit protects the finish better than any aggressive shortcut ever will.