Knowing how to clean granite countertops the right way keeps the stone bright, prevents cloudy residue, and saves you from replacing a finish that was never meant to take harsh chemicals. I focus on the routine that actually works in a busy kitchen: quick daily wiping, the right cleaners, smart stain handling, and resealing only when the stone starts asking for it. I also show the small habits that make the whole job easier to keep up with.
The quickest route to clean, safe granite
- Use warm water, a microfiber cloth, or a pH-neutral stone cleaner for most daily cleanup.
- Dry the surface after cleaning so water marks and streaks do not build up.
- Avoid vinegar, lemon, ammonia, bleach, abrasive powders, and gritty pads.
- Blot spills quickly instead of scrubbing them across the stone.
- Check the sealer with a simple water test before stains become a bigger problem.
- Keep your cleaning tools together so the right product is always easy to grab.
The safest way to clean granite every day
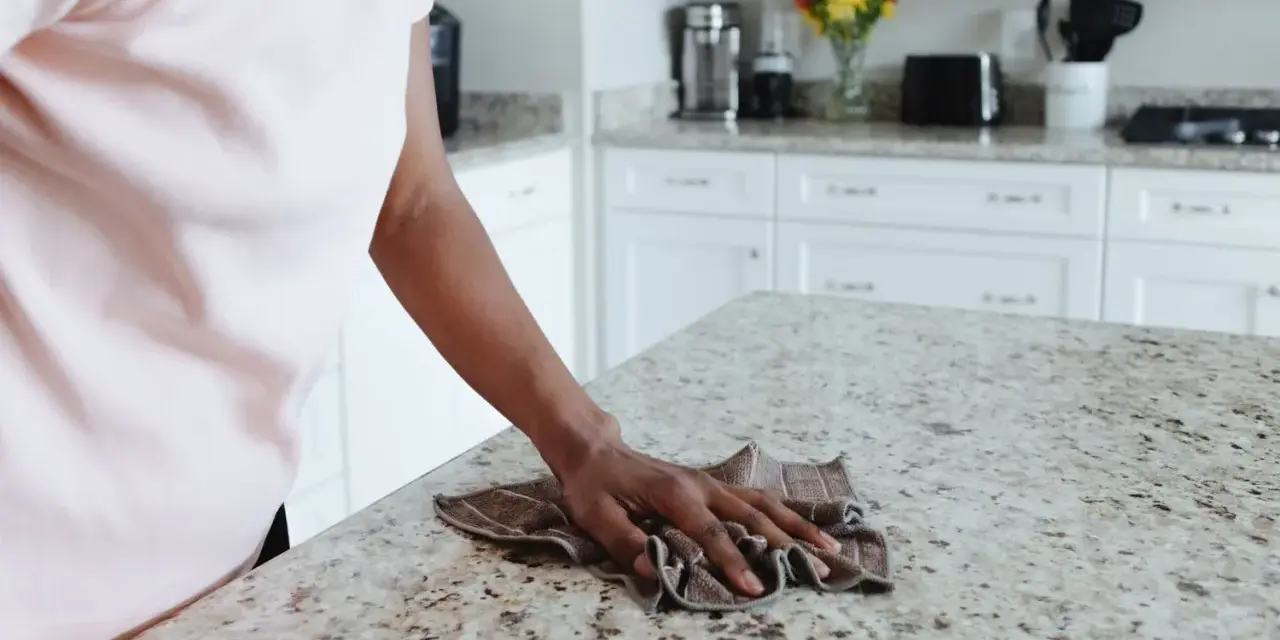
I keep the daily routine almost boring: clear the surface, wipe away crumbs, clean with warm water or a diluted mild soap, and dry the stone with a second microfiber cloth. Microfiber matters because it lifts grit instead of dragging it across the finish, and that is the difference between a surface that stays glossy and one that slowly looks tired.
For a normal kitchen day, I spray the cleaner onto the cloth rather than onto the counter, work in small sections, and pay extra attention to the sink edge, faucet base, and seams where water likes to sit. The whole job usually takes 2 to 5 minutes, and the last dry buff is the step most people skip even though it removes streaks and helps prevent spots.
If the counter is near a cooktop or sees a lot of food prep, I treat it like a quick reset after dinner rather than a once-a-week chore. That habit makes the next step, choosing the right cleaner, much easier.
Which cleaners work and which I avoid
The safest products are the ones that clean without changing the chemistry of the stone. A pH-neutral cleaner is simply one that sits close to neutral on the pH scale, so it is far less likely to strip sealer or leave a dull film behind.| Cleaner or tool | Best use | Why I keep it in rotation |
|---|---|---|
| Warm water and microfiber | Dust, fingerprints, light residue | Simple, residue-free, and hard to misuse |
| Mild dish soap diluted in water | Grease and everyday kitchen film | Works well when rinsed and dried fully |
| pH-neutral stone cleaner | Regular wipe-downs | Designed for sealed natural stone and usually dries clean |
| Soft plastic scraper | Dried food or sticky bits | Removes buildup without scratching like metal can |
I avoid vinegar, lemon-based sprays, ammonia, bleach, abrasive powders, steel wool, and gritty erasers. Those products are popular because they feel powerful, but on granite they can strip protection, leave haze, or slowly dull the finish.
For households that like a stronger disinfecting routine, I still insist on reading the label and choosing something specifically safe for sealed natural stone. The cleaner has to be stone-friendly first; otherwise the shine you save today can cost more to restore later. From there, the real challenge is treating spills before they settle in.
How to handle spills, grease, and stubborn marks
The rule that saves the most countertops is simple: blot, do not scrub. Blotting keeps a spill from spreading into a larger stain, especially around the sink, stove, or a seam where liquid can collect.
Fresh spills
Wipe wine, coffee, sauce, and juice as soon as you see them. Around a faucet, water spots often come from minerals rather than damage, so a stone-safe cleaner and a dry cloth usually solve the problem before it becomes visible in daylight. On sealed granite, a fast wipe is usually enough; on older stone, fast action matters even more because the surface may absorb liquid sooner than you expect.
Grease and sticky residue
Grease responds well to a small amount of mild dish soap and warm water. I let the soap sit for 30 to 60 seconds, wipe with a microfiber cloth, then rinse the area with clean water and dry it so no film is left behind. For dried food, I use a plastic scraper at a shallow angle rather than a knife or razor.
Read Also: Clean Your Mattress Right - Avoid Common Mistakes!
Deep or set-in stains
If a mark has already darkened the stone, the issue may be absorption rather than surface dirt. A poultice can help here, which is a paste of absorbent powder and a stain-lifting liquid that slowly draws the discoloration out over 12 to 24 hours, sometimes longer for older stains. I use this only when normal cleaning fails, because overdoing it on a finish that is otherwise healthy is unnecessary.When a stain keeps returning after cleaning, I stop treating it like a dirt problem and start checking the seal. That leads straight into the part of granite care many people overlook.
When resealing matters more than scrubbing
Sealer does not make granite waterproof; it just slows absorption. When the sealer wears down, liquids can darken the stone faster, and no amount of surface wiping will fully solve that.
My quick test is easy: place a few drops of water on a clean, dry area and wait 10 to 15 minutes. If the stone darkens or the water disappears quickly instead of beading up, the seal is weakening. In a busy kitchen, especially around the sink and prep zone, I usually expect resealing about every 1 to 3 years, but heavy use, honed finishes, or frequent cooking can shorten that window.
If you are resealing, clean thoroughly first and let the surface dry completely, because trapped moisture interferes with the result. If you are unsure whether the stone has been sealed before, test in a hidden spot instead of guessing and hoping for the best. Once the stone is protected again, keeping a small cleaning kit nearby makes the day-to-day routine far easier.
A granite-safe cleaning kit that keeps the routine effortless
I like to keep the whole setup in one under-sink tray so the right tool is always at hand. When the cleaner, cloths, and scraper are together, you are less likely to grab a random all-purpose spray that is not stone-safe.
- Two or three microfiber cloths, one for cleaning and one for drying.
- A pH-neutral stone cleaner or a mild dish-soap mix in a labeled spray bottle.
- A soft plastic scraper for dried-on bits.
- Coasters and trivets near the prep zone so heat and moisture do not sit on the stone.
- Paper towels for first-pass blotting when a spill is fresh.
| Task | How often | What it prevents |
|---|---|---|
| Quick wipe and dry | Daily | Streaks, crumbs, and water marks |
| Degrease around stove and prep areas | Weekly | Film and sticky buildup |
| Water-drop seal test | Every 6 to 12 months | Early warning of absorption |
| Reseal if needed | Every 1 to 3 years | Staining and darkening |
I also keep a small habit list in mind: wipe after cooking, dry around the sink, and check the counter once a month for spots that might need a deeper clean. That keeps the process light enough to actually stick, which is the whole point of good maintenance. The last thing to remember is how to bring everything together without overworking the stone.
The routine I trust when granite has to stay clean and low-maintenance
For me, the winning formula is short and repeatable: gentle daily wiping, the right cleaner for grease or residue, quick stain response, and a seal check before problems get expensive. That combination does more than any aggressive scrub ever will, because it protects both the look and the structure of the stone.
When I am deciding what to do next, I ask one question first: is this surface dirty, stained, or no longer sealed well? The answer points to the right fix without wasting time or wearing the countertop down. Keep the routine simple, keep the tools stone-safe, and granite will usually reward you with years of easy cleanup.