A closet works best when every shelf, rod, and bin has a job. A DIY closet organizer works when it matches the way you dress, store shoes, rotate seasons, and reach for everyday items without digging through clutter. In this guide, I focus on the planning decisions, size rules, build choices, and maintenance habits that make a custom closet feel useful instead of just finished.
What matters most before you start cutting shelves
- Measure the full usable space first, including depth, wall length, ceiling height, doors, and obstacles.
- Decide whether the closet needs more hanging space, more shelves, or a balanced mix of both.
- Pick the build style that fits your budget and skill level: wire, modular kit, or plywood custom.
- Keep common spacing rules in mind: 24 inches of closet depth, about 84 inches for a top double rod, and about 12 inches between folded-clothing shelves.
- Anchor the system into studs whenever possible so the storage holds up under real daily use.
- Plan the maintenance now, because the best closet is the one you can reset in a few minutes.
Start with how the closet is actually used
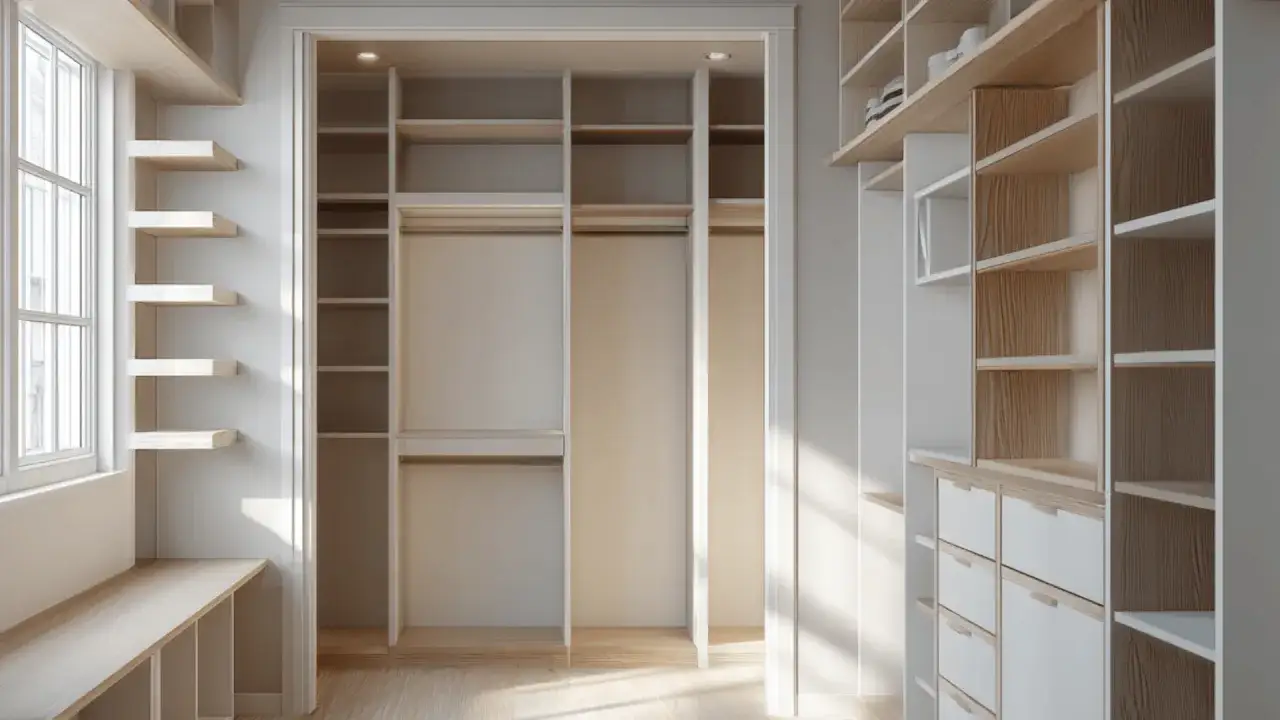
I always begin with the contents, not the lumber. If the closet holds mostly hanging shirts, you need a different layout than a closet full of sweaters, denim, and shoes. A reach-in closet and a walk-in closet also solve different problems, so the first job is to map the space honestly before deciding on shelves, rods, or drawers.
| What to measure | Why it matters |
|---|---|
| Height | It determines whether you can stack shelves, add a double rod, or use a full-height tower. |
| Usable wall length | It tells you how much storage can fit without crowding doors or trim. |
| Depth | It controls whether hangers clear the back wall and whether shelves stay practical. |
| Doors, baseboards, outlets, and vents | These details can change the whole layout if you ignore them too early. |
My rule is simple: build around the items you already own, not around an imaginary wardrobe. If you fold most of your clothes, give yourself more shelf space. If you hang most of them, rods should do the heavy lifting. If shoes, bags, or accessories always end up on the floor, they need their own zone instead of being squeezed into leftover space.
Once the space and the wardrobe are clear, the next decision is the type of system that fits both your budget and your skill level.
Choose the right build for your budget and skill level
There is no single best closet system. The right choice depends on how permanent you want it to be, how polished you want it to look, and how much time you want to spend cutting and installing. I usually think in three lanes: wire, modular kits, and fully custom wood or plywood builds.
| System type | Best for | Strengths | Tradeoffs | Planning budget |
|---|---|---|---|---|
| Wire shelving | Quick upgrades, rentals, and reach-in closets | Lightweight, inexpensive, easy to install, flexible | More utilitarian look, less drawer capacity, can feel less finished | Often the lowest-cost option for a small closet |
| Modular kits | Most bedrooms and many walk-ins | Cleaner look, easier planning, drawers and towers available | Heavier than wire, more parts to align, more expensive than basic shelving | Usually a mid-range project |
| Plywood or wood built-ins | Awkward spaces, custom fits, and a more furniture-like finish | Most customizable, strongest visual payoff, easy to paint or trim out | Requires more cutting, more measuring, and more finish work | Often the highest DIY labor investment |
For planning, I would keep a very simple closet refresh in the low hundreds of dollars or less, depending on the size and finish. Once you add drawers, trim, specialty hardware, or a cabinet-style look, the budget climbs quickly. That is not a reason to avoid the project; it is just a reason to choose the right lane before you buy material.
The choice you make here determines the layout rules that follow, especially rod height, shelf spacing, and how much depth you can actually use.
Design the layout around zones and clearances
Good closet design is mostly about clearances. A closet should be at least 24 inches deep so hanging clothes clear the back wall. If the depth is less than that, hangers start to fight the space, and the whole system feels cramped no matter how nice it looks.
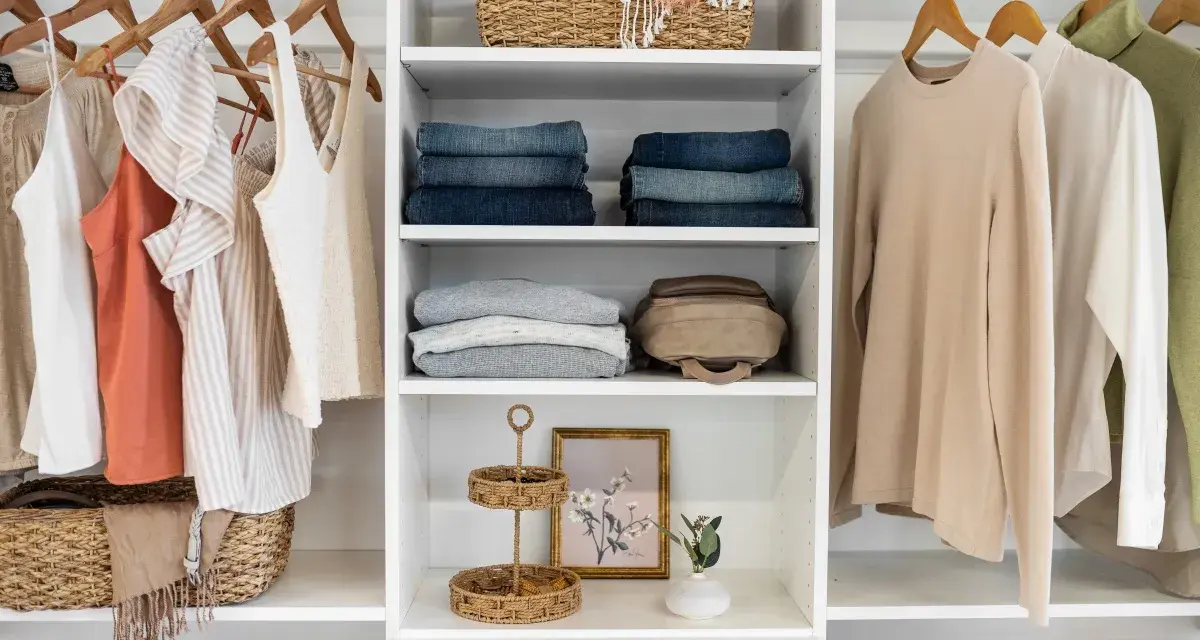
I like to divide the closet into three zones:
- High zone: seasonal storage, luggage, extra bedding, or items you rarely reach for.
- Eye-level zone: daily clothing, bags, and folded pieces you want to see immediately.
- Low zone: shoes, baskets, laundry hampers, and heavier items that are easier to access near the floor.
A few spacing rules make the layout feel natural instead of forced. For double hanging rods, the top rod is commonly placed around 84 inches high and the lower rod around 42 inches high. A single rod for dresses or coats usually works around 70 inches high. Shelves for folded clothes should be about 12 inches apart, while shoe shelves often work better at 6 to 7 inches apart.
One detail people miss: shelf depth matters as much as shelf height. Deeper shelves look generous, but if they are too deep, folded clothes get buried and never come back out in the right order. I would rather use slightly shallower shelves and keep the contents visible than create a cavern where sweaters disappear.
If the closet is for a child, build in adjustability. Growth happens fast, and a lower rod or movable shelves can save you from rebuilding the entire system later. After the layout is set, the build itself becomes much easier to handle.
Build and mount it without creating extra repair work
For most DIY closet builds, the goal is not fancy carpentry. The goal is a system that is level, secure, and easy to maintain. A circular saw, drill or driver, level, stud finder, tape measure, and clamps will handle a surprising amount of work. If you are building from plywood, 3/4-inch sheets are a solid default for shelves that need to hold folded clothes without sagging.
A practical weekend sequence
- Remove the old shelves, rods, and supports carefully if you want to reuse trim or patch the wall cleanly.
- Patch dents, nail holes, and drywall damage before new pieces go in.
- Find and mark the studs, then confirm the marks with a level line.
- Dry-fit the main pieces on the floor first so you are not correcting mistakes while holding a shelf in place.
- Fasten the supports into studs whenever possible, and use the right anchors if the wall surface requires them.
- Check every major piece for level and square before moving to the next section.
Read Also: Organize Your Medicine Cabinet - Safer, Faster, Clutter-Free
Where people usually go wrong
- They measure the closet opening but ignore trim, doors, and baseboards.
- They skip the stud layout and assume drywall anchors will carry everything.
- They build shelves too deep, which makes folded clothes pile up in layers.
- They forget that a closet door needs room to swing or slide without hitting hardware.
- They install too much fixed storage and leave no room for changing needs.
If you are working with masonry or another harder wall surface, the fasteners matter just as much as the layout. Drywall and paneling usually need anchors for support, while masonry calls for the proper bit and compatible screws. That small bit of planning saves a lot of repair work later.
Once the structure is mounted, the real test begins: can you keep the closet easy to use without constant cleanup?
Keep the system clean enough to stay useful
The reason many closets fail is not bad construction. It is drift. A shelf that starts as a shirt zone becomes a junk zone, a hanging rod turns into a waiting room for clothes nobody has decided about, and the floor disappears under shoes. I build with maintenance in mind because organization only works when it survives normal life.
- Use one basket or bin for items that need to be donated, repaired, or put away elsewhere.
- Label bins and drawers if more than one category can end up in them.
- Keep the number of hanger styles low so the rod looks and behaves consistently.
- Rotate seasonal items instead of letting all four seasons live in the same prime space.
- Wipe shelves and vacuum the floor on a schedule so dust does not become part of the system.
I also like a small weekly reset. Ten minutes is usually enough to put shirts back on their proper hangers, return shoes to their shelf, and clear the items that have drifted to the wrong zone. That tiny habit matters more than people expect, especially in a busy household where the closet gets used fast every morning.
Cleanliness also helps the closet look intentional. When dust, lint, and overfilled bins are under control, even a simple build feels sharper and more finished.
The details that make the closet feel finished
The best closets are not the ones with the most parts. They are the ones that feel calm to use. A few finishing details make a bigger difference than another shelf ever will: good lighting, a place to hang tomorrow’s outfit, consistent storage bins, and a little empty space so the closet does not feel packed to the edges.
If you want the system to feel more polished, I would focus on these upgrades first:
- Install better lighting so you can see colors and fabrics clearly.
- Add hooks or a valet rod for outfits, belts, or handbags you use often.
- Use baskets for loose items like scarves, athletic wear, or socks.
- Paint or edge-finish exposed plywood so the build looks deliberate, not temporary.
- Leave a little breathing room on each rod and shelf so the organization has somewhere to go.
The goal is not a perfect closet that never changes. The goal is a system that can absorb real life without collapsing into clutter. If you start with accurate measurements, choose the right structure, and keep the zones simple, a custom closet becomes one of those upgrades you feel every day without thinking about it.