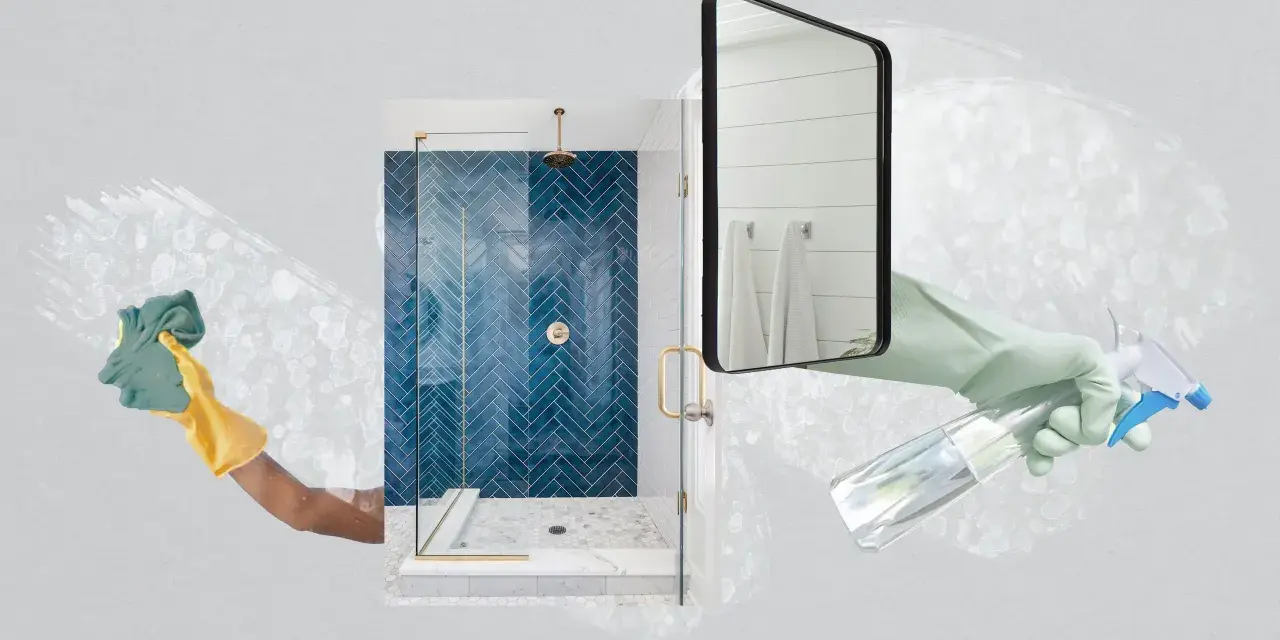
Clear shower glass changes the whole bathroom, but keeping it that way takes more than a quick wipe. In this guide, I focus on how to clean shower glass without scratching it, how to lift soap scum and hard-water spots, and how to keep the buildup from coming back.
The quickest route to clear shower glass
- Start by identifying the residue: soap scum, hard-water spots, or actual etching all behave differently.
- Use mild dish soap for light film, vinegar for mineral spots on plain glass, and a baking soda paste for thicker buildup.
- Let the cleaner sit for a few minutes before scrubbing; force usually makes the job slower, not better.
- Dry the glass with a microfiber cloth or squeegee so fresh spots do not form right away.
- Avoid vinegar on natural stone and keep abrasive pads away from coated or delicate glass finishes.
Know what is actually on the glass
The hardest part is not the cleaning. It is identifying the residue correctly. Soap scum is usually a greasy, cloudy film created when soap, body oils, and minerals bind together. Water spots are the chalky marks left behind after droplets evaporate and the minerals stay put. If the surface still looks dull after cleaning and feels rough to the touch, you may be dealing with etching, which is a different problem altogether.
Once I know which of those I am facing, the rest of the process becomes much simpler. That distinction also tells me when to stop scrubbing and when to switch methods.Choose the right cleaner for the job
I usually start with the least aggressive option that has a real chance of working. On plain glass, that approach saves time and protects the finish. If the shower includes natural stone, patterned coatings, or metal trim that stains easily, the choice matters even more.
| Method | Best for | What to watch for |
|---|---|---|
| Warm water and dish soap | Light film, fingerprints, and routine upkeep | Usually too gentle for stubborn mineral crust |
| Warm vinegar and water | Hard-water spots and mixed soap scum on plain glass | Avoid natural stone, and test coated glass first |
| Baking soda paste | Thicker buildup that needs a little abrasion | Rinse well so no grainy residue remains |
| Melamine sponge | Small stubborn spots and cloudy patches | Use light pressure only; it can dull some finishes |
| Commercial bathroom descaler | Old, heavy buildup that home mixtures do not touch | Follow the label closely and ventilate the room |
A reliable cleaning routine that clears the glass
When I clean shower glass, I think in steps rather than in one big scrub. A steady sequence works better than attacking the panel randomly, and it keeps streaks from coming back before you finish the room.
- Rinse the glass with warm water for about 30 seconds to remove loose grit and hair spray residue.
- Spray the cleaner from top to bottom so the product can run evenly over the surface.
- Let it sit for 5 to 15 minutes. If you are using vinegar, give it closer to 10 to 20 minutes on plain glass.
- Work the panel with a non-scratch sponge or microfiber pad using small overlapping circles.
- Pay extra attention to the bottom edge, handles, hinges, and corners where mineral deposits collect first.
- Rinse thoroughly, then dry immediately with a clean microfiber cloth or a squeegee.
If streaks remain after drying, the problem is usually one of three things: the cleaner did not sit long enough, the surface was not rinsed fully, or the cloth was already dirty. A quick second pass is usually more effective than scrubbing harder.
What I do when the buildup will not budge
Some glass needs more than a basic wipe-down, especially if it has been neglected for months or the home has very hard water. In those cases, I switch from “cleaning” to “breaking down buildup” and work in layers rather than trying to finish everything at once.
Use a second pass instead of more force
If the first application loosens the top layer but leaves a dull haze, I repeat the process instead of pressing harder. That usually works better and reduces the risk of scratching the glass. Two lighter rounds are safer than one aggressive attack.
Treat the edges and hardware separately
The flat panel is only part of the job. Tracks, seals, hinges, and lower corners trap residue in a way that flat glass never does. I use a soft toothbrush or a folded microfiber cloth for those spots, because the residue there tends to be concentrated and surprisingly stubborn.
Read Also: Organize Your Medicine Cabinet - Safer, Faster, Clutter-Free
Reserve stronger tools for the last step
When a melamine sponge or a commercial descaler is needed, I use it with restraint. A melamine sponge is a micro-abrasive, which means it removes buildup by lightly wearing it away. That is useful, but it also means the pressure should stay gentle and the focus should remain on the stained area only.
This is also the point where I stop and look at the surrounding surfaces. If the shower includes marble, travertine, limestone, or another acid-sensitive material, vinegar should stay away from it completely.
Protect the glass and the bathroom around it
Good cleaning is as much about restraint as it is about product choice. A few common mistakes can create more work than they solve, especially in bathrooms with mixed materials and decorative finishes.- Do not use steel wool, scouring powder, or rough green pads on glass.
- Do not mix vinegar with bleach or ammonia.
- Do not let acidic cleaners sit on natural stone, grout sealer, or soft metal finishes.
- Do not scrape coated glass aggressively unless the manufacturer specifically allows it.
- Do not forget to rinse frames, handles, and hinges after using any strong cleaner.
Ventilation matters too. Even a simple bathroom fan helps the surface dry faster and keeps cleaning fumes from lingering. If the shower has brushed nickel, chrome, or black hardware, drying those parts right after cleaning prevents new water marks from showing up before the glass is even dry.
Keep the glass clear with a routine you will actually keep
The best maintenance plan is the one you will repeat without thinking about it. I keep the routine short enough that it never feels like a second job, because that is usually what makes a bathroom stay presentable over time.
- After every shower, use a squeegee on the glass for 30 to 60 seconds.
- Once a week, wipe the lower half of the panel and the corners with a microfiber cloth.
- Every 1 to 2 weeks, do a full clean with your preferred glass-safe method.
- In homes with very hard water, increase the deep-clean frequency before spots have time to harden.
- Keep the tools together in a small caddy under the sink so the routine is easy to start.
I also like to make one small change to the shower itself when buildup keeps returning. Better ventilation, less soap-heavy residue, and a quick wipe-down after use do more for long-term clarity than almost any miracle product on the shelf.
When the haze is no longer dirt
If the glass still looks cloudy after a proper cleaning, pause before you keep scrubbing. Permanent etching can look a lot like surface residue, but it behaves differently. It often shows up as a rough patch, a dull halo, or a hazy area that does not change much no matter which cleaner you use.
At that point, a glass polish made for mineral damage may help a little, but deep etching usually needs professional restoration or replacement. That is frustrating, but it is better to know the limit than to damage the panel further trying to force a cosmetic fix.
My practical takeaway is simple: clean before deposits harden, dry the glass every time, and treat coated or stone-surrounded showers with extra care. If you build those habits into the bathroom routine, the glass stays clearer for much longer and the heavy scrubbing almost disappears.