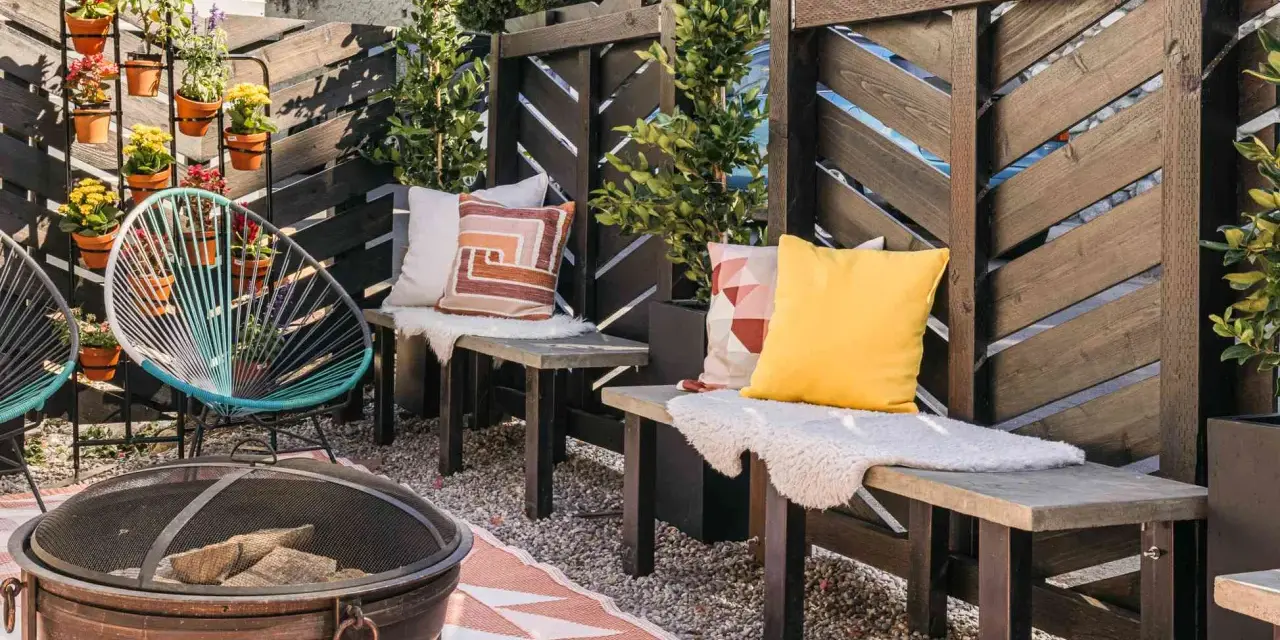
A diy privacy screen works best when it solves a real sightline problem, not when it just looks decorative. For patios, decks, side yards, and pool edges, the right build can block neighbors’ views, soften wind, and make a small outdoor area feel much more usable. I’m focusing here on the choices that matter in a U.S. backyard: what to build, how to size it, which materials last, and where people usually get the details wrong.
Key things to know before you build
- Six feet is a practical target for most backyard privacy needs, especially where the goal is to interrupt a direct view line.
- Let the screen breathe if the site gets wind; a slightly open design is often more durable than a fully solid wall.
- Cedar, redwood, and pressure-treated lumber are the safest wood choices for outdoor use when paired with rust-proof fasteners.
- Plan for local rules first; height limits, HOA rules, and utility lines can affect where and how you build.
- Budget and time vary a lot: a basic screen can be around $250 and a few hours, while a planter-and-trellis build is closer to $375 and most of a day.
What a good screen needs to do outdoors
When I plan an outdoor privacy barrier, I start with three questions: what needs to be hidden, where is the viewer standing, and how much wind hits the space. That sounds basic, but it changes the whole build. A screen that blocks a neighbor’s second-floor window needs more height than one that just hides trash bins or an AC unit, and a screen on an exposed patio needs different anchoring than one tucked beside a fence.
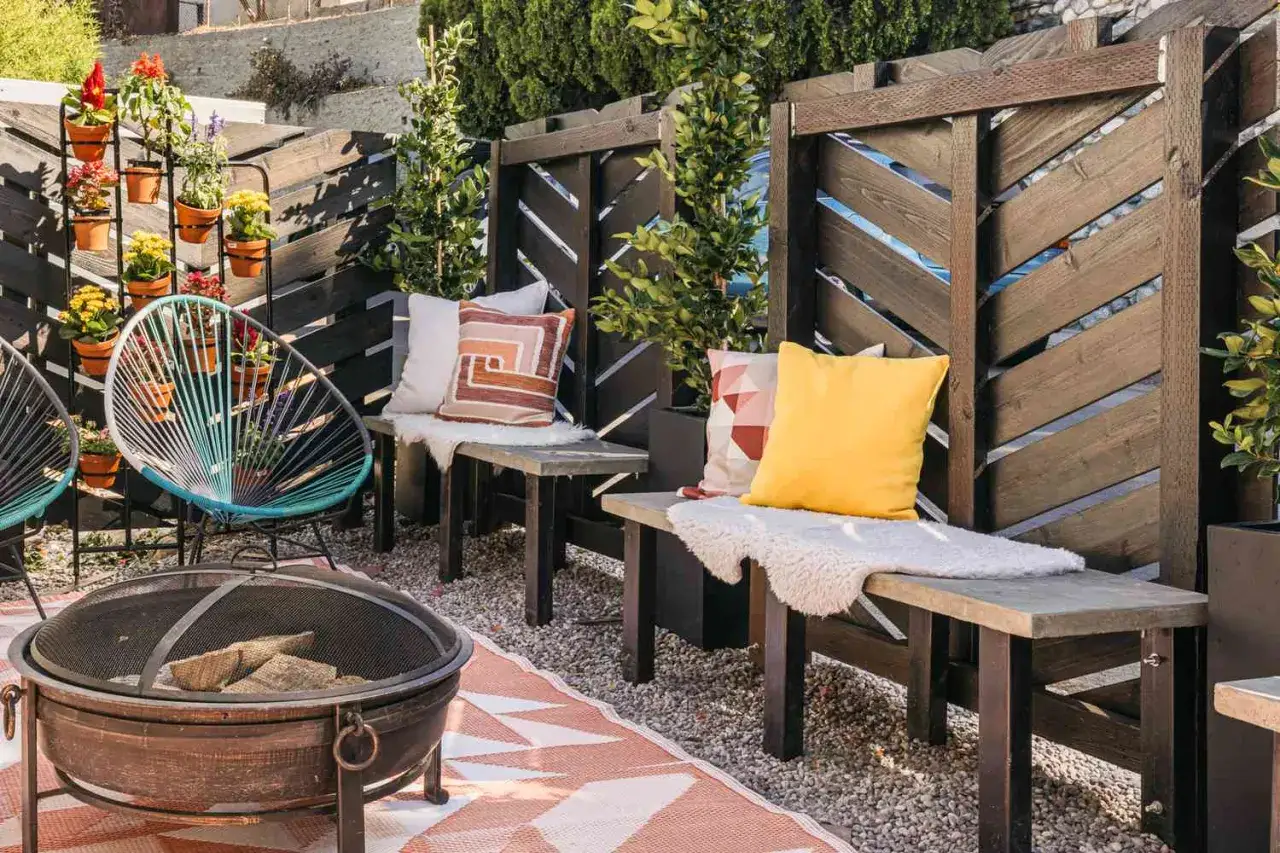
For most backyard seating areas, I aim for a height near 6 feet and keep gaps minimal if the goal is real privacy. If the screen is lower than that, it can still define space, cut glare, or create a visual backdrop, but it usually will not stop a direct line of sight. I also think about the sail effect early: a flat, solid panel can catch wind like a sheet of plywood, so the more exposed the yard, the more I prefer slats, lattice, or a partly open build.
The last piece is placement. A screen works best where people actually sit, stand, or look from, not only along the property line. That simple shift often saves material and produces a cleaner result. Once that is clear, the next step is choosing the style that fits the space instead of forcing one design everywhere.
The best DIY designs for different spaces
There is no single right way to build a backyard privacy barrier. The best choice depends on whether you want something permanent, movable, soft-looking, or fast to install. I keep the options below in mind because each one solves a slightly different problem.
| Design | Typical DIY materials cost | Best use | Main tradeoff |
|---|---|---|---|
| Cedar slat panel | $200-$300 | Patios, decks, and side yards that need a clean finished look | Needs weatherproofing and solid anchoring |
| Planter with trellis | $300-$400 | Spaces that benefit from greenery and a mobile base | Heavier and slower to build |
| Outdoor curtain frame | $75-$200 | Covered patios and temporary privacy needs | Less durable in wind and rain |
| Woven bamboo or reed screen | $50-$150 | Quick coverage for a budget-friendly refresh | Shortest lifespan in harsh weather |
| Living screen | $50-$250 initially | Long-term privacy with a softer, landscaped feel | Takes time to fill in |
The reason I keep cedar slats near the top of the list is balance. They give decent privacy, still let some breeze through, and can look intentional rather than improvised. A planter-and-trellis setup is my favorite when the screen also needs to add life to a patio, especially if you want something you can move a little before final placement. Curtains are the fastest fix, but I treat them as seasonal unless the area is well protected.
If you want the most natural look, a living screen is hard to beat, but it is not instant. Dense shrubs, climbing plants, or a hybrid of wood and greenery can make a space feel calmer, yet the payoff depends on climate, sun exposure, and how patient you are. That is why the build method matters just as much as the style you choose.
How I would build it step by step
I keep the process simple and practical. A screen that is straight, anchored, and sealed will outperform a fancier one that was rushed through the details.
- Measure the actual sightline. Stand where privacy matters most and mark the height and width you need to block. I often find that a smaller screen placed in the right spot does more than a long one in the wrong spot.
- Check rules before you dig. Some cities and HOAs treat tall screens like fences, and local rules can affect height, placement, and setbacks. If posts are going into the ground, call 811 first so you do not hit buried utilities.
- Build a rigid frame first. Use straight lumber, square corners, and exterior-rated screws. If the run is longer, keep post spacing just under 8 feet so the screen does not sag over time.
- Add the privacy layer. Slats, lattice, woven boards, or panels should be attached with enough spacing to look intentional. Tight spacing gives more privacy; wider spacing keeps the screen lighter and better in wind.
- Anchor for the site. On a deck, that may mean post bases or weighted planters. On soil, it usually means setting posts properly. A screen that can move in a gust will loosen itself before long.
- Finish every exposed edge. Sand, stain, seal, or paint with exterior products. End grain absorbs moisture fast, so I pay extra attention there because that is where rot tends to start first.
A basic cedar screen can come together in about 4 hours and around $250 in materials if the design is simple. A planter-and-screen combination usually takes longer, closer to 8 to 10 hours and about $375, but it also gives you more flexibility and a more finished look. From here, the real difference between a screen that lasts and one that warps is usually the material choice.
Materials and hardware that survive weather
Outdoor privacy builds live or die by material selection. I look for rot resistance, fastener quality, and how much maintenance the owner is willing to accept over time. A good screen does not need exotic lumber; it needs the right lumber and hardware for the climate.
| Material | Why it works | Where it falls short | Best fit |
|---|---|---|---|
| Cedar | Stable, attractive, naturally resistant to decay | Costs more than basic pine | Most all-around DIY screens |
| Redwood | Excellent weather resistance and a clean look | Can be expensive or harder to source | Premium outdoor builds |
| Pressure-treated pine | Budget-friendly and widely available | Needs careful sealing and can move as it dries | Large screens on a tighter budget |
| Aluminum or steel framing | Strong and good for modern designs | Requires careful corrosion-resistant hardware | Windy sites and sleek styles |
| Vinyl or composite | Low maintenance | Less forgiving if the design feels too flat or bulky | Owners who want minimal upkeep |
| Bamboo or reed | Fast and inexpensive | Shorter lifespan outdoors | Temporary or seasonal privacy |
Hardware matters just as much as the main material. I use rust-proof screws, exterior-rated brackets, and weather-safe adhesives only when they are actually needed. If the screen includes a planter base, drainage is non-negotiable; standing water shortens the life of wood faster than most people expect. For finishes, a good exterior stain or sealer usually does more for longevity than a flashy paint color, especially on cedar and redwood.
That brings me to the part many first-time builders underestimate: the mistakes that quietly ruin a screen even when the lumber looked fine on day one.
The mistakes that shorten the life of a screen
I see the same failures over and over, and most of them are preventable.
- Building it too low. If the top edge does not break the line of sight, the screen becomes a backdrop rather than privacy.
- Ignoring wind. Solid panels in an exposed yard need stronger anchoring, or they will rack, lean, or loosen at the base.
- Using interior hardware. Standard screws and brackets rust quickly outdoors, which leads to wobble and staining.
- Skipping the finish. Unsealed end grain and raw edges absorb moisture first, and that is where rot begins.
- Forgetting drainage in planter builds. A privacy planter that traps water is heavy, messy, and short-lived.
- Placing it where it fights the site. A screen that blocks the breeze completely can make a patio feel hotter and less comfortable.
- Not checking local rules. A good build can still become a problem if it exceeds height limits or ignores setback rules.
The practical lesson is simple: privacy is only one part of the job. The screen also has to survive weather, fit the space, and feel like it belongs there. Once those points are handled, the last decision is usually about which version makes the most sense to start with.
The version I’d build first for most backyards
For a typical U.S. patio or side yard, I would start with a 6-foot cedar slat screen on a rigid frame, with post spacing just under 8 feet and rust-proof fasteners throughout. That gives a strong balance of privacy, airflow, and visual cleanliness without turning the yard into a heavy, closed-off box. If the space is exposed to wind, I would open the slat spacing a little rather than overbuild a solid wall that fights the climate all season.
If the goal is flexibility, I would switch to a privacy planter with locking casters so the screen can move with the seasons. If the goal is speed and low cost, I would use a curtain frame or a bamboo/reed layer as a temporary fix, then upgrade later. The right choice is the one that matches the site, not the one that looks best in isolation. A well-placed screen is one of the few outdoor projects that can make a yard feel quieter, more private, and more intentional at the same time.