A noisy, stalled, leaking, or dead sink disposer usually comes down to a small set of failures, and most of them can be diagnosed without replacing the whole unit. In this guide, I walk through the most common causes, the safest repair sequence, and the signs that tell you when a simple fix is enough and when the smarter move is replacement.
The fastest fixes usually involve a jam, a reset, or a loose plumbing connection
- Humming with no grinding usually points to a jammed flywheel or impeller, not a dead motor.
- Total silence usually means a power issue, a tripped breaker, or a failed switch before anything mechanical.
- Leaks from the top, side, or discharge elbow are often seal or clamp problems and are usually repairable.
- Water coming from the bottom shell is a bad sign and often means the unit is near the end of its life.
- Safety comes first: cut power before reaching under the sink or putting tools into the chamber.
- Repair is usually cheaper than replacement when the issue is a jam, gasket, or loose connection rather than a cracked housing.
What the symptom is really telling you
I start with the sound pattern because it narrows the problem faster than guesswork. A unit that hums but will not spin is usually jammed; a unit that does nothing at all is more likely dealing with power, wiring, or a failed switch. If it runs but leaks, the plumbing is usually the weak point rather than the motor.
| Symptom | Most likely cause | First thing to check | Typical fix |
|---|---|---|---|
| Humming, no grinding | Flywheel or impeller jam | Foreign object, stuck blade path | Free the jam, press reset |
| No sound at all | No power or tripped overload | Breaker, switch, outlet, reset button | Restore power, reset unit, inspect wiring |
| Slow grinding, rattling, vibration | Loose object or worn internal parts | Silverware, bones, hardware, mounting | Remove debris, tighten mounting, test again |
| Leak while running | Flange, clamp, gasket, or hose failure | Top seal, discharge elbow, dishwasher inlet | Reseat, tighten, or replace the failing seal |
| Water under the unit even when idle | Internal seal or cracked shell | Bottom housing and seams | Usually replacement |
That first diagnosis matters because it keeps you from taking the wrong thing apart. Once you know whether the problem is mechanical, electrical, or plumbing-related, the repair path gets much shorter, and the next section is where I start every safe hands-on fix.
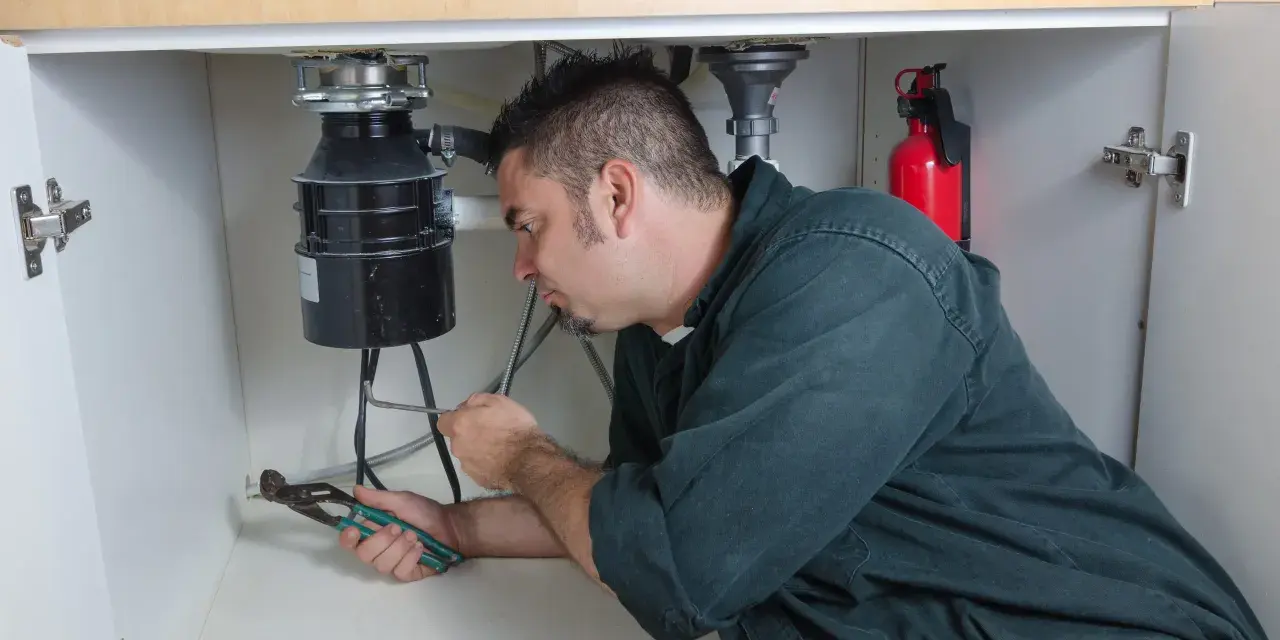
Make the unit safe before you touch anything
The safest repair sequence is boring, but boring is good here. I always cut power first, because a disposal can start unexpectedly if someone flips the wall switch while your hand or a tool is inside the sink opening. If the unit is plugged in under the sink, pull the plug; if it is hardwired, switch off the breaker and confirm the unit is dead.
- Turn off the wall switch, then cut power at the breaker if needed.
- Run a flashlight over the sink opening and the cabinet below it.
- Look for water, scorched plastic, or a burnt smell before proceeding.
- Use tongs or pliers, not your hand, to remove visible debris.
- Keep a 1/4-inch hex wrench nearby, because many units use it from underneath to free a jammed flywheel.
- Have a bucket and towel ready in case a loose trap or elbow starts dripping once you move things around.
One detail I see people miss: the reset button is not a cure for everything. It protects the motor after overloads, but if the chamber is jammed, pressing reset over and over just puts stress back on the same stuck parts. Once the unit is safe and dry enough to inspect, the next step is clearing the jam properly instead of forcing the motor.
How to clear a jam without damaging the unit
If the disposal hums, stalls, or trips the overload protector, I assume the flywheel is stuck until proven otherwise. The flywheel is the rotating plate that helps break up food waste, and when it cannot turn, the motor only struggles in place. That is why a jammed unit often sounds alive but will not actually grind.
Here is the sequence I use most often:
- Make sure power is off.
- Remove any visible object from the sink opening with pliers.
- Insert the hex wrench into the socket under the center of the unit and turn it back and forth.
- Work the wrench until the resistance eases and the chamber moves freely.
- Press the reset button after the jam is cleared.
- Restore power, run cold water, and test the unit in short bursts.
Cold water matters because it helps keep grease from coating the grinding chamber while you test it. I also avoid long runtimes during the first restart; short bursts tell you whether the jam is gone without overheating the motor again. If the wrench will not move at all, stop before you strain the housing, because the problem may be a seized motor or a damaged internal part rather than a simple obstruction.
The usual culprits are easy to predict: bones, fruit pits, fibrous peels, utensils, twist ties, and hard scraps that should never have gone down the sink in the first place. Grease is different; it often does not jam immediately, but it can coat the chamber and trap debris until the unit slows down. If the jam clears and the disposal still sounds rough, the next place I look is the plumbing around it, especially for leaks.
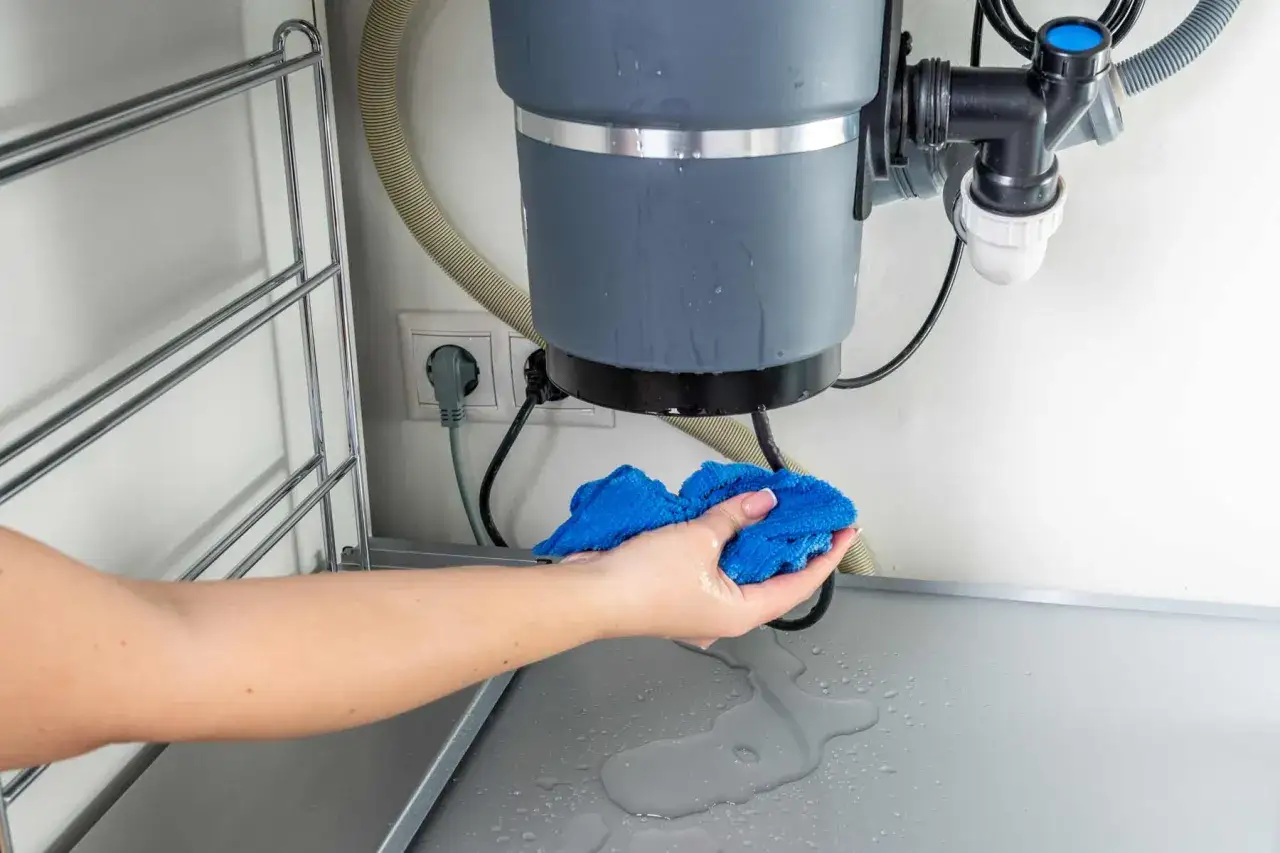
Where leaks usually start and how I check them
A leaking disposer is not one problem, but several possible ones. I check by location because the drip pattern usually reveals the failed part faster than removing the unit blindly. A leak at the top often comes from the sink flange or mounting assembly, while a side leak usually points to the discharge elbow, gasket, or hose clamp.
| Leak location | What usually failed | What I check first | Likely fix |
|---|---|---|---|
| Top of the unit | Sink flange, plumber’s putty, or mounting seal | Loose mount, worn putty, damaged gasket | Reseal or remount |
| Side discharge elbow | Loose clamp or cracked gasket | Pipe connection, compression fit, corrosion | Tighten or replace the fitting |
| Dishwasher inlet | Loose hose clamp or missing knockout plug issue | Hose seal and connection point | Reset clamp, replace hose, confirm plug status |
| Bottom of the housing | Internal seal failure or cracked shell | Drips from the metal body itself | Usually replace the unit |
One practical test I use is to dry everything completely, then run cold water and watch with a flashlight from below. If the drip starts at a joint, the joint is the problem. If the body of the unit sweats or leaks from the bottom seam, I treat that as a much bigger issue. Bottom leaks are rarely worth chasing with patchwork fixes, because the internal seals are not designed to be field-repaired in any durable way.
That distinction is important because a lot of people replace a sink disposer when a gasket would have solved it, or waste time on a leaking shell that should have been retired. Once you know where the water is coming from, the real decision becomes whether a repair still makes sense financially.
When repair stops making financial sense
In the U.S., a straightforward repair visit for a jam, reset problem, or small leak commonly lands around $100 to $250, while a full replacement often falls roughly in the $200 to $625 range once labor and the new unit are included. If you already own the tool and only need to clear a jam or tighten a connection, the DIY cost can stay close to zero; a new unit alone may start around $75 to $300 depending on horsepower, noise control, and build quality.
| Situation | Better move | Why |
|---|---|---|
| Unit hums, then works after a jam clear | Repair | The motor is probably fine; the blockage was the main issue. |
| Loose elbow, bad clamp, or top flange seep | Repair | These are common plumbing fixes and usually inexpensive. |
| Bottom shell leak | Replace | Internal failure is usually not worth piecing together. |
| Breaker trips repeatedly after reset | Repair only if the issue is electrical and external; otherwise replace | A seized or damaged motor can keep pulling too much current. |
| Unit is 10 to 12+ years old and has repeated problems | Replace | Recurring repairs often cost more than a new installation over time. |
My rule of thumb is simple: if the problem lives in a gasket, clamp, mount, or jam, I lean repair; if it lives in the shell, motor, or repeated overload behavior, I lean replacement. That decision point leads directly to the habits that keep the next unit from failing early.
How to keep the next breakdown from happening
The best prevention is less about gimmicks and more about discipline at the sink. I run cold water before and during use, feed waste in small batches, and stop treating the disposal like a catch-all for everything left on a plate. That is what keeps the chamber cleaner and the motor under less stress.
- Use cold water before, during, and briefly after operation.
- Feed scraps slowly instead of packing the chamber full.
- Avoid grease, oil, pasta clumps, rice, and fibrous peels that swell or tangle.
- Use pliers for accidents; never reach into the chamber by hand.
- Flush odors with a light cleaning routine, but do not confuse cleaning with actual repair.
- Ignore the myth that ice fixes everything; it can help knock loose residue, but it will not solve a worn motor or failing seal.
I also pay attention to noise changes. A disposer that slowly gets louder, vibrates more, or starts taking longer to clear food is usually telling you something before it fails outright. Catching that shift early is what turns a major kitchen interruption into a five-minute correction instead of a weekend project.
What I check before recommending a replacement
Before I tell anyone to give up on the unit, I want three things to be true: the housing should be dry, the reset should not be fighting a recurring overload, and the motor should not sound rough after the jam is gone. If all three point in the wrong direction, replacement is usually the cleaner choice. If only one seal is failing and the rest of the unit is healthy, I would still repair it.
That is the practical difference between a disposal worth saving and one that is just buying time. A good repair restores normal kitchen use and stays quiet, leak-free, and predictable; a bad repair just gets the unit running long enough to fail again under the next sinkful of scraps. If the issue is still unclear after the basic checks, I would stop there and have the plumbing and electrical side inspected before pushing the motor any harder.