Rosemary is one of those herbs that pays you back quickly once you learn the right propagation rhythm. The simplest answer to how to grow rosemary from cuttings is to start with a healthy, non-flowering tip, keep the medium airy, and give it steady warmth and light until roots form. In this guide, I cover the timing, the setup, the actual cutting process, and the aftercare that keeps a small stem from turning into a failed experiment.
The fastest way to start a new rosemary plant is a healthy 3- to 6-inch cutting in a well-drained mix
- Use green, flexible stems with no flowers for the best rooting results.
- Late spring to early summer is usually the easiest time to take cuttings in the United States.
- Soil propagation is usually sturdier than water propagation, even if water roots a little faster.
- Keep the cutting in bright, indirect light and avoid heavy, soggy soil.
- Expect roots in about 4 to 8 weeks in soil and 2 to 6 weeks in water.
- Move rooted plants slowly to their final pot or garden spot after roots and new growth are established.
Why cuttings beat seeds for rosemary
I almost always choose cuttings over seed when I want another rosemary plant. Seed can be slow, uneven, and frustrating, while a cutting gives you a clone of the parent plant with the same flavor, growth habit, and aroma. That matters if you already have a rosemary plant that performs well in your climate or tastes exactly the way you want.
There is also a practical reason. Rosemary plants can become woody over time, and seeds often take much longer to turn into a usable herb plant. A cutting skips the awkward early stage and moves straight toward rooting and growth. If you want a reliable backup plant for the kitchen or the patio, this is the method I trust first. Once that logic makes sense, the next step is choosing the right stems at the right time.
When to take the cuttings and which stems to choose
In most parts of the United States, I find late spring to early summer the most forgiving window for rosemary propagation. The plant is actively growing, the stems are tender enough to root well, and the weather is warm without being harsh. If I have to work later in the season, I prefer semi-ripe stems in late summer. Semi-ripe means the stem has started to firm up but is not fully woody yet.
Here is the short version of what works best:
- Softwood cuttings are the young, flexible green tips that root fastest.
- Semi-ripe cuttings are slightly firmer and are useful later in the season.
- Choose stems that are healthy, straight, and free of flowers.
- Avoid old, woody stems unless you have no other option, because they root much less reliably.
- If you are taking autumn cuttings, plan to keep them indoors before frost arrives.
I also prefer to take cuttings in the morning, when the plant is hydrated. That small detail helps more than people expect. Once you know which stems to use, the actual cutting and planting process is straightforward.
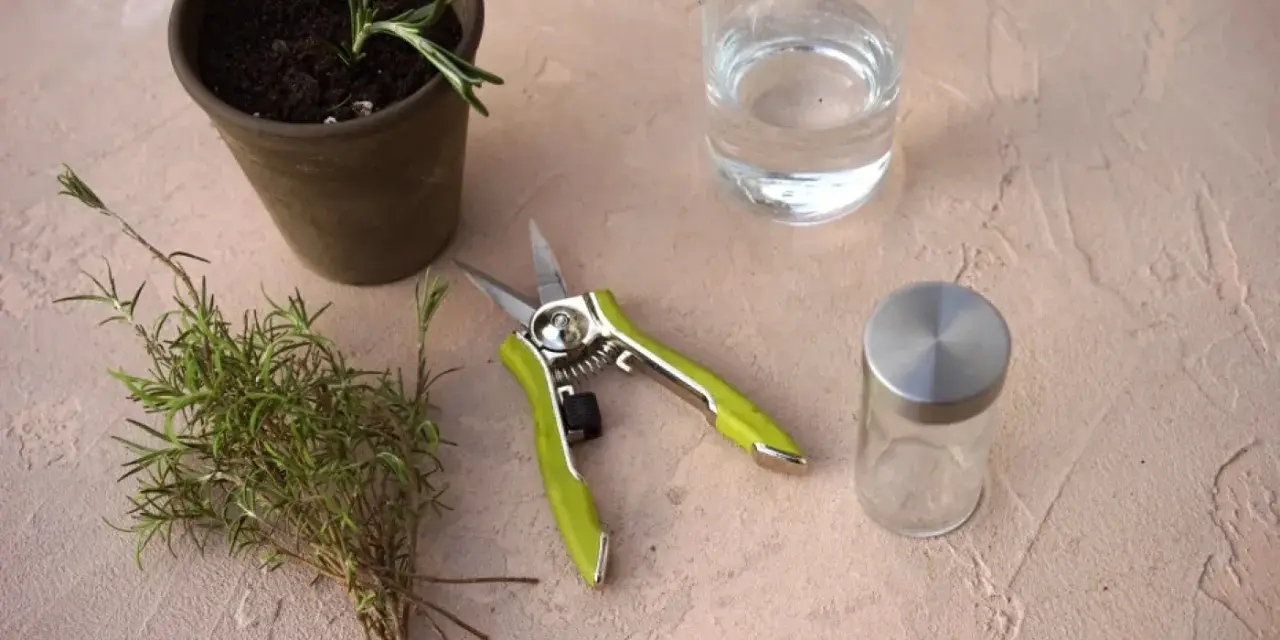
How I take and plant the cuttings
My goal is to move each cutting from the mother plant to the pot as quickly as possible. The less time the stem spends drying out, the better. I use clean, sharp pruners or scissors and work with a pot that drains well. A clean container that is at least 3 inches deep is enough for a few cuttings, and a larger pot gives you more room if you want to root several at once.
- Choose a healthy rosemary stem and snip a 3- to 6-inch tip from fresh growth.
- Make the cut just below a leaf node. A node is the point where leaves and side stems emerge, and it is one of the best places for new roots to start.
- Strip off the leaves from the lower 1 to 2 inches of the stem so that no foliage sits in the rooting medium.
- If you want an extra edge, dip the cut end in rooting hormone. I consider this helpful, but not essential.
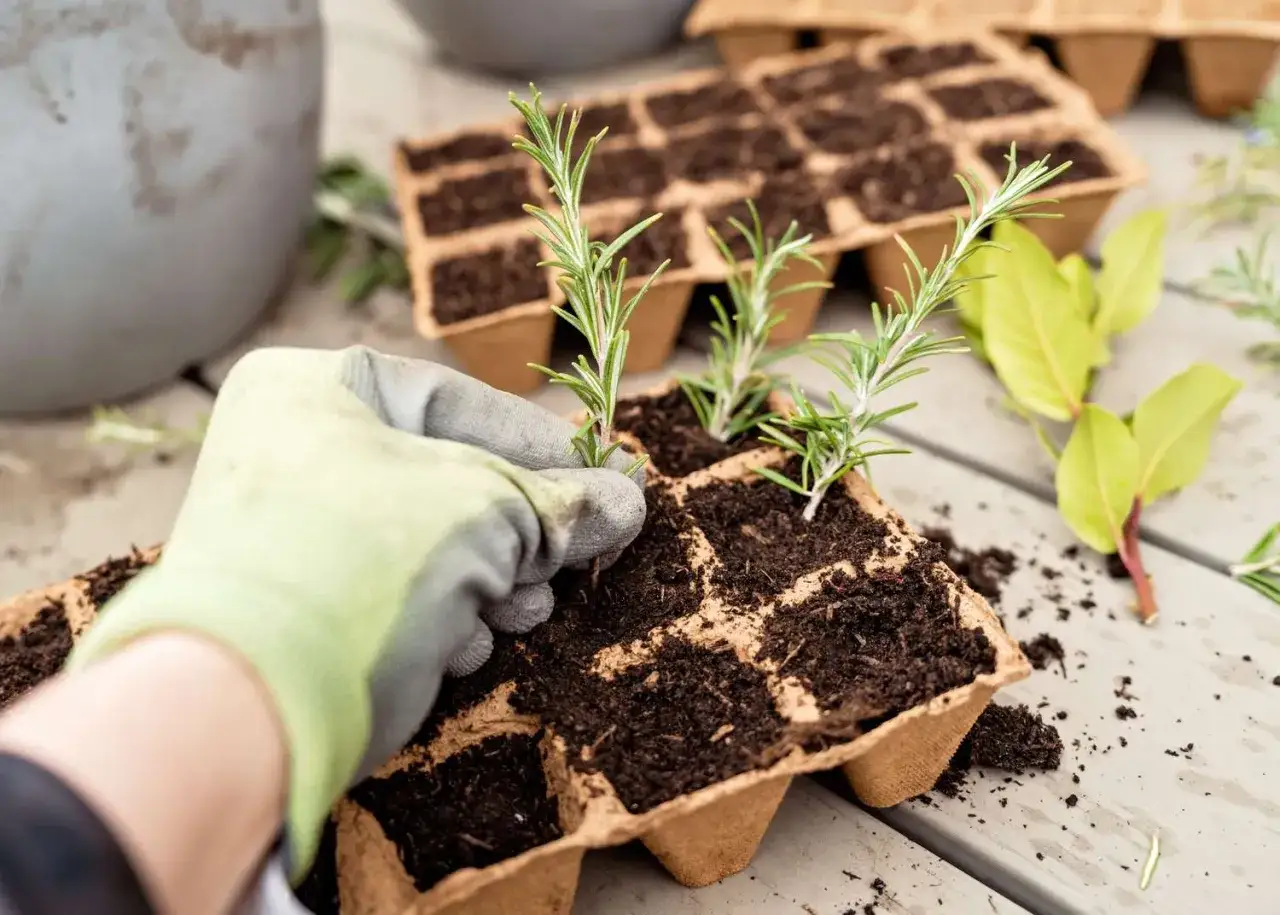
- Fill the pot with a soilless, fast-draining mix such as perlite, coarse sand, or seed-starting mix blended with drainage material.
- Use a pencil or stick to make a hole first, then slide the cutting in so the bare stem is below the surface and the leaves stay above it.
- Firm the mix gently around the stem, water it well, and set the pot in bright, indirect light.
- If you are rooting several cuttings in one pot, leave about 2 to 3 inches between them so air can move around the stems.
I usually cover the pot with a clear bag or dome to hold humidity, but I do not let the plastic touch the leaves. That small gap matters because leaves that stay wet or pressed against the cover are more likely to rot. After the first watering, the real job is to keep conditions steady rather than fuss with the plant every day.
Soil vs water propagation and which one I prefer
Rosemary can root in either soil or water, but the two methods do not behave the same way. Water gives you a clear view of root growth, while soil usually produces a stronger transplant with less shock. If I want the most dependable result for a home garden, I choose soil. If I want to watch the process closely or show it to a beginner, water can be useful.
| Method | Typical rooting time | Main advantage | Main drawback | Best for |
|---|---|---|---|---|
| Soil | About 4 to 8 weeks | Better transplant transition and sturdier roots | You cannot see the roots forming | Most home gardeners and outdoor planting |
| Water | About 2 to 6 weeks | Easy to monitor root growth | Higher risk of rot and a harder move into soil | Short-term rooting and teaching purposes |
What I have learned over time is simple: water rooting looks faster, but soil rooting usually produces a more resilient plant. That is why I recommend water only if you are comfortable moving the cutting into potting mix as soon as the roots are ready. Whichever method you choose, the next few weeks are about preventing rot and keeping the stem alive long enough to root.
Keep the cuttings alive while roots form
Once the cuttings are in place, the biggest mistake is to treat them like established plants. They are not. They are still trying to become plants, which means the balance of moisture, light, and air matters more than fertilizer or heavy watering. I keep the medium just barely moist, never soggy, because rosemary roots fail fast in wet conditions.
- Light: Bright, indirect light is ideal. A sunny window with filtered light or a grow light works well.
- Temperature: Around 60 to 70°F is a comfortable rooting range.
- Moisture: Water enough to keep the mix damp, then let the top layer begin to dry slightly before watering again.
- Humidity: A loose bag or dome helps, but air it out daily so mold does not build up.
- Patience: Soil-rooted cuttings usually take 4 to 8 weeks; water-rooted cuttings often show roots in 2 to 6 weeks.
I check for success in two ways. First, new growth at the tip is a good sign. Second, a gentle tug should meet resistance once roots are forming. If the cutting turns brown, drops leaves, or collapses at the base, I do not nurse it forever. I remove it and move on, because a failing cutting usually does not recover. That brings me to the mistakes I see most often.
The mistakes that slow rooting
Most rosemary propagation problems come from the same few habits: too much water, the wrong stems, or a rooting setup that stays stale and wet. The good news is that all of them are easy to avoid once you know what to watch for.
| Mistake | What usually happens | Better approach |
|---|---|---|
| Using woody or flowering stems | The cutting roots slowly or fails entirely | Choose green, flexible, non-flowering growth |
| Planting in heavy garden soil | The base stays wet and rots | Use a light, well-drained soilless mix |
| Overwatering | Leaves yellow, stems soften, fungus appears | Keep the mix damp, not saturated |
| Too much direct sun under a cover | The cutting dries out or overheats | Use bright, indirect light instead |
| Leaving leaves below the water line | The submerged foliage rots quickly | Keep every leaf above the water or media line |
I would also add one quiet mistake that does not get enough attention: handling the cutting too much. Every time the stem is pulled out, replanted, or checked aggressively, the rooting process starts over. Once the cutting is set, leave it alone unless you are watering, airing it out, or checking for obvious rot. With that discipline in place, transplanting becomes the final easy step.
Move rooted rosemary into pots or the garden
When the cutting has a small root system and new top growth, I treat it as a real plant. For water-rooted cuttings, I like to see several roots about a half-inch long before I move them into potting mix. For soil-rooted cuttings, I wait until the stem no longer lifts out easily and the plant starts pushing out fresh growth.
From there, I follow a simple sequence:
- Pot the rooted cutting into a slightly larger container with a gritty, well-draining mix.
- If you want it in the garden, wait until after the last frost in spring.
- In much of the northern US, I keep rosemary in containers so I can bring it indoors when temperatures drop.
- Give outdoor plants full sun and soil that drains fast, because rosemary hates sitting wet.
- Water only when the top inch of soil feels dry, not on a fixed schedule.
- Pinch the tips lightly once the plant is established to encourage a bushier shape.
That last step is important. A young rosemary plant that is never pinched tends to grow thin and leggy, especially indoors. A little shaping early on creates a better herb plant later. If you have one healthy parent plant, you can repeat the whole process and end up with a small collection instead of a single pot.
A few inches of stem can give you years of rosemary
The reason this method is worth learning is that it is simple, inexpensive, and repeatable. One good rosemary plant can supply multiple cuttings, and those cuttings can become sturdy replacements for the kitchen windowsill, the patio, or a sheltered spot in the garden. I still prefer the same basics every time: clean cuts, non-flowering growth, a fast-draining medium, steady light, and patience.
If I had to reduce the whole process to one rule, it would be this: do not try to force rosemary into rooting fast. Set up the conditions it already likes, then give it time to respond. A few inches of stem, handled well, can become a plant that lasts for seasons.