Keeping a tile shower clean is mostly about using the right cleaner on the right surface, then staying ahead of soap scum and mildew before they bond to the grout. I usually treat it as a surface-specific job, not a one-product fix, because ceramic, porcelain, and natural stone all respond differently. In this guide, I will walk through the safest routine, the better tools, and the situations where you should switch tactics instead of scrubbing harder.
The cleanest results come from matching the method to the tile
- Use a pH-neutral cleaner as the safest default for most tile showers.
- Save vinegar for glazed ceramic or porcelain, and avoid it on natural stone.
- Let the cleaner sit for 5 to 10 minutes so the brush does less of the work.
- Use 3% hydrogen peroxide for stained grout or mildew marks when the surface allows it.
- Dry the shower after use, because moisture control matters as much as the cleaner.
Know what you are cleaning before you mix a bucket
Before I spray anything, I check three things: the tile itself, the grout lines, and the caulk in the corners. Grout is the cement-like filler between tiles, while caulk is the flexible sealant used where walls meet, around fixtures, and along edges. Those materials do not all react the same way, which is why the same cleaner can be perfectly fine on one shower and a bad idea on another.
For most glazed ceramic and porcelain showers, a mild bathroom cleaner or a simple dish soap solution is safe and effective. Natural stone is the exception. Marble, travertine, limestone, and similar stone surfaces need a pH-neutral stone cleaner, because acidic cleaners can dull, etch, or weaken the finish over time. Daltile's care guidance for natural stone is blunt on this point: stay away from acid and bleach.
| Surface | Good options | What to avoid | My rule of thumb |
|---|---|---|---|
| Glazed ceramic or porcelain | pH-neutral bathroom cleaner, mild dish soap, diluted vinegar for light mineral buildup | Steel wool, abrasive powders, leaving cleaner to dry on the surface | Safe for routine cleaning if you rinse well |
| Natural stone | pH-neutral stone cleaner, stone-safe descaler | Vinegar, bleach, ammonia, harsh scrubs | Use the gentlest product that still works |
| Grout | Soft brush, hydrogen peroxide on stains, grout-safe cleaner | Metal brushes, aggressive abrasion, repeated soaking | Let the cleaner dwell, then scrub lightly |
| Caulk | Mild cleaner, gentle wipe-down, thorough drying | Scraping, scrubbing through damaged seams, repeated chemical soaking | If mold is inside the caulk, replacement is often the real fix |
Once you know the surface, the rest of the job becomes much simpler. That leads straight into the cleaning routine itself, which matters more than the brand name on the bottle.
The simple deep-clean routine that works on most showers
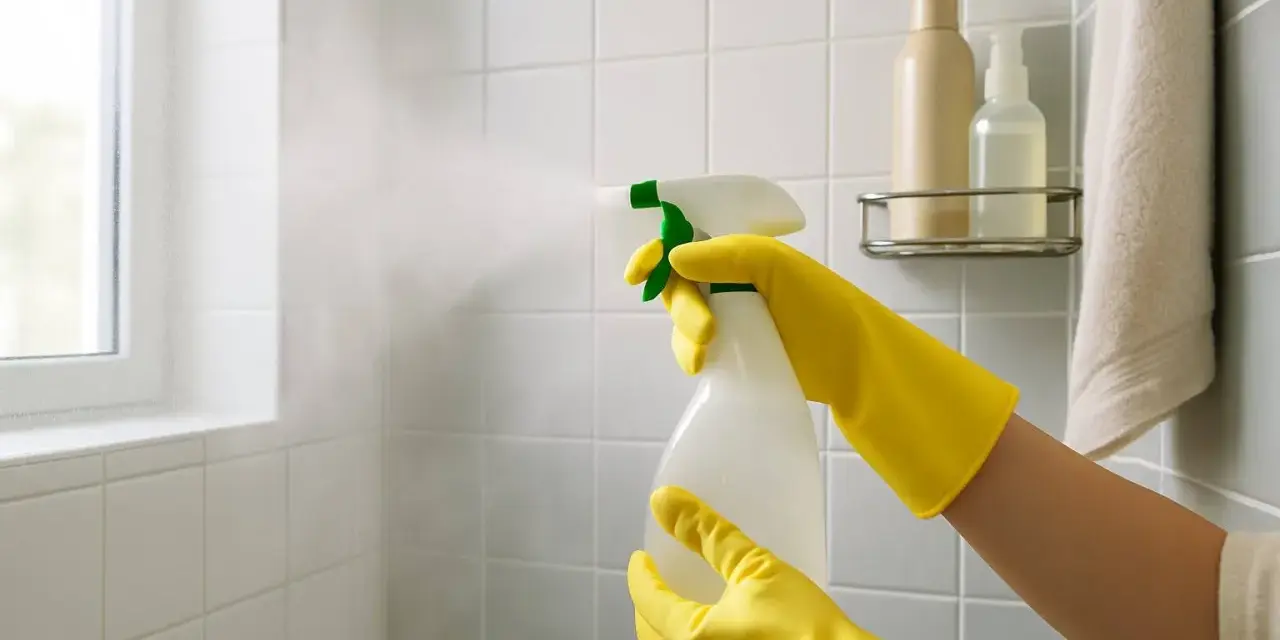
When I clean a standard tile shower, I work top to bottom and let the product sit long enough to loosen buildup. The mistake most people make is scrubbing too early. A cleaner that gets five to ten minutes of dwell time usually does a better job than a stronger product rushed off after thirty seconds.
- Remove shampoo bottles, razors, caddies, and anything sitting on ledges or in corners.
- Rinse the walls and floor with warm water to remove loose hair, dust, and surface film.
- Spray the cleaner evenly over the tile and grout. For glazed ceramic or porcelain, a mild bathroom cleaner or warm water with a few drops of dish soap is often enough for routine grime.
- Let it sit for 5 to 10 minutes. If the surface starts to dry, mist it again so the cleaner keeps working.
- Scrub grout lines with a soft-bristle grout brush or an old toothbrush. On larger surfaces, a nylon scrub brush is easier on the hands.
- Rinse thoroughly. Any cleaner left behind can attract dirt and create a dull film.
- Dry the surfaces with a microfiber cloth or a squeegee, especially along the lower walls and corners.
I also keep the tool set small. A basic shower-cleaning kit usually does not need more than a spray bottle, one brush, microfiber cloths, and gloves. That keeps the task organized enough that it actually gets done, which matters more than collecting five specialty products that never leave the cabinet.
How to handle soap scum, mildew, and hard water separately
Most dirty shower tile is really a mix of three different problems, and each one responds best to a slightly different approach. If you treat them all the same, you end up over-scrubbing one area and under-treating another.
Soap scum
Soap scum is the cloudy film that builds up from soap, body oils, and minerals in water. On glazed ceramic or porcelain, a diluted vinegar solution can help break it down, especially when mixed with a little dish soap. Keep the application targeted, let it sit briefly, then rinse well. On natural stone, skip vinegar and use a stone-safe cleaner instead.
Mildew and stained grout
For mold on hard surfaces, the EPA's basic cleanup advice is still the most practical: scrub with detergent and water, then dry the area completely. When the problem is a stained grout line rather than active mold growth, I often reach for 3% hydrogen peroxide. Spray it on, give it about 10 minutes, scrub with a grout brush, and rinse. If the stain keeps returning in the same spot, the issue is often moisture trapped behind failing caulk or old grout, not the cleaner itself.
Read Also: Black Mold Removal - DIY Limits & Pro Tips
Hard water film
Hard water leaves a mineral haze that can make a clean shower look dirty again within days. Light buildup on glazed tile usually responds to a vinegar-based cleaner or another gentle descaler. If the shower is stone, use a product made for stone, because acidic descalers can damage the finish. For heavy mineral spots, I work in smaller sections and repeat the process rather than leaning harder on the brush.
There is one optional tool I use on stubborn ceramic or porcelain grout, and only when the caulk is sound: a steam cleaner. Heat can loosen grime without extra chemicals, but I would not use it on loose seams, delicate stone, or damaged caulk. The surface has to be in decent shape first, otherwise you are just pushing moisture into a problem.
Skip the shortcuts that damage tile and grout
Most shower-cleaning damage comes from trying to force one product to solve everything. That usually works once, then leaves a larger problem for later.
- Do not use vinegar on natural stone. Acid can dull or etch the surface and shorten the life of sealers.
- Do not mix bleach with vinegar or ammonia. That creates dangerous fumes and does not make the job safer or more effective.
- Do not use steel wool or gritty powders on glazed tile, because they can scratch the finish and make future buildup stick faster.
- Do not let cleaner dry on the surface. Dried residue is one reason showers look hazy even after cleaning.
- Do not keep re-cleaning cracked caulk. If the caulk has failed, water is getting where it should not.
When I want a simple rule, I use this one: strong chemistry is not a substitute for the right chemistry. Daltile's natural-stone care guidance follows the same logic, and in practice that saves more tile than any miracle cleaner ever will.
Keep the shower organized so cleaning stays easy
The best way to keep a tile shower clean is to reduce the mess it can collect. That is where organization matters. Fewer bottles on the ledge means fewer drip rings, fewer hidden corners, and less time moving clutter before you can clean. I like to keep only the daily-use products in the shower and store backups elsewhere.
- Run the exhaust fan for 20 to 30 minutes after showering.
- Squeegee the walls and glass after each use if you can spare 30 seconds.
- Wipe the lower tile and corners with a microfiber cloth once a week.
- Inspect grout and caulk monthly for dark spots, cracking, or soft areas.
- Reseal grout on the schedule recommended by the product label, which is often every 1 to 2 years in a busy shower.
I also recommend keeping a small cleaning caddy near the bathroom, not buried in a closet. A spray bottle, a nylon brush, gloves, and microfiber cloths are enough for most routine jobs, and the total cost is usually modest compared with specialty products. When the tools are easy to reach, the shower gets cleaned before buildup turns into a weekend project.
What matters most when the goal is a shower that stays clean
If a tile shower still looks dull after cleaning, the problem is often not the wall tile itself. Grout may be stained, caulk may be failing, or mineral buildup may have been ignored too long. I would rather fix the moisture path and reseal a neglected area than keep attacking the same stain with stronger chemicals.
The practical answer to how to clean a tile shower is simple: match the cleaner to the surface, let it work before you scrub, rinse completely, and control moisture afterward. A clean shower is not the result of one aggressive session, it is the result of a few small habits repeated consistently.