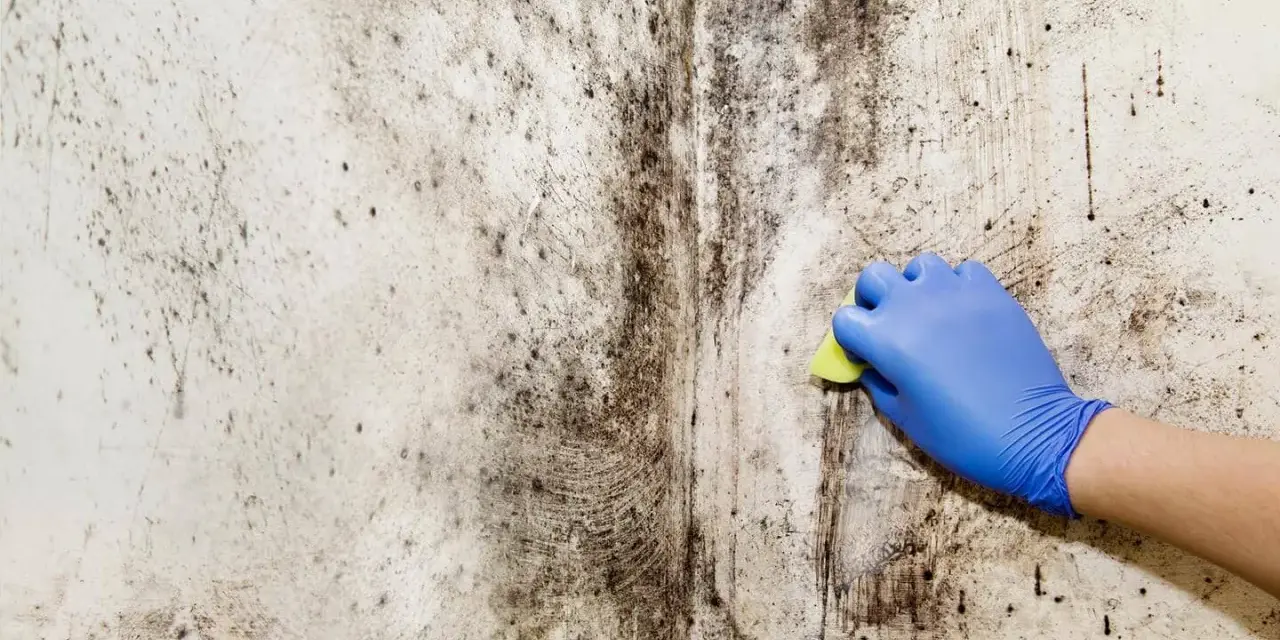
Black mold removal is less about a single product and more about controlling moisture, protecting yourself, and choosing the right method for each surface. In practice, that means deciding what can be cleaned, what needs to be discarded, and when the job is too large to treat like a weekend chore. I will walk through the safest DIY limits, the cleanup setup I use, the methods that actually work on tile, wood, drywall, and carpet, and the mistakes that make mold come back.
The safest cleanup is the one that removes the mold and the moisture together
- Small patches, roughly under 10 square feet, are often manageable on your own if the damage is limited and the surface is cleanable.
- Wear a NIOSH-approved N95 respirator, gloves, and goggles before disturbing mold.
- Use detergent and water on hard surfaces; porous materials like carpet, ceiling tiles, and damaged drywall are often better discarded.
- Bleach is not a routine fix, and it should never be mixed with ammonia or other cleaners.
- Dry the room and everything in it within 24 to 48 hours if you want to keep the growth from returning.
When the cleanup is DIY and when it is not
I start by judging the size and source of the problem. EPA guidance treats a patch smaller than about 10 square feet, roughly a 3 x 3 foot area, as a small job in many homes, but that does not mean every small patch is a safe DIY project. If the mold is tied to sewage, hidden inside HVAC equipment, spread through multiple rooms, or growing on soft materials that have stayed wet for days, I stop thinking in terms of cleaning and start thinking in terms of remediation.
| Situation | My call | Why it matters |
|---|---|---|
| Small growth on tile, glass, metal, or another hard surface | DIY is usually reasonable | The surface can be scrubbed and dried without tearing the home apart |
| Growth larger than about 10 square feet or spread across several areas | Bring in a pro | The job is bigger, the spread risk is higher, and containment becomes important |
| Mold inside drywall, ceiling tiles, carpet padding, or insulation | Usually replace the material | Porous materials let mold move below the surface, where cleaning is unreliable |
| Sewage, floodwater, or hidden wall damage | Use a remediation specialist | Contaminated water and hidden damage change the safety profile of the whole job |
| Asthma, allergies, weakened immune system, or other breathing concerns | Do not do the cleanup yourself | CDC warns these people are more likely to react badly to exposure |
If you are outside the safe DIY column, the right move is to stop and bring in a remediation pro rather than spreading spores through the house. Once you know the scope, the next step is making the space safe and organized before you scrub a single surface.
Set up the room before you start scrubbing
I prepare the room before I prepare the cleaner. CDC recommends at least a NIOSH-approved N95 respirator, plus gloves and goggles, because stirring mold up without protection turns a surface problem into an air problem. I also open windows and doors if weather allows, shut off HVAC if it may be contaminated, and create simple containment by closing the area off so I am not tracking spores into clean rooms. Containment is just a temporary barrier that keeps dust and spores in the work zone.
- Wear an N95 respirator, gloves, and sealed goggles.
- Use trash bags, detergent, clean rags, a scrub brush, and a bucket.
- Sort items into keep, clean, and discard before moving them.
- Bag moldy debris before carrying it through the house.
- Keep a dehumidifier or fans ready for drying after the cleaning stage.
I also keep one rule in view: never mix cleaning products. The best cleanup is orderly, not aggressive, and that is what makes the next step safer.
The right method depends on the material
Porous means a material with open spaces that let mold move below the surface, while non-porous means a sealed surface that can usually be cleaned without replacing the material. That distinction matters more than the color of the growth. The same cleanup logic applies whether the patch looks green, gray, or black: remove what you can reach, dry the material fully, and replace anything the mold has penetrated.
| Material | Best method | Usually keep or replace | Why I make that call |
|---|---|---|---|
| Ceramic tile, glass, metal, sealed plastic | Scrub with detergent and water, then dry completely | Usually keep | These surfaces are hard and non-porous, so the mold sits on top instead of inside the material |
| Grout and caulk | Scrub with a brush and detergent, then dry well | Keep if the material is still sound | Once caulk is cracked or grout keeps darkening, replacement is often faster and cleaner |
| Finished wood | Wipe with detergent solution and dry quickly with airflow | Sometimes keep | Wood can be saved if the finish is intact and the moisture never reached deep into the grain |
| Drywall and ceiling tiles | Remove the affected section and replace it | Usually replace | These materials soak up moisture and hide growth inside the board |
| Carpet and padding | Remove if the area is moldy or could not be dried fast | Usually replace | Fibers and backing trap spores, and cleaning rarely reaches the full depth |
| Concrete or masonry | Scrub, rinse or wipe, and dry thoroughly | Often keep | The surface can be cleaned, but porous masonry still needs careful drying to avoid recurrence |
Hard, non-porous surfaces
Tile, glass, sealed plastic, and metal are the easiest wins. I scrub them with detergent and water, work the solution into the surface, and dry the area completely; if a grout line still looks dirty after cleaning, I clean again rather than reach for a stronger product first. The goal is to lift residue away, not just fade the stain.
Finished wood and semi-porous materials
Wood is trickier because moisture can stay in the grain. If the finish is sound, I clean gently and dry the surface quickly with airflow and dehumidification; if the wood is swollen, soft, or repeatedly staining, replacement is usually the smarter call because the mold has likely reached deeper than the surface.
Read Also: How to Polish Brass - Safe Methods for Lasting Shine
Porous materials that usually need to go
Carpet, padding, ceiling tiles, insulation, and badly damaged drywall are the materials I expect to discard more often than save. Mold can move through the open spaces inside these materials, so a surface wipe rarely reaches the whole problem. If an item stayed wet for more than 24 to 48 hours and is visibly moldy, I treat it as contamination, not a cleaning challenge.
Once I know which materials can be saved, I can decide whether a cleaner is actually doing the work or just making the surface look better.
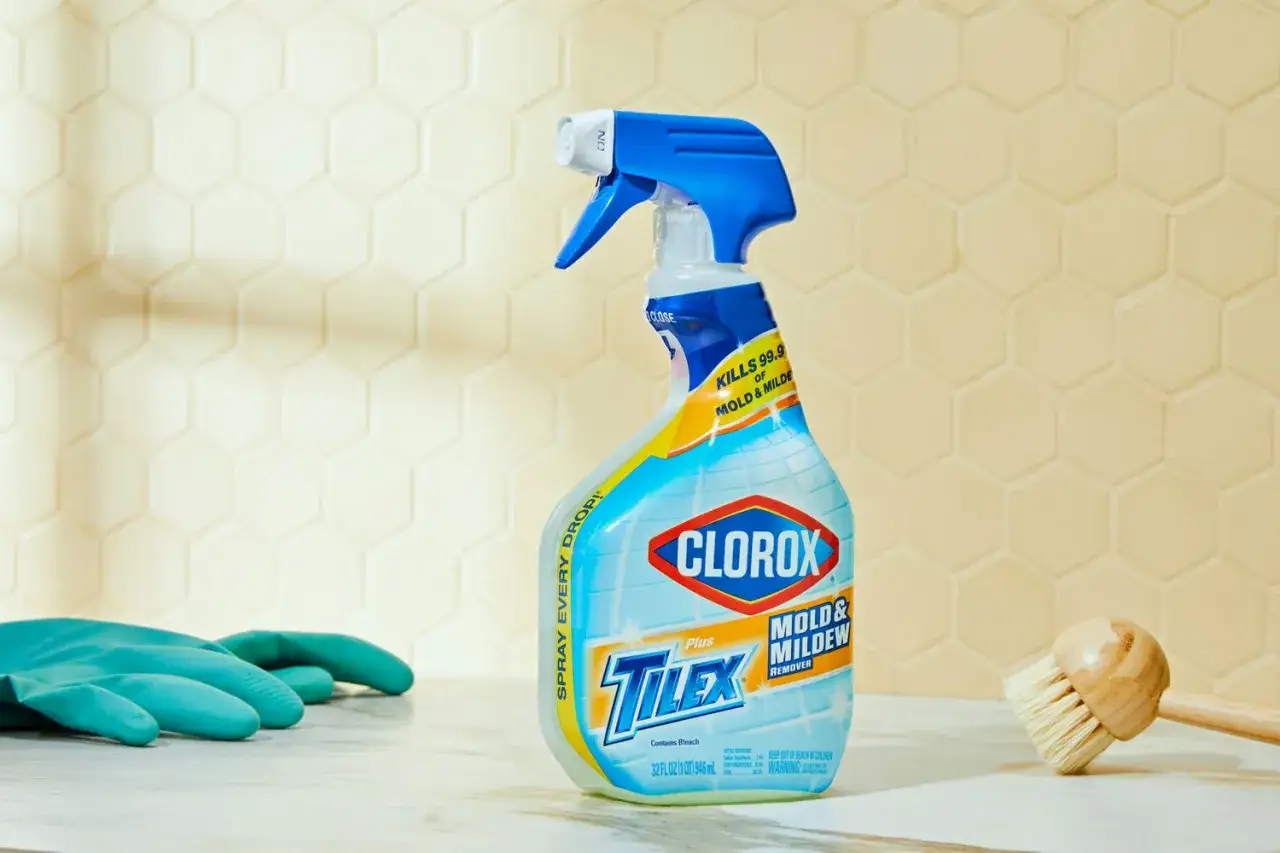
Where bleach helps and where it does not
Bleach is the product people reach for first, but I do not treat it as the main answer. For most indoor cleanup jobs, detergent and water remove the growth better because they physically lift mold off the surface, while bleach is only a situational tool for some non-porous surfaces. It is not a routine solution for mold inside drywall, carpet, or other absorbent materials, and it should never be mixed with ammonia or another cleanser.
| Cleaner or approach | Best use | Main limit |
|---|---|---|
| Detergent and water | Routine cleanup on hard surfaces | Needs scrubbing and full drying to finish the job |
| Bleach solution | Limited use on non-porous surfaces when the label and conditions fit | Not routine, not for porous material, and no more than 1 cup per 1 gallon of water |
| Commercial disinfectant or biocide | Specialized cases where professional judgment says it makes sense | It does not replace physical removal, and background spores still remain |
| Plain water alone | Rinsing loose dust before cleaning | Usually not enough to remove visible mold by itself |
If I use any strong cleaner at all, I keep the room ventilated and let the surface dry fully afterward. The bigger point is simple: killing mold is not the same as removing it, and the residue can still trigger reactions if you leave it behind. That is why the drying and cleanup order matter as much as the scrub itself.
Drying, bagging, and organizing the room after cleanup
The cleanup does not end when the wall looks better. I remove damaged items, bag the debris, and move everything out of the room in a controlled way so I do not track spores into the hallway or living spaces. If the job came from a flood or major leak, I also take photos before disposal because insurance documentation is easier when the damage is recorded before the trash leaves the house.
- Separate items into keep, clean, and discard.
- Double-bag moldy debris or soft materials that cannot be saved.
- Dry the room, the contents, and hidden damp spots within 24 to 48 hours.
- Use fans and a dehumidifier after the mold is removed to finish drying.
- Move clean items back only after the room no longer feels damp or smells musty.
I like this part of the process because organization reduces recontamination. A tidy cleanup path, sealed bags, and a drying plan do more to prevent a relapse than a shelf full of harsh products ever will. Anything wet that cannot be fully cleaned and dried fast belongs in the discard pile, not in a storage box for later.
What I check before I call the room clean
Before I close a job, I look for the moisture source first and the visible growth second. For black mold removal to hold, the room has to stay dry after the visible growth is gone. A wall stain can remain even when the contamination is removed, but a soft drywall panel, a damp smell, or a return of spotting means the job is not finished yet.
- No visible mold remains on the surfaces that were saved.
- Anything porous that stayed moldy has been removed from the home.
- The leak, condensation point, or flood damage has been fixed.
- The area was dried quickly and now feels dry to the touch.
- Clean items were returned only after the room was organized and dry.
If mold comes back after a thorough cleanup, I do not just clean again. I reopen the moisture investigation and trace it to the hidden leak, ventilation issue, or wet material that survived the first pass.