Sprouts are one of the simplest living foods and one of the fastest ways to watch a seed turn into a plant. In a garden context, they also tell you a lot about seed quality, moisture, warmth, and timing. At the simplest level, what are sprouts? They are germinated seeds harvested before the plant reaches a full seedling stage, and that early stage matters whether you want to eat them or use them to understand how a plant starts.
The practical version of sprouts for gardeners
- Sprouts are germinated seeds harvested very early, usually before true leaves develop.
- They are different from microgreens and seedlings, even though the growth stages are closely related.
- Most edible sprouts are ready in 1 to 8 days, depending on the seed.
- Clean water, good drainage, and moderate room temperature matter more than fancy equipment.
- Raw sprouts deserve caution because the warm, moist conditions that help them grow can also support harmful microbes.
What a sprout actually is
In gardening terms, a sprout is the first visible stage after a seed leaves dormancy and begins germination. I like to think of it as the moment the seed stops being storage and starts being a plant: the root pushes out first, then the shoot follows, and the seed leaves, called cotyledons, begin to open. Those cotyledons are not the same as true leaves, which appear later and mark a more advanced growth stage.
That is why sprouts look so compact and delicate. They still carry much of the seed with them, which is also why they are harvested so early. In edible use, the whole sprout is usually eaten, including the seed, stem, and root. In a gardening context, that same early stage is the best proof that the seed is viable and the environment is right. Once that is clear, the next question is how the seed gets there and how fast it moves.
How sprouts form from seed to first harvest
Sprouting begins when a dry seed absorbs water, a process often called imbibition. That water wakes the embryo inside the seed, and the seed coat softens and splits. Oxygen is still essential at this point, which is why soaked seeds need to be drained well instead of sitting in standing water. For many common sprouting seeds, a room-temperature range around 68 to 75°F works well, although the exact sweet spot depends on the crop.
- Soaking starts the process and helps the seed take in enough moisture to trigger germination.
- Drainage prevents the seed from suffocating or rotting in stagnant water.
- Root emergence comes first, usually before anything green is visible.
- Shoot growth follows as the sprout stretches upward.
- Harvest happens while the cotyledons are still young and the plant is still tender.
For many sprouting seeds, harvest comes surprisingly fast, often within 1 to 8 days. That speed is part of the appeal, but it also means a batch can go from perfect to disappointing quickly if the temperature, moisture, or cleanliness is off. That process sounds simple, but it is easy to confuse with microgreens and seedlings, so I separate those stages explicitly.
Sprouts, microgreens, and seedlings are not the same
The USDA draws a useful line here: sprouts are eaten whole, while microgreens are harvested later, after true leaves begin to appear, and are usually cut above the growing medium. I find this distinction useful because it clarifies both the purpose and the care each stage needs. Sprouts are about speed and the earliest possible growth; microgreens are about leaf development, flavor, and a slightly longer growth cycle; seedlings are about getting a young plant ready for transplant.
| Stage | What you see | What is usually eaten or kept | Typical timing | Best use |
|---|---|---|---|---|
| Sprouts | Root, short stem, and cotyledons, with true leaves not yet formed | The whole sprout, including the seed | About 1 to 8 days after germination | Quick edible harvest, germination testing |
| Microgreens | Cotyledons plus the first true leaves | Stems and leaves cut above the medium | Often 7 to 21 days, depending on crop | Garnish, salads, flavor-rich greens |
| Seedlings | Young plant with stronger roots and several leaves | The whole plant, usually transplanted | After the early germination phase | Vegetable beds, containers, direct garden planting |
Once those differences are clear, choosing the right seed becomes much easier. The next step is knowing which seeds are worth sprouting at home and which ones deserve more caution.
Which seeds are worth sprouting and which ones deserve caution
For home growing, I usually stay with seeds that have a track record in sprouting: alfalfa, broccoli, radish, mung bean, lentil, pea, and sunflower are all familiar examples. They tend to germinate reliably and produce the texture people expect from sprouts. Different seeds bring different flavors too, which is part of the reason the category is more interesting than it first appears. Radish sprouts are sharp and peppery, mung beans are mild and crunchy, and sunflower sprouts feel meatier.
There is also a practical limit here: not every seed that germinates is a good raw sprout. I would avoid using random garden seed for eating unless it is specifically labeled for sprouting or food use. Seed sold for planting may be treated with coatings or other materials that are fine in the soil but not meant for the table. Old seed, cracked seed, or seed that smells off should be discarded rather than tested. Once the seed choice is right, the real work is keeping the environment clean, moist, and not waterlogged.
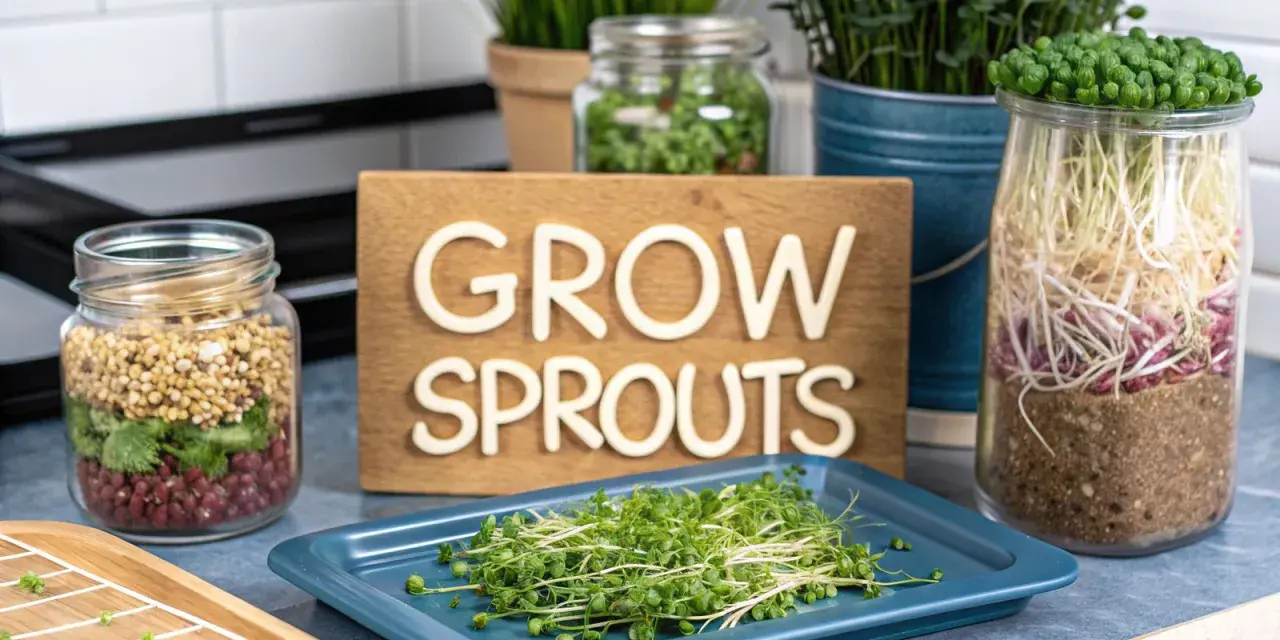
How to grow sprouts at home without making a mess
My preferred setup is plain and cheap: a clean wide-mouth jar, a mesh lid or breathable cover, and fresh water. A shallow tray sprouter works too, but the jar is hard to beat for small batches because it drains quickly and lets you see what is happening. The goal is not to create a rich growing medium. Sprouts do better with moisture, airflow, and cleanliness than with soil-like conditions.
- Measure a small batch, because overcrowding is one of the fastest ways to invite slime and bad drainage.
- Soak the seed for the amount recommended on the package, often a few hours to overnight depending on the crop.
- Drain thoroughly and keep the jar tilted so water does not pool at the bottom.
- Rinse twice a day with clean water, then drain again until the seed is only damp, not wet.
- Keep the jar out of hot direct sun; bright indirect light is enough once the sprouts start to green up.
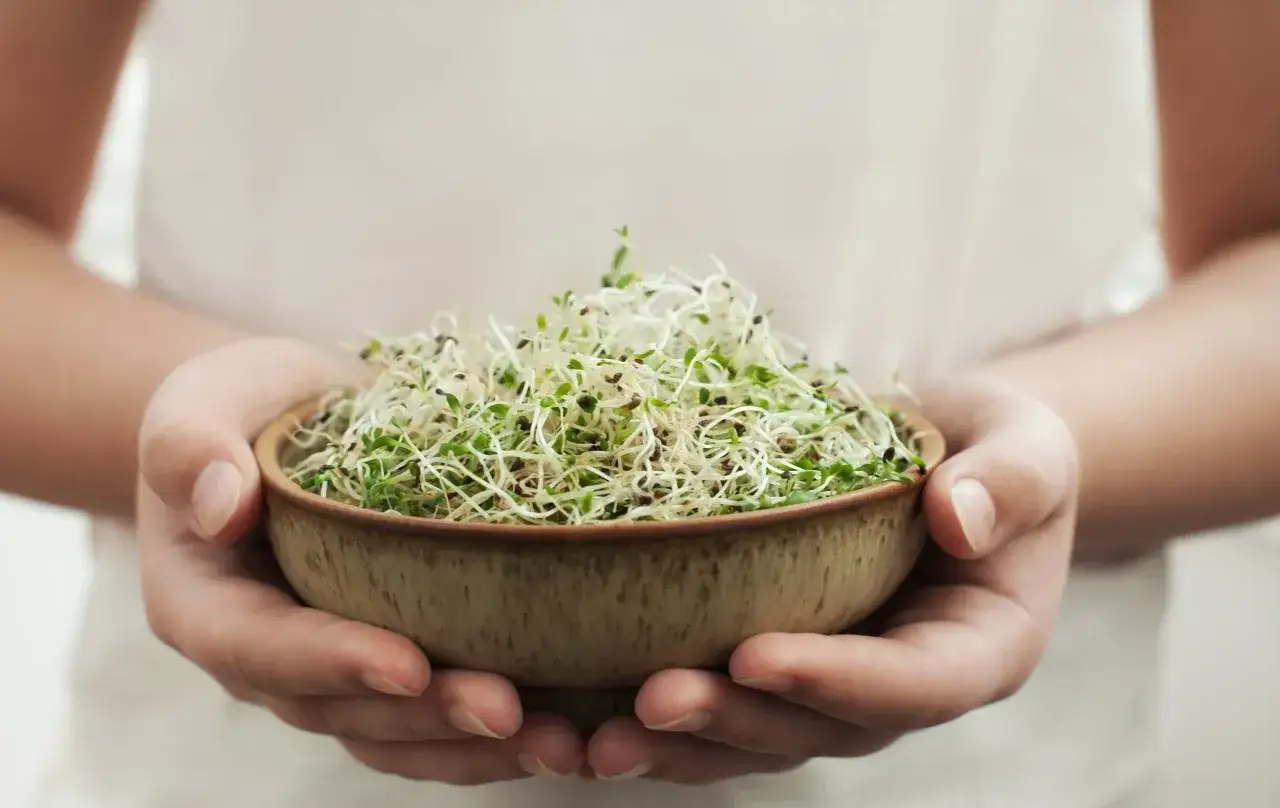
- Harvest early when the sprouts are tender, crisp, and still young.
- Refrigerate promptly after harvesting to slow spoilage.
That routine sounds basic, but it is where most success comes from. The batch should smell clean, stay airy, and never sit in a puddle. If you can manage that, sprouting stops feeling like a fragile trick and starts feeling like a dependable little harvest. For a gardener, that reliability is useful beyond the kitchen, too.
Why gardeners pay attention to sprouts beyond the plate
Sprouts are a fast read on seed vigor. If seeds fail to sprout under good conditions, that tells me something about age, storage, moisture, or temperature before I waste space in a bed. They are also a good teaching tool for kids or beginner gardeners because the timeline is short enough to follow in real time. You do not have to wait weeks to see a result, and that makes the biology easier to understand.
I also like sprouts as a bridge between indoor seed starting and outdoor gardening. They remind you that every plant begins with the same fundamentals: water, oxygen, and the right temperature. If those are missing, the seed stays dormant or struggles. If they are present, the whole process moves quickly. That is the same logic behind a strong seed-starting mix, which is why sprouts can teach a lot even when you never plan to eat them. Those uses are helpful, but the smallest habits usually decide whether a batch succeeds or turns slimy.
The details I would not skip in a home sprouting setup
FDA treats sprouts as a distinct food-safety concern because the warm, moist conditions that help them grow can also support harmful microbes if contamination is present. That is not a reason to avoid them entirely, but it is a reason to be disciplined. Between 1996 and 2020, the agency observed dozens of reported outbreaks linked to sprouts, which is a reminder that clean handling matters at home as much as it does in commercial production.
- Wash hands, jars, lids, and trays before every new batch.
- Use potable water and drain thoroughly after each rinse.
- Do not let sprouts sit warm and wet for hours.
- Discard any batch that smells sour, looks slimy, or shows visible mold.
- Avoid raw sprouts for young children, older adults, pregnant people, and anyone with a weakened immune system.
In my view, that is the real answer to the sprouting question: they are young germinated seeds, but they are also a stage where small mistakes matter. If you want a quick edible crop, a sprout jar is one of the easiest projects in home gardening. If you want a stronger transplant for the bed, keep going until the plant becomes a seedling. Knowing where that line sits is what makes sprouts genuinely useful, not just interesting.