Tomato cages work best when they are chosen for the plant, placed early, and used as a frame rather than a fix after the vines collapse. This guide explains how to use tomato cages in a way that keeps fruit off the soil, supports healthy growth, and avoids the bending, snapping, and tangling that usually happen when the cage is too small or goes in too late. I’m focusing on the practical steps that matter in a real home garden.
What matters most before you start
- Install supports at planting time or while the tomato is still small. Waiting until the plant sprawls makes damage much more likely.
- Match the cage to the variety. Compact determinate tomatoes can use shorter cages, while indeterminate vines need a taller, sturdier frame.
- Size matters more than looks. A useful cage for full-size tomatoes is usually around 5 feet tall and about 2 feet wide.
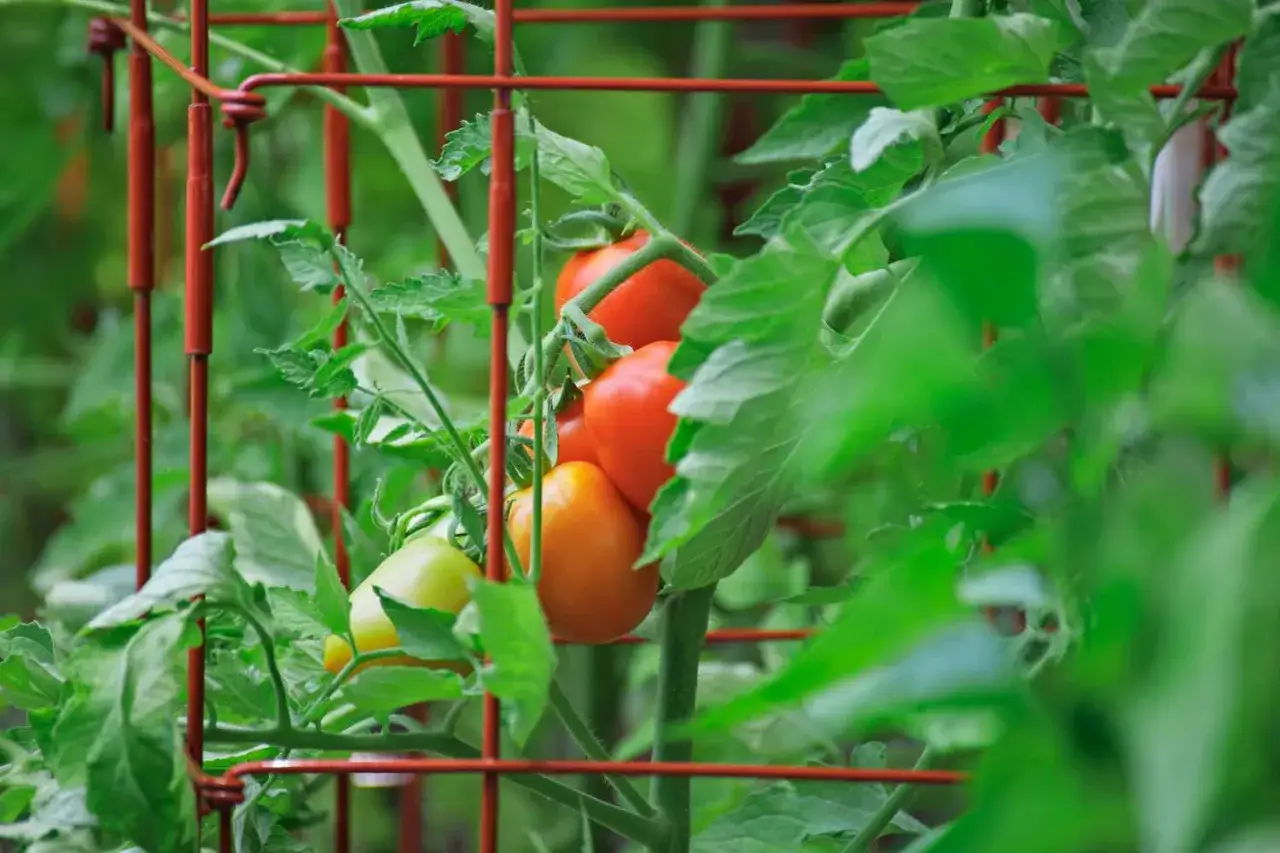
- Keep stems and fruit off the soil. That improves airflow, reduces splash-back from watering, and helps limit rot and disease pressure.
- Reuse cages carefully. Clean and disinfect supports before putting them back in the garden if they held diseased plants.
How to use tomato cages the right way
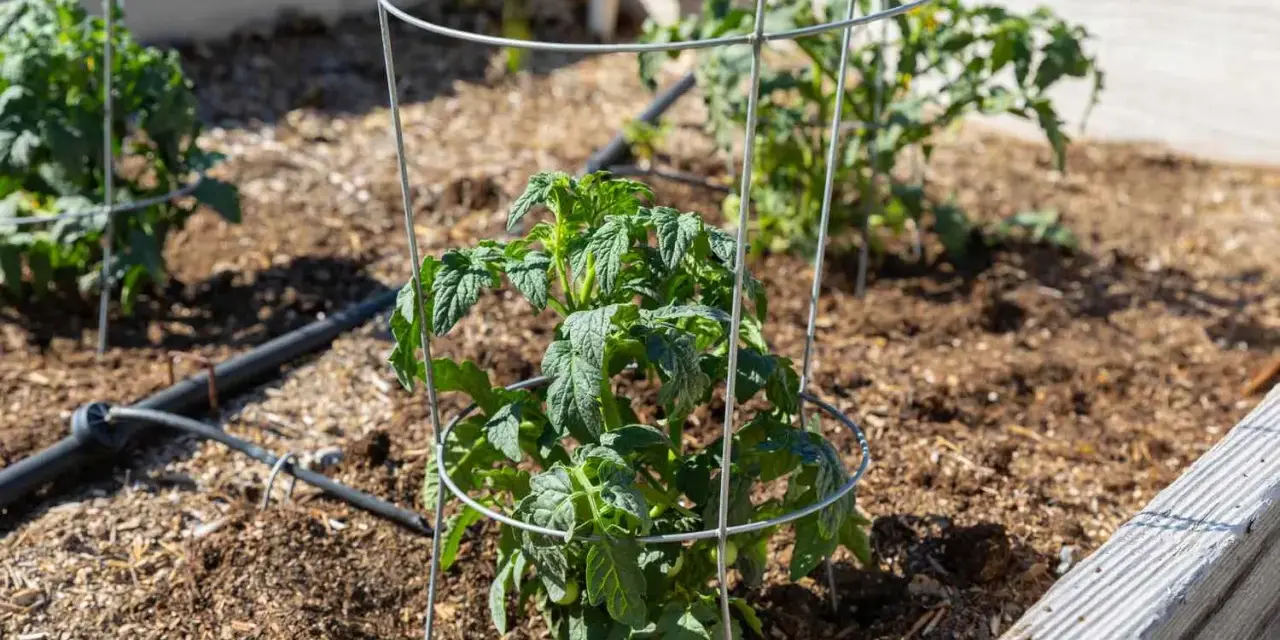
I think of a tomato cage as a loose vertical frame, not a restraint. The goal is to guide the plant upward so the main stems, side branches, and fruit clusters stay upright enough to avoid soil contact, but still have room to move as the plant grows.
The simplest way to use one is to center the cage around a young transplant, press the legs into the soil, and let the plant grow into the frame. As the vines lengthen, I nudge them back inside the cage instead of forcing them outward, which keeps stems from rubbing and breaking. If you have to fight the cage onto the plant, the cage is either too small or it went in too late. That leads straight to the bigger decision: the cage itself has to fit the tomato's growth habit.
Choose a cage that matches the tomato type
Not every tomato needs the same support. Determinate tomatoes are bushier and set most of their fruit over a shorter period, so they usually fit well in a shorter, wider cage. Indeterminate tomatoes keep growing and fruiting until frost, which means they need more height, more rigidity, and more room for the canopy.
I look for three things before I buy or build a cage: the plant’s final height, the thickness of the wire, and whether I can still reach inside to harvest. In U.S. garden centers, many light cone cages are fine for peppers or compact patio tomatoes, but they are often too flimsy for a vigorous slicing tomato in a long summer season.
| Tomato type | What I use | Why it works | What usually fails |
|---|---|---|---|
| Determinate | 3 to 4 feet tall, about 18 to 24 inches wide | Compact growth fits a shorter frame and fruit tends to finish in a tighter window | Tall cages that are wide enough to waste space but not strong enough to matter |
| Indeterminate | 5 to 6 feet tall, about 24 to 30 inches wide, with stout wire | Handles ongoing vine growth and heavier fruit load better | Thin, lightweight cones that bend once the plant fills out |
| Container or patio tomato | A sturdy cage that fits the pot footprint and can be anchored well | Compact plants still need support, especially in wind | A cage that is bigger than the container, which tips or wobbles |
| Heavy-fruited slicer | Same height as an indeterminate, but I prefer stronger wire or a DIY cage | Large fruit pulls branches down fast | Anything that bends when the first flush of fruit sets |
If I am building my own, concrete reinforcing wire is still one of the best materials because it makes a cage that is roughly 5 feet tall and about 2 feet across, which is far more realistic for tomatoes than the flimsy spiral versions sold for impulse buying. Once the size is right, timing matters just as much as the steel.
Set the cage before the plant starts running
The best time to place a cage is at planting time. University extension guidance is consistent on that point, and in practice it saves me from one of the most common garden mistakes: trying to force support around a plant that has already spread sideways.
- Set the transplant in the soil first, or place the cage before you finish backfilling if the seedling is still tiny.
- Center the cage so the plant sits comfortably inside the frame, not pressed against one side.
- Push the legs into the soil at least 4 to 6 inches. In loose beds or windy spots, go deeper if the cage still wobbles.
- If the cage is homemade or lighter than I would like, I back it up with two stakes on opposite sides inside the frame.
- Water the plant in, then check the cage again. If it leans now, it will lean more once fruit weight builds.
That same logic matters in containers. A pot has to be heavy enough to hold the cage steady, and the support needs to go in before the plant gets above the rim. Once the support is in place, the plant still needs gentle guidance as it grows.
Train the vines gently and keep air moving
A caged tomato does not need constant babysitting, but it does need regular, light correction. I check plants every few days during fast growth and guide new stems back into the frame before they get awkward or brittle. If a branch slips outside the cage, I do not yank it back through a small opening. I either widen the support path or leave that branch where it is if pulling would break it.
- Use soft ties only where a stem needs extra help. Cloth strips, plant tape, or soft garden ties are better than wire.
- Keep the lowest leaves from touching wet soil. That improves airflow and reduces disease splash.
- Remove only crowded or damaged growth. I do not strip a healthy plant bare just because it has a cage.
- Keep mulch under the plant, but leave a small gap around the stem so moisture does not sit right against the crown.
- Water at the base of the plant, not over the top. Dry leaves are usually healthier leaves.
This is where the cage starts earning its keep: the fruit stays cleaner, the plant dries faster after rain, and harvest becomes easier because the branches are not lying in the aisle. Those habits prevent most problems, but the next section is where I see gardeners lose the most time and plants.
Common mistakes that turn a cage into clutter
Most tomato cage failures are predictable. The plant was too big when the cage was added, the support was too light for the variety, or the whole thing leaned because it was never anchored properly. A cage should make the season easier, not add another weekly repair job.
| Mistake | Why it fails | Better fix |
|---|---|---|
| Installing the cage after the plant has sprawled | Stems bend and break, and the root zone gets disturbed | Put the cage in at planting time or while the seedling is still small |
| Using a thin cone on an indeterminate tomato | The top gets heavy, the wire bends, and branches spill out | Choose a taller, stiffer cage or a different support system |
| Setting the cage too shallow | Wind and fruit load can tip the support | Drive the legs deeper or stake the cage in place |
| Tying stems too tightly | Stems can rub, pinch, or break as they thicken | Use soft, loose ties only where support is actually needed |
| Reusing dirty supports | Plant debris can carry disease into the next season | Scrub cages clean and disinfect them before storage or reuse |
When I reuse supports, I clean off all plant debris first and, if disease was present, disinfect them before the next season starts. That extra step is small, but it protects the next crop. If your plants are vigorous or your space is tight, the support method may need to change.
When I switch to stakes or a trellis instead
Cages are the easiest support system for many home gardeners, but they are not always the best one. If I am growing a very tall indeterminate in a narrow row, or I want maximum airflow in a humid area, I may prefer a stake or a trellis. The plant still gets vertical support, but the growth pattern is managed differently.
| Support method | Best for | Strengths | Limits |
|---|---|---|---|
| Cage | Determinate tomatoes, compact varieties, low-maintenance gardens | Simple, familiar, and forgiving for beginners | Can be bulky, and cheap models often run too short |
| Stake | Indeterminate tomatoes in narrow rows or tight beds | Cleaner airflow and a smaller footprint | Needs more tying and regular training |
| Trellis | Vigorous plants, larger harvests, and gardens where vertical training makes sense | Excellent spacing and easier access to fruit | Requires planning and more active management |
If I want the least fuss, I still use cages for compact plants. If I want a cleaner vertical system for a big heirloom or a long row of tomatoes, I move to a stake or trellis. The setup that keeps harvests clean through summer is usually the one that matches the plant instead of fighting it.
The setup that keeps harvests clean through summer
The most reliable approach is also the least dramatic: choose a cage that is tall and sturdy enough for the tomato type, set it in place the day you plant, then guide growth gently as the season goes on. For most home gardens, that means one strong cage per compact plant, deeper anchoring in loose soil, and a little maintenance after wind or heavy rain.
- Use a cage that gives the plant room to mature without forcing stems through tight openings.
- Keep soil covered with mulch and water at the base to help reduce splash and rot.
- Check for leaning, snapped ties, or branches escaping the frame after storms.
- Clean and dry supports at the end of the season so they are ready to use again.
When the support is right, tomato care gets simpler: fewer broken stems, cleaner fruit, and less time spent rescuing branches from the ground. That is the real value of a well-used cage.