Building a carport is a straightforward project only if the layout, footing depth, and roof structure are decided before the first hole is dug. I focus here on the practical parts that matter most when you are figuring out how to build a carport in the U.S.: permit checks, site planning, framing, roof choice, and the mistakes that usually cause expensive rework.
The decisions that make the build go smoothly
- Start with the site, not the lumber. Size, slope, access, and vehicle clearance shape everything else.
- Permits and setbacks matter early. A carport often needs a site plan, dimensions, and footing details before work begins.
- Footings must match local conditions. In colder regions, that usually means going below the frost line.
- Material choice changes the whole job. Wood, steel, and aluminum each bring different costs, labor, and maintenance.
- Bracing and anchoring are not optional. Wind and roof uplift are common failure points.
- Drainage and roof slope protect the structure. Water management is part of the build, not an afterthought.
Start with the site, size, and structural goal
I always begin with the same question: is this carport meant to be a simple covered parking spot, or do you want it to behave like a small, durable outbuilding? That answer affects the footprint, the post spacing, the roof style, and the permit path. A single-car layout often starts around 12 by 20 feet, while two-car coverage usually pushes the footprint wider, but the right size depends on door swing, driveway slope, and whether you need room to walk around the vehicle.
It also helps to decide early whether the carport will be detached or attached. An attached version can be convenient, but it usually brings more coordination with the existing house wall, roof tie-in, and local code review. A detached carport is often simpler to frame and easier to keep structurally independent.
Before I draw a line on paper, I check for these basic site issues:
- Vehicle width and height, including roof racks or lifted suspensions.
- How much room the doors need to open comfortably on both sides.
- Whether the driveway slopes enough to require stepped footings or a raised floor line.
- Overhead obstructions such as tree limbs, service drops, and porch roofs.
- Drainage direction so runoff does not wash under the posts or toward the house.
This is the point where the project becomes much easier or much harder, because good layout choices reduce nearly every problem that follows.
Check permits and code requirements before you buy materials
In the U.S., I would treat a carport as a regulated accessory structure, not a casual add-on. Many local building departments require a permit for a new carport, especially if it is attached, anchored to a permanent foundation, or built from a premanufactured kit. The exact threshold changes by city and county, so the safest move is to confirm the rules before ordering materials or pouring concrete.
Most permit offices want the same core information: a site plan, distances to property lines, overall dimensions, footing sizes, beam sizes, roof details, and the anchoring method. If your area sees heavy snow or strong wind, the structure may also need engineered drawings. That is not bureaucracy for its own sake; it is the difference between a carport that stays straight and one that racks or lifts under weather load.
Three code issues deserve attention early:
- Setbacks. The structure may need to sit a specific distance from the property line, driveway, easements, or other buildings.
- Frost protection. In freezing climates, piers and footings usually need to extend below local frost depth so the structure does not move with seasonal soil movement.
- Load design. Roof snow load, wind exposure, and seismic rules can change the beam size, post spacing, and anchoring requirements.
I also recommend calling utility locating services before you dig. Hitting a gas, power, water, or communication line is a bad way to discover a layout mistake. Once the legal and structural requirements are clear, the build itself becomes much more predictable.
Choose a carport type that fits your climate and budget
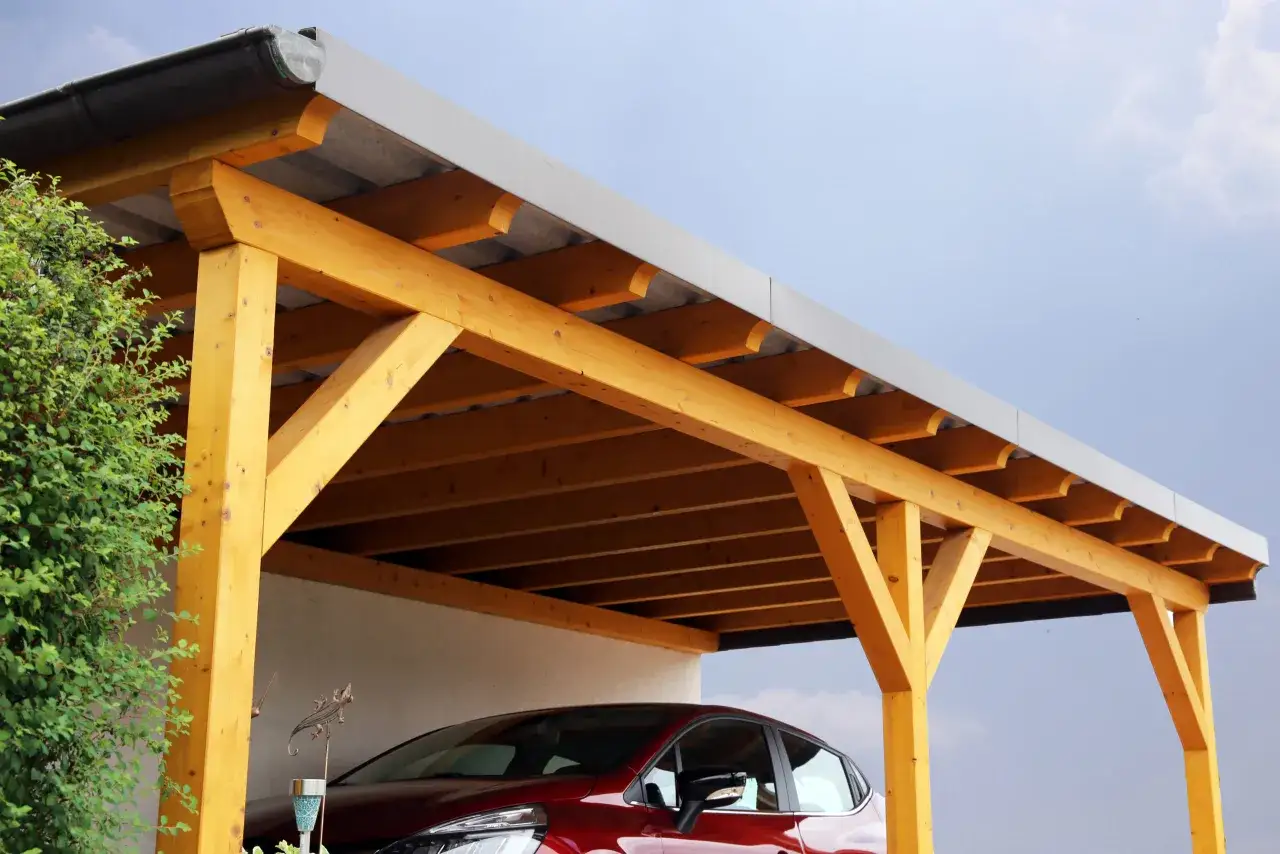
The frame material and roof style should follow the climate, not the other way around. A light aluminum kit can work well in mild regions, while a wood-framed structure often gives more flexibility if you want custom dimensions or a more finished look. Steel is the usual pick when durability and speed matter more than appearance alone.
| Option | Best for | Strengths | Trade-offs |
|---|---|---|---|
| Wood post-and-beam | Custom layouts and residential curb appeal | Easy to adapt, familiar tools, good visual match with homes | Needs careful moisture protection and regular maintenance |
| Steel kit | Fast installation and predictable dimensions | Strong, efficient, often easier to assemble once the foundation is ready | Less forgiving if the site is out of square; finish quality can feel utilitarian |
| Aluminum structure | Mild climates and lighter-duty parking cover | Lightweight, corrosion-resistant, low maintenance | Usually not the best choice for harsh snow or wind exposure |
| Attached carport | Convenience and direct house access | Good weather protection, efficient use of space | More code coordination and more complexity where it meets the house |
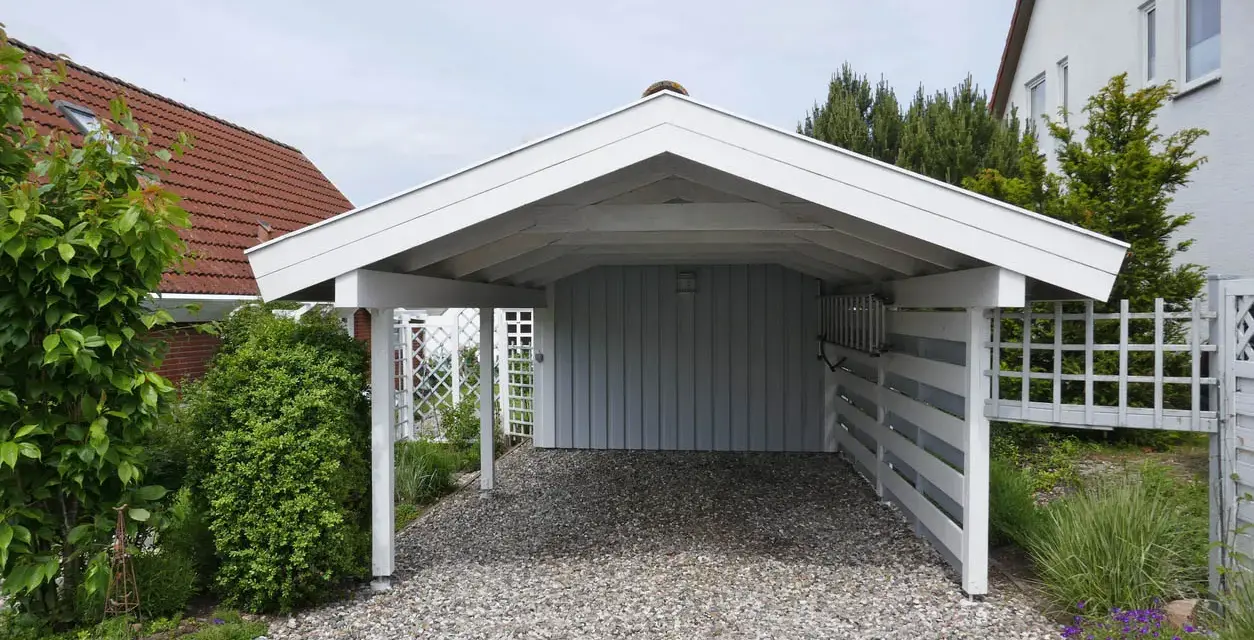
Roof style matters just as much as frame material. A lean-to roof is simple and economical, but it needs enough slope to drain well. A gable roof looks more finished and sheds rain and snow more naturally, though it usually adds framing complexity. In snow country, I lean toward the shape that moves water and snow cleanly instead of fighting the weather with a nearly flat roof.
Build the carport frame in a fixed sequence
Once the plan is approved, the build should follow a disciplined order. Rushing the sequence is where a lot of DIY jobs go wrong. A carport is not just posts and a roof; it is a load path, which means every part has to transfer weight correctly down to the ground.
- Mark the footprint and square the layout. Use batter boards, string lines, and diagonal measurements so the rectangle is true before you dig.
- Confirm utilities and excavate the footings. Dig to the required depth for your area, and make sure the bottoms sit on stable soil, not loose fill.
- Pour piers or footings and set post bases. In many builds, this is where the structure earns its stability. Let the concrete cure properly before loading it.
- Set the posts and brace them plumb. Temporary diagonal bracing matters here because a post that leans a little now can throw the whole roof off later.
- Install the beams or headers. This is the main horizontal load-bearing member, so check level carefully and make sure all connections are tight.
- Add rafters or trusses. Keep spacing consistent, and use the connectors specified by the design or kit manufacturer.
- Install purlins, roof decking, or panel supports. These pieces carry the roofing material and help keep the roof rigid.
- Finish the roofing and edge details. Fasten panels or sheathing correctly, then add trim, drip edges, gutters, and any required flashing.
If your permit requires inspections, they usually happen before the roof is closed in. I would not cover anything permanently until the footing and framing checks are signed off. It is faster to pause for an inspection than to undo finished work.
For most homeowners, this sequence is the cleanest answer to how to build a carport without turning the job into a series of corrections.
Budget for materials, tools, and time more realistically than most guides do
In 2026, I would budget conservatively. Material prices still move enough that a project estimate built from old forum posts can be wildly off. A simple DIY wood carport might land around $2,000 to $6,000 in materials, while steel kits often start around $3,000 to $8,000 before you add concrete, permit fees, or labor. A custom or engineered two-car carport can move into the $8,000 to $20,000+ range quickly, especially if the site needs heavier footings or a more complex roof.
| Cost item | Typical range | What drives the price |
|---|---|---|
| Materials | $2,000 to $8,000+ | Frame material, roof type, lumber grade, and span requirements |
| Foundation | $1,000 to $5,000+ | Footing depth, soil conditions, slab size, and rebar or anchor hardware |
| Permits and drawings | $100 to $2,000+ | Local permit fees, plan review, and engineering if required |
| Labor | Varies widely | Site access, complexity, and whether you hire out framing or concrete work |
Time is just as variable. A prefabricated structure assembled on a prepared slab can go up quickly, but once you include digging, curing, inspections, and weather delays, the project can easily stretch across several days or longer. If you are doing the work yourself, I would plan the calendar first and the weekend second.
Avoid the mistakes that shorten a carport’s life
Most failed carports do not fail because the idea was bad. They fail because one or two structural details were treated as optional. The most common problem I see is undersized or poorly anchored footings. If the posts can move, the roof will eventually show it.
These are the mistakes I would actively avoid:
- Setting posts on a slab without proper anchors. A slab is not automatically a foundation.
- Ignoring uplift and racking. Wind tries to pull roofs up and push frames sideways.
- Using untreated wood where moisture will sit. Post bases and lower cuts need protection from rot.
- Making the roof too flat. Drainage gets worse, and debris sticks around longer.
- Skipping diagonal bracing. A frame may look square when it is new and still drift out of alignment later.
- Placing the structure too close to the property line. That can create permit trouble and maintenance headaches.
- Leaving runoff unmanaged. Water that dumps beside the footings will eventually work against the structure.
If the carport is exposed to strong seasonal weather, I pay extra attention to hardware selection. Corrosion-resistant fasteners, proper post bases, and connectors rated for structural use make a real difference over time. Small hardware choices are often the difference between a carport that feels solid and one that always seems to creak or move.
The small maintenance habits that keep a carport straight and dry
After the build is done, the goal is not just to admire the structure. It is to keep it performing like a low-maintenance extension of the property. I check the fasteners, roof edges, and post bases once or twice a year, especially after storms. If the carport uses wood, I also watch for peeling finish, swelling at the base, or any place where water lingers after rain.
A few simple habits make a long difference: keep gutters clear, extend downspouts away from the posts, remove heavy snow before it accumulates too deeply, and inspect anchor bolts for movement. If the carport is attached to the house, I also watch the joint where the two structures meet, because flashing problems usually show up there first.
The structure does not need obsessive attention. It needs basic discipline. When the site is well drained, the frame is properly anchored, and the roof is suited to local weather, a carport becomes one of the most useful exterior upgrades you can add to a home.