Setting fence posts is the part of the job that decides whether the finished fence feels solid or starts moving after the first storm. I focus on layout, hole size, depth, drainage, and bracing, because those are the details that actually keep a fence straight. If you get those right, the rails and panels are much easier to install; if you get them wrong, everything above ground becomes a compromise.
The shortest path to a straight, durable fence line
- Call 811 a few business days before digging so buried utilities are marked.
- For wood fences, use ground-contact pressure-treated posts in exposed outdoor areas.
- A common starting point is a hole about three times the post width and roughly one-third of the post length, with more depth in frost-prone regions.
- Corner, end, and gate posts need the most support; line posts can sometimes use a simpler base on lighter fences.
- Drainage matters: gravel at the bottom and a sloped top on concrete help keep water away from the post.
- Fast-setting concrete saves time, but it does not replace accurate plumbing or cure time.
Layout before you dig the first hole
Before I touch the auger, I map the line. I set corner stakes, pull a tight string line, square the corners, and mark each post center so the fence follows a clean path instead of wandering with every hole. In the United States, I also call 811 a few business days ahead so buried gas, water, and electrical lines are marked before digging starts.
- Mark gate openings first, because hinges and latch hardware need exact clearance.
- Use the panel width or rail span as your spacing reference.
- If the property slopes, decide whether the fence will step or follow the grade.
- Check local rules if the fence is near a property line, easement, or sidewalk.
Once the layout is fixed, the next choice is the post itself and the hole that will support it.
Choose the post, hole size, and footing method
I do not treat every post the same. Corner, end, and gate posts carry the load of the fence, while line posts mainly keep the span aligned. That difference matters because the stronger posts need deeper, more rigid support, while some lighter line-post runs can use a simpler base. For a 6-foot privacy fence, I often start with an 8-foot post, and for a standard 4x4 post I want a hole roughly 10 to 12 inches wide. A common rule is one-third of the post length plus about 4 inches of gravel, then deeper if the local frost line demands it. Gravel helps drainage, but it never makes up for a shallow hole.
| Part of fence | Practical setup | Why I use it | Limits |
|---|---|---|---|
| Corner, end, and gate posts | Ground-contact treated post set in concrete | Handles tension, latch pull, and wind load | Harder to replace later; needs cure time |
| Line posts on a light fence | Post set in compacted soil or gravel with drainage | Faster, cheaper, easier to adjust | Less rigid; not for gates or tall privacy runs |
| Wood posts in wet soil | Concrete footing with drainage base and sloped crown | Reduces movement and helps shed water | Needs careful installation to avoid trapping moisture |
This is also where material choice pays off. Ground-contact pressure-treated lumber is the right baseline for wood fence posts outdoors, because the lower section lives in the harshest part of the project. From here, the real work is digging the holes cleanly and consistently.
Dig holes that actually match the layout
I use a post-hole digger for a small job or a rented auger when I have several holes to cut. Either way, I want straight-sided holes that are deep enough, wide enough, and free of loose dirt at the bottom. Loose spoil under the post is a common reason fences settle after the first wet season.
- Dig each hole to a consistent depth, not just a guessed depth.
- Keep the bottom flat and remove loose soil before setting the post.
- Let the hole breathe a little wider than the post so you can plumb it without scraping the sides.
- Add a few inches of drainage gravel at the base when the soil holds water.
- Stay alert near utility marks and hand-dig when you are close to them.
If the soil is rocky or clay-heavy, I slow down and clean each hole as I go rather than forcing the post into a bad shape. That extra ten minutes is cheaper than replacing a leaning post later. Once the holes are ready, the job becomes a matter of keeping each post dead upright while the footing locks in.
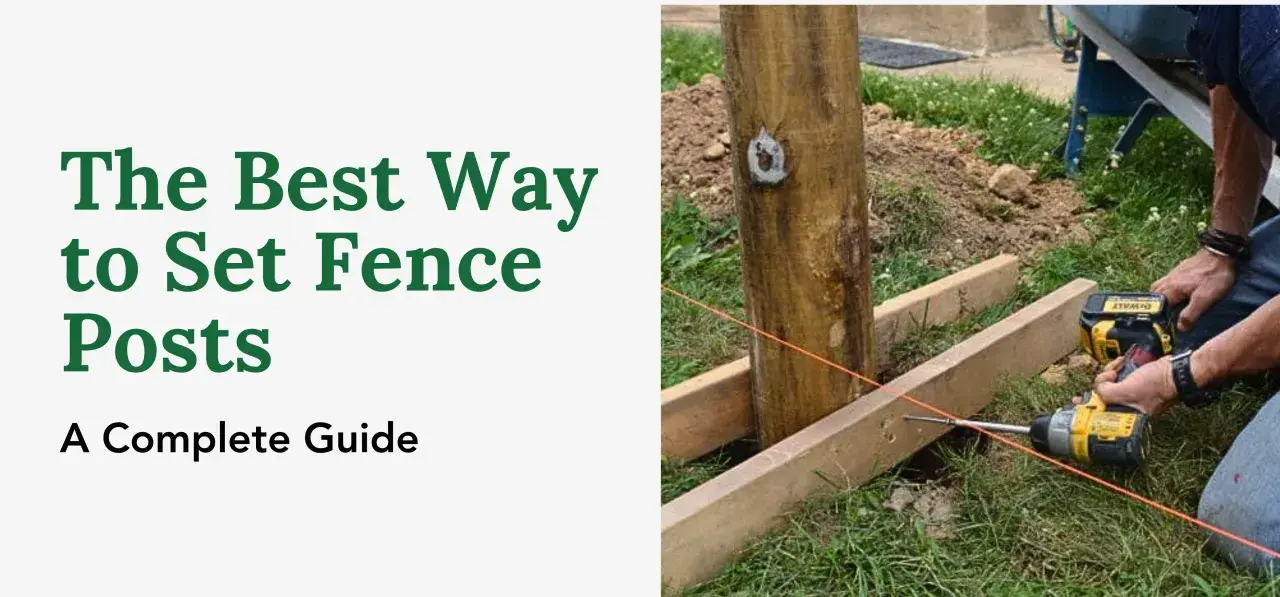
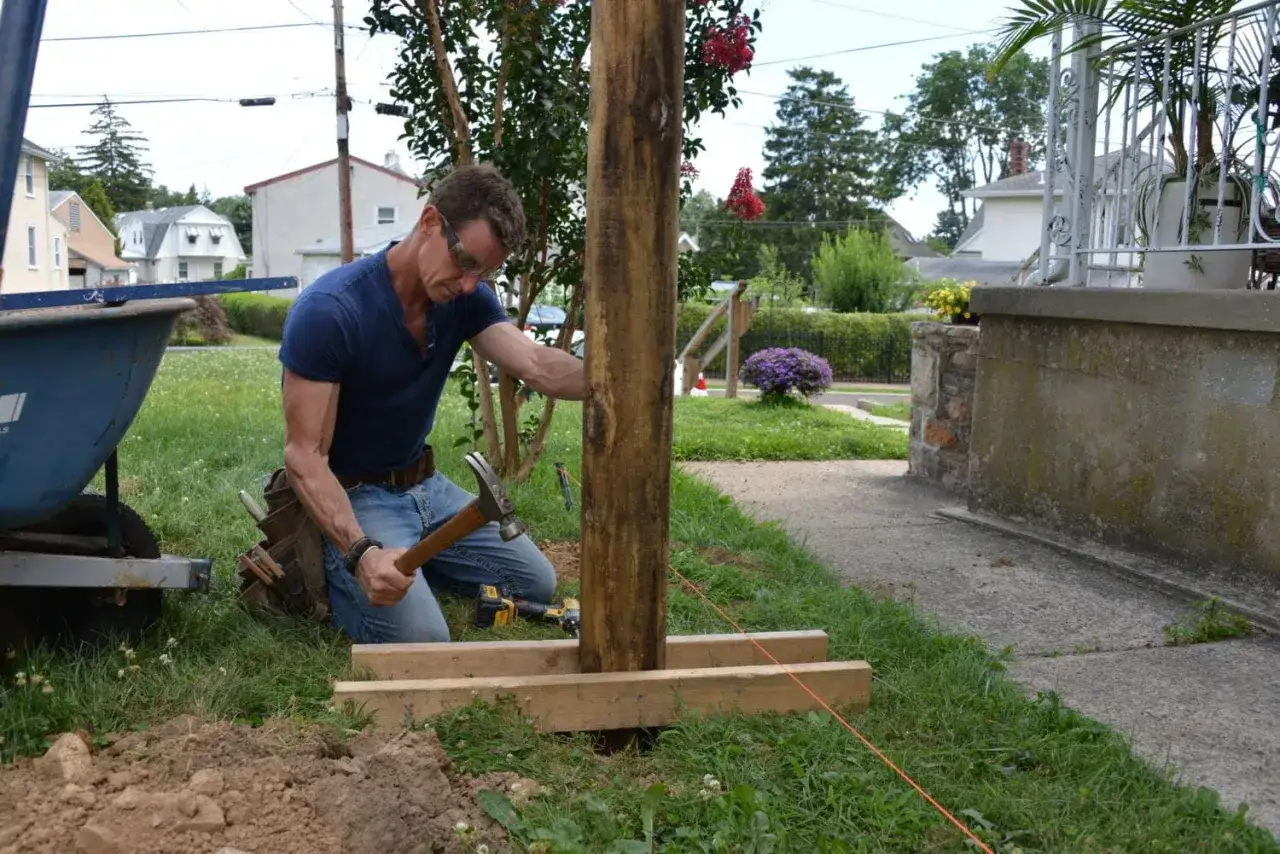
Set the post, brace it, and keep it plumb
Plumb simply means perfectly vertical, and I check it in two directions before I commit to any concrete. I set the post on its gravel base, hold it at the correct height against the string line, then brace it with 2x4s so it cannot drift while I work.
- Set 4 inches of drainage gravel at the bottom of the hole.
- Place the post and align the top with the string line.
- Check plumb on two adjacent sides.
- Brace the post securely so it cannot twist.
- Fill with concrete if the post needs a footing, or backfill in layers if the design calls for compacted soil.
- Slope the top of the concrete away from the post so water sheds off instead of pooling.
- Recheck plumb after every few shovelfuls and again before leaving the post to cure.
Fast-setting concrete can be useful because it sets in roughly 20 to 40 minutes, but I still treat it as a setting aid, not a shortcut around accuracy. Full cure time is longer, and heavy rails, panels, or gate hardware should not go on until the footing is ready. That leads directly to the question most homeowners ask next: which footing method is best for the job.
Concrete, gravel, or compacted soil
I choose the footing based on load, climate, and drainage. There is no single answer that fits every fence, which is why blanket advice causes so much trouble.
| Footing method | Best for | Strength | What I watch for |
|---|---|---|---|
| Concrete | Corner, end, and gate posts; tall privacy fences; windy sites | Highest | Needs drainage, cure time, and good bracing |
| Gravel with compacted backfill | Well-drained soil; some line posts; easier future replacement | Moderate | Not ideal in soft soil or under heavy gate loads |
| Compacted native soil | Light-duty runs and low-wind fences where local practice allows it | Lowest | Only works when the soil is stable and the load is light |
For most wood privacy fences, I still prefer concrete on the structural posts and a more flexible approach only on the light line posts, if the design and soil conditions justify it. Soil that drains poorly or freezes hard deserves more caution, not less. If you choose the wrong footing, the fence may look fine on day one and fail after the first freeze or storm.
Avoid the mistakes that make posts lean later
Most fence problems are not dramatic mistakes. They are small shortcuts that compound.
- Skipping 811 and digging blind.
- Using posts that are too short to bury deeply enough.
- Forcing a post into a hole that is too narrow.
- Setting a post before the layout string is tight and square.
- Leaving the concrete flat on top so water sits against the wood.
- Hanging rails or gates before the footing has cured.
- Using non-ground-contact lumber where the post actually touches the soil.
- Setting posts in saturated soil and expecting the footing to save the day.
I also see a lot of people underestimate wind load. A short decorative fence can tolerate a simpler base, but a tall privacy fence acts like a sail. If the post is carrying that much force, I do not cut corners on depth or footing. The final section is where I focus on the small choices that make the whole structure last longer.
The small details that keep a fence line straight for years
When I want a fence to survive more than one season, I pay attention to the parts that are easy to ignore. I keep wood posts out of standing water, use ground-contact lumber, and make sure the top of the footing sheds water instead of catching it. If the wood will be stained or painted, I let pressure-treated posts dry fully first so the finish has a better chance of sticking. I also seal any field cuts or exposed end grain so the post base is not the only line of defense.
- Keep the bottom of the post away from trapped moisture.
- Use longer posts in frost-prone regions so you can bury them deeply enough.
- Check alignment again after the first heavy rain, before you install panels or rails.
- On gate posts, spend extra time on alignment because a small error becomes obvious fast.
- Match the fastener and hardware choice to the post material so corrosion does not become the next problem.
If I had to reduce the whole process to one principle, it would be this: the post is not just a support, it is the structure. Get the post right and the rest of the fence becomes routine; get it wrong and you spend the rest of the project compensating for it.