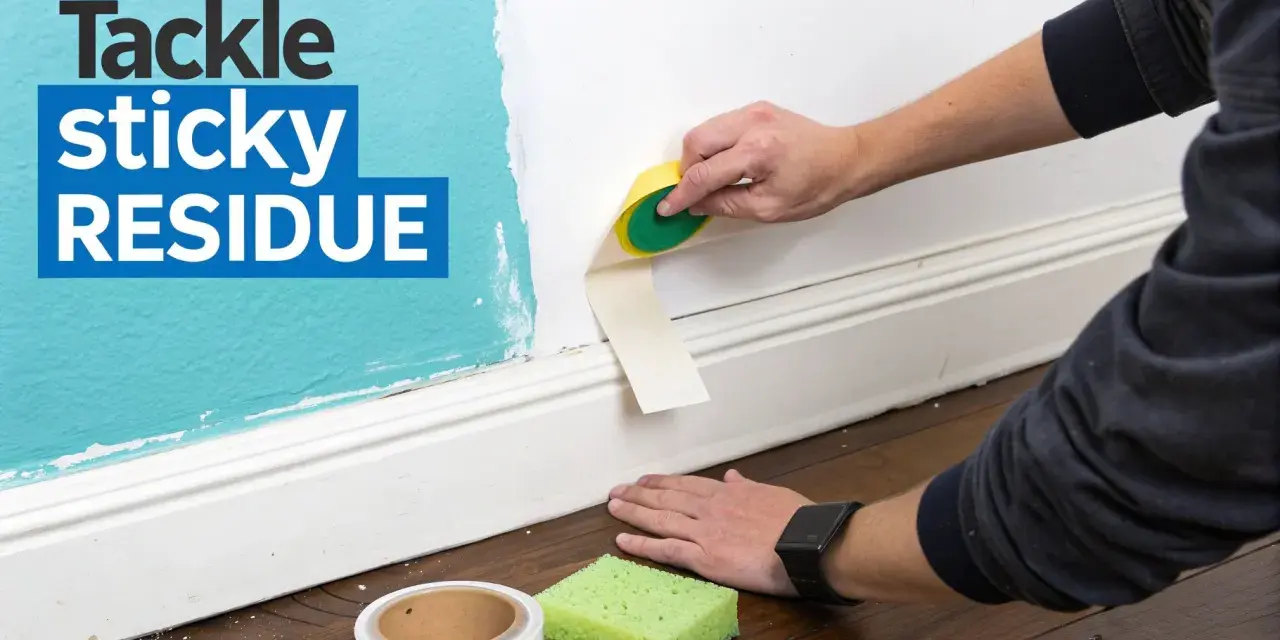
Sticky residue on a wall is one of those small messes that can turn into a bigger repair if you attack it too fast. Knowing how to get adhesive off wall without stripping paint is mostly about choosing the gentlest method that will actually work, then escalating only if the residue refuses to let go. In this guide, I cover the safest approach for painted drywall, the household products that earn their keep, and the point where cleanup turns into patching.
The safest route is to soften, lift, and clean in that order
- Start with the least aggressive method and test a hidden spot first.
- For most painted walls, low heat and a plastic scraper beat harsh solvents.
- Dish soap, rubbing alcohol, or a citrus remover can help with leftover film, but each carries some paint risk.
- If the adhesive is thick, rubbery, or construction-grade, expect more scraping and possible patching.
- Drywall paper, flat paint, and wallpaper need extra caution because they damage easily.
Start by identifying the adhesive and the wall finish
I always look at two things first: what the residue feels like and what the wall is made of. Sticker glue and tape residue are usually tacky and can be softened; foam mounting tape leaves a rubbery layer; wallpaper paste rehydrates with moisture; construction adhesive is dense enough that scraping becomes the main job. The wall finish matters just as much, because flat paint and drywall paper mark much faster than eggshell or satin paint.
A quick touch test tells you a lot. If the residue rolls into little strings, it is usually light adhesive film. If it feels hard and brittle, it is more likely a stronger glue or aged tape pad. I also check for bubbling, chalking, or color transfer on a cotton swab in a hidden corner, because that is the earliest warning that the finish will not tolerate much scrubbing.
Test in an out-of-sight spot before you commit to a method. If the paint dulls or comes away on the cloth, I stop and switch to a gentler approach or a repair plan. Once you know what you are dealing with, the safest removal order becomes much clearer.
The safest step-by-step method for most painted walls
For ordinary tape residue, wall stickers, and the leftover gum from removable hooks, I start with heat and a plastic edge before I reach for liquid cleaners. That order gives you the best chance of lifting the adhesive without soaking the wall or dulling the paint.
- Set a hair dryer to low heat and warm the spot for 10 to 20 seconds at a time, keeping the nozzle about 6 to 8 inches away.
- Use a plastic scraper, old credit card, or plastic putty knife to lift the softened edge at a shallow angle.
- Wipe the area with a microfiber cloth dampened with warm water and a little dish soap, using about 1 teaspoon of soap in 2 cups of water.
- If a thin film remains, spot-test rubbing alcohol or a citrus-based adhesive remover on a hidden area first.
- Dry the wall immediately with a clean cloth so moisture does not sit on the paint or drywall.
I prefer short passes over long ones. The moment you feel the wall start to heat up or the paint begin to drag, stop, let it cool, and try again. If those steps leave only a faint film, the next decision is which cleaner will finish the job without leaving a worse mark.
Which cleaners work best for different residue types
Not every cleaner earns a place on a painted wall. Some work beautifully on sticker residue and do almost nothing on old construction adhesive; others can clean the wall and dull the finish at the same time. This is the comparison I use most often.
| Cleaner | Best for | What I like | Caution |
|---|---|---|---|
| Warm water + dish soap | Fresh residue, wallpaper paste, light grime | Cheap, gentle, easy to control | Too weak for heavy tape glue |
| 70% isopropyl alcohol | Sticker adhesive, tape residue, sticky film | Works fast on many common residues | Can dull flat paint or lift weak finishes if overused |
| White vinegar | Light adhesive film and some paste residue | Common household option with mild dissolving power | Spot-test carefully on painted walls |
| Citrus or commercial adhesive remover | Stubborn tape, old residue, gummy buildup | Stronger than household cleaners | Can soften paint and needs ventilation |
| Melamine sponge | Thin residue, smudges, scuffs left after removal | Good finishing tool for the last trace of grime | Abrasive enough to remove sheen if scrubbed hard |
My rule is simple: use the lightest cleaner that still does real work. If dish soap clears the residue, I stop there. If not, I move up to alcohol or a remover, but only after a test patch. That keeps a cleaning job from turning into a repaint.
When the residue is thick, old, or construction-grade
Heavy-duty adhesive behaves more like a repair problem than a cleaning problem. If it came from mounting strips, mirror tape, poster squares, or construction adhesive, I expect more resistance and a higher chance of paint loss. At that point, the goal is not to make the wall perfect in one pass; the goal is to remove what you safely can and avoid widening the damage.
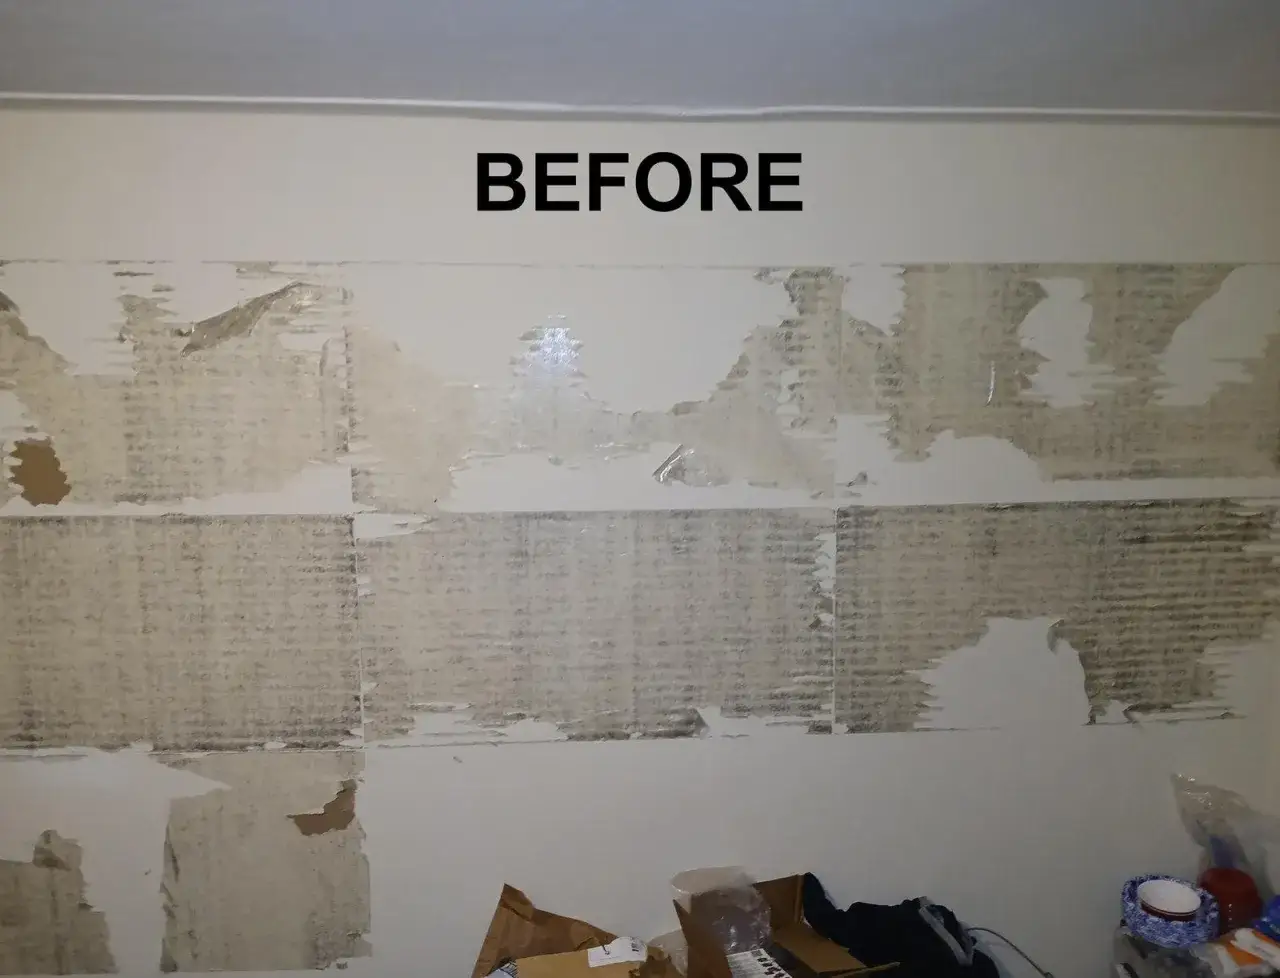
For soft foam tape, I warm the surface, peel slowly, and then scrape the residue in thin layers. For wallpaper paste, I use warm water with a little dish soap, let it sit briefly, and wipe before it dries back on the wall. For construction adhesive, I usually remove only what releases cleanly, because forcing the rest can tear drywall paper or pull off a section of paint that is harder to repair than the glue itself.
- Keep moisture minimal on drywall, because the paper face can swell and scar quickly.
- Use a plastic scraper first; metal blades are a last resort and usually not needed on painted walls.
- Work in small sections so the cleaner does not dry before you can lift the residue.
- Stop if the wall starts looking fuzzy, cratered, or shiny in a patch that did not match before.
When the residue behaves like a bonded layer rather than a sticky film, I stop thinking like a cleaner and start thinking like someone preserving the surface. That judgment call saves a lot of wall repair later.
The mistakes that turn a cleanup into wall damage
I see the same errors over and over: metal blades, too much solvent, aggressive scrubbing, and impatience. They all come from the same assumption that more force will finish the job faster. On walls, that is usually backwards.
- Using a razor blade on painted drywall can slice the finish and leave a line that shows under every light.
- Soaking the wall can soften drywall paper or push moisture into seams and trim.
- Skipping a spot test is how you end up with a clean patch that is a different sheen than the rest of the room.
- Scrubbing flat paint hard can polish the area and make the repaired spot stand out even when the adhesive is gone.
- Painting over residue traps the problem instead of solving it, and the new paint may fail to bond properly.
If you remember only one thing here, make it this: slow and controlled beats strong and fast. A wall is not a countertop. It rarely rewards brute force. Once the mistakes are out of the way, the remaining question is how to put the surface back together cleanly.
Repair the finish before you call the job done
If the adhesive pulled paint or tore drywall paper, cleaning is only half the job. I patch small dents with spackle or joint compound, let it dry fully, sand lightly with fine-grit sandpaper, and then prime the spot before touching up paint. If the paper face of drywall is exposed, I use primer first so the patch does not soak in unevenly.
For a small scuffed spot, a touch-up may be enough. For a larger repair, feather the paint farther out than you think you need, because a tiny repaint circle often looks more obvious than the original blemish. If the wall has a strong sheen, matching the finish matters almost as much as matching the color.
- Scuffed paint usually needs cleaning, drying, and a touch-up.
- Paint loss usually needs patch compound, sanding, primer, and paint.
- Torn drywall paper needs sealing before any filler goes on.
- Sheen mismatch may require repainting a wider section, not just the repaired spot.
I would rather leave a tiny bit of residue and come back with the right repair materials than burn through the paint trying to make the wall look finished in one pass. That approach usually produces a cleaner result, especially in rooms with a lot of daylight.
Make the next cleanup easier
The best adhesive removal is the one you do not have to do twice. Use removable hooks that are actually rated for the weight you want to hang, and choose strips made for painted surfaces rather than generic tape. When it is time to take them off, pull the tab slowly and keep it close to the wall so the adhesive stretches instead of yanking the paint loose.
For rentals, I also keep a few basics on hand: a plastic scraper, microfiber cloths, warm water, dish soap, and a small bottle of isopropyl alcohol. That is enough for most residue problems without turning the cabinet under the sink into a chemistry set. If you know the paint color and sheen, keeping a little touch-up paint nearby is even more useful, because a fast repair is easier to live with than a visible scar.
When adhesive removal stops being a cleaning job
If the residue comes off in soft layers and the paint stays intact, you are still in cleaning territory. Once the glue is fused, the wall paper is peeling, or the finish looks bruised after a few careful passes, I stop forcing it and switch to patching instead of chasing a perfect bare surface. That is usually the moment that protects the wall, the schedule, and your patience.
The practical sequence is simple: test first, soften second, scrape lightly, clean the film, and repair only when the wall needs it. That is the cleanest way I know to remove adhesive from a wall without creating a second problem that is harder to hide than the first.