A concrete patio picks up grime in layers: pollen, soot, grease from the grill, mildew after wet weather, and the faint film that builds up when leaves sit too long. This guide explains how to clean concrete patio surfaces without etching the finish, dulling the color, or turning a simple wash into a bigger repair job. I’ll walk through the prep, the safest cleaning methods, the stains that need special treatment, and the maintenance habits that keep the slab looking better between deep cleans.
The quickest route to a cleaner patio
- Start dry: sweep or blow off grit before adding water.
- For routine dirt, warm water, mild detergent, and a nylon brush are usually enough.
- Treat oil, rust, mildew, and leaf stains separately; they rarely come out with one generic cleaner.
- Most residential slabs respond well to 1,500-3,000 psi and a 25-degree nozzle; keep the wand moving and test first.
- Use a pressure washer only when the surface can handle it. Old, decorative, or cracked concrete often does better with a gentler wash.
- Seal the patio only after it is fully dry if you want future cleanups to be easier.
Read the slab before you clean it
The first thing I do is look at the concrete itself, not just the dirt on top of it. Plain broom-finished concrete is usually forgiving, but stamped, colored, sealed, or aging concrete needs a lighter touch because the finish can change faster than the stain does.
I also check for hairline cracks, spalling, loose edges, and white powdery efflorescence, which is just mineral salt that has migrated to the surface. If the slab is already shedding material, I skip aggressive scrubbing and heavy pressure, because both can make the weak spots more visible. If water beads on the surface, the patio is probably sealed, and I stay with a milder cleaner so I do not strip the coating unevenly.
Once I know the condition of the slab, I can choose a method that fits the mess instead of fighting the patio itself.
Match the cleaning method to the mess
| Surface problem | Best first move | Escalate to if needed |
|---|---|---|
| Loose dirt, pollen, and dust | Sweep or blow it off, then wash with warm water and a few drops of mild detergent | Repeat with a nylon brush if a dull film remains |
| Mildew, algae, or green film | Use an outdoor cleaner or oxygen bleach and let it dwell briefly | Pressure wash on a modest setting if the slab is plain and sound |
| Grease or food drips | Absorb fresh spills, then apply a degreaser | Use a poultice for older stains that have soaked in |
| Rust and orange marks | Use a concrete-safe rust remover | Spot test before treating a large or decorative area |
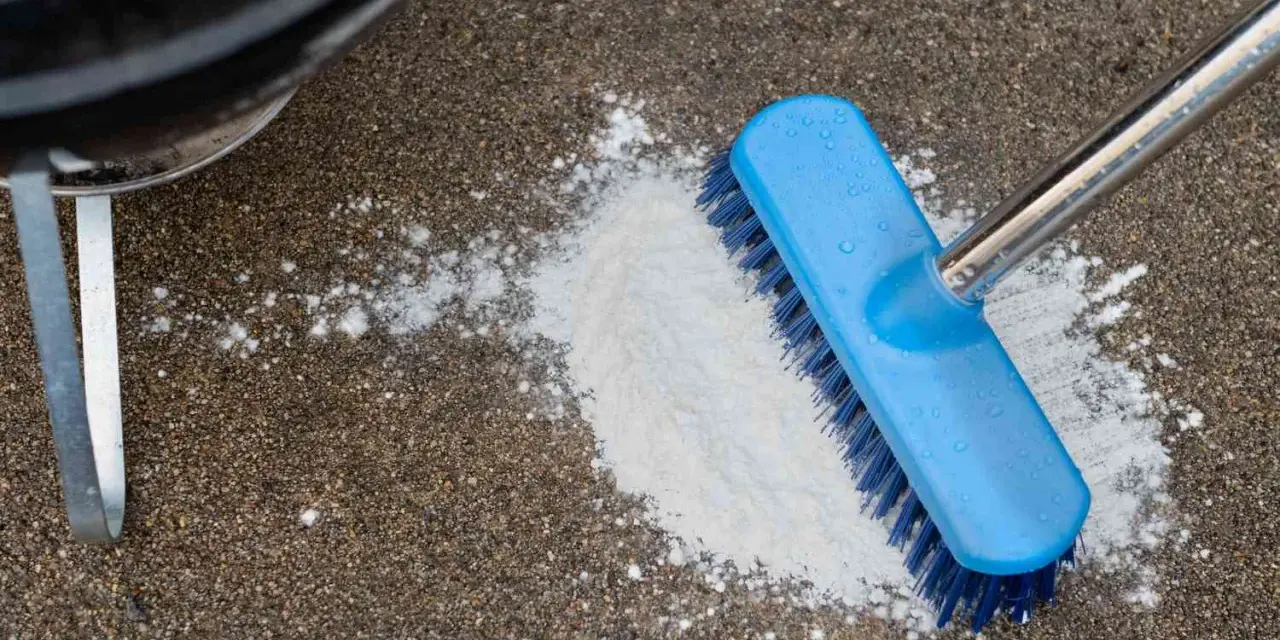
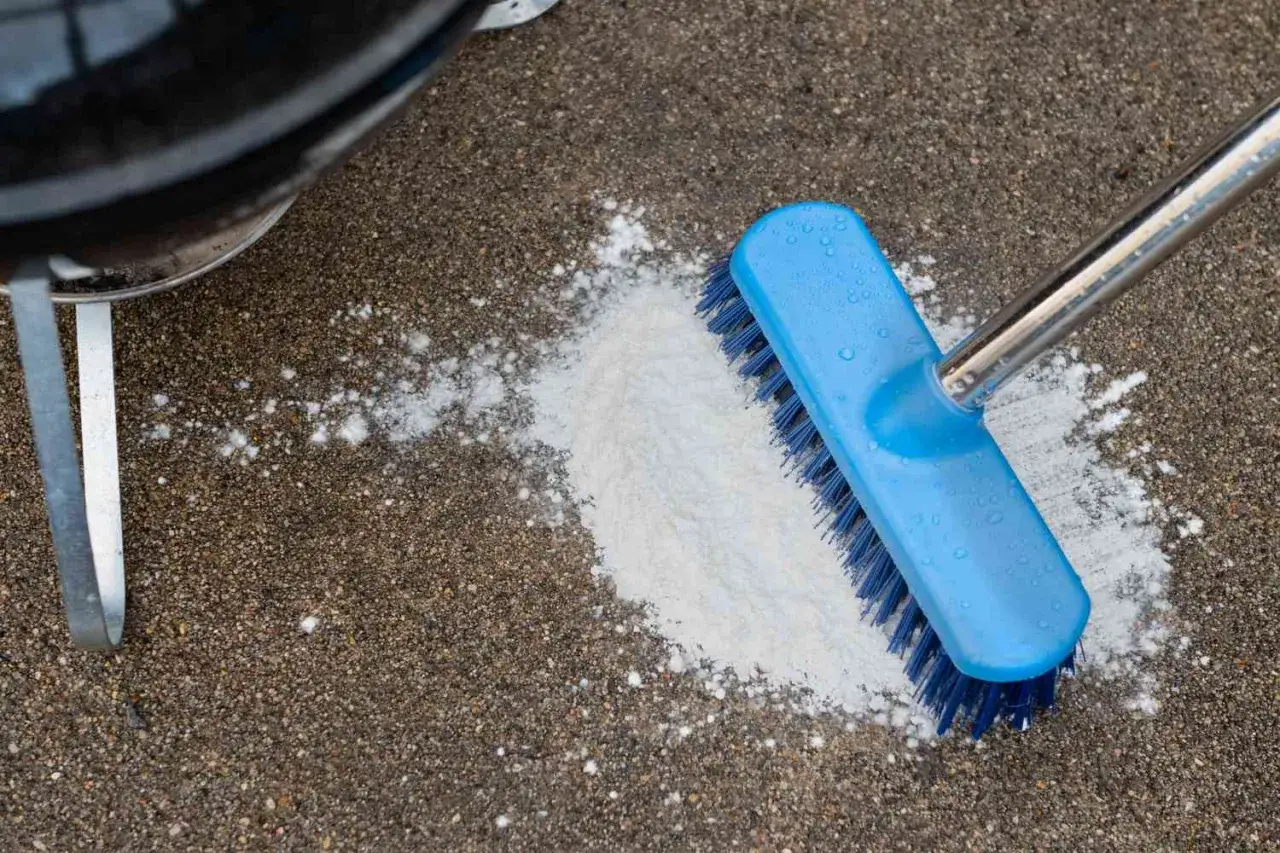
| Leaf tannins and berry stains | Use oxygen bleach and a soft brush | Repeat after a second soak if the color has sunk in |
| Paint, caulk, or gum | Lift the bulk first with a plastic scraper | Switch to a masonry-safe remover if residue stays behind |
The pattern is simple: let the chemistry do the heavy lifting first, then use scrubbing or pressure only as much as the surface can tolerate. That approach saves time and helps the patio keep a consistent look.
Use a simple wash routine for routine grime
For most patios, I start with a gentle manual clean before I reach for anything stronger. On a cool or overcast morning, the cleaner stays wet long enough to work, which matters more than people think.
- Move furniture, planters, grills, and rugs off the patio.
- Sweep or blow off loose debris so you are not grinding grit into the slab.
- Pre-rinse the area, especially if there is dust, pollen, or dried mud.
- Mix your cleaner according to the label, or use warm water with a mild detergent for everyday soil.
- Work in small sections that you can scrub and rinse before the cleaner dries.
- Scrub with a stiff nylon brush, not a wire brush.
- Rinse thoroughly and inspect the area before moving on.
Two details matter here. First, do not let cleaner dry on the surface, because that often leaves a streaky residue. Second, rinse before the sun bakes the solution into the pores. I keep a hose nearby and work backward toward the exit so I am not stepping on freshly cleaned areas.
If the patio still looks blotchy after this pass, the problem is probably not general dirt. That is the point where stain-specific treatment or pressure washing becomes the better next step.
Use a pressure washer carefully, not aggressively
A pressure washer can make a big difference on a large, plain concrete patio, but only if the surface is in decent shape. For most residential patios, I stay in the 1,500 to 3,000 psi range and use a 25-degree fan tip for broader cleaning. A zero-degree tip is too concentrated for routine patio work and can leave visible marks or even damage the slab.
| Good fit for pressure washing | Better left to hand cleaning |
|---|---|
| Large flat slabs with dirt, mud, or algae | Old concrete with cracking, flaking, or soft edges |
| Plain concrete with a tough, even finish | Stamped, colored, or recently sealed concrete |
| Areas where you can keep the nozzle about 18 to 24 inches away | Edges, joints, and fragile spots near repairs |
When I pressure wash, I keep the wand moving, spray perpendicular to the surface, and test a corner before committing to the whole area. That test patch tells me whether the pressure is right and whether the patio has hidden weak spots that would show up as striping or pitting.
I also prefer a surface cleaner attachment for broad, flat areas because it leaves a more even finish than a wand alone. It is not required, but it is the easiest way to avoid the zebra-striping effect people often get when they move too slowly with a narrow spray.
Treat stubborn stains by type
Grease and barbecue drips
Fresh grease is much easier than old grease. I usually cover a fresh spill with cat litter, cornstarch, or baking soda, let it sit for 15 to 30 minutes, then sweep it away before applying a degreaser or dish-soap solution. If the stain has already set, I repeat the treatment instead of blasting it with pressure, because pressure alone tends to spread the oil deeper into the pores.
Mildew, algae, and moss
For green growth, an outdoor cleaner or oxygen bleach is usually the most balanced option. On plain concrete, a diluted bleach solution can work too, but I keep it away from nearby plants, metal furniture feet, and decorative finishes unless the product label clearly allows it. Whatever you use, rinse thoroughly so the slab does not stay slick.
Rust, fertilizer marks, and orange streaks
Rust needs a product made for concrete or masonry. This is where people often reach for something harsh too early, but I would rather use a dedicated rust remover than gamble with a strong acid on a finished patio. A spot test is worth the extra minute, especially on colored or stamped concrete.
Leaf tannins, berry stains, and dark water spots
These stains usually respond to oxygen bleach plus a soft brush. The trick is timing: the longer wet leaves, berries, or muddy runoff sit on the patio, the more the color pulls into the pores. I treat those stains quickly and rinse well before they dry again.
Read Also: Clean Refrigerator Coils - The Right Way to Boost Cooling
Paint, gum, and construction residue
For paint splatter, I start with a plastic scraper and only then move to a masonry-safe remover if needed. Random solvents can haze sealed concrete or spread the stain into a larger patch, so I do not use them casually. If the residue is widespread or deeply bonded, professional removal is often more efficient than repeated DIY attempts.
One rule I treat as non-negotiable: never mix bleach with vinegar, rust remover, or any acid-based cleaner. The reaction can create dangerous fumes and can also damage the patio faster than the stain itself.
Make the next cleaning easier
The best patio is not the one you deep-clean most aggressively. It is the one that stays easier to maintain because the routine is simple. I sweep mine weekly during heavy pollen season, wipe spills the same day, and use pads under grill legs, planters, and outdoor furniture feet to reduce rust and scuff marks.
Sealer helps too, but I only add it after the slab is completely dry. In warm, dry weather that may be 24 to 48 hours after cleaning; if the patio is shaded or humid, I give it longer. Many concrete sealers need renewal every 2 to 3 years, but traffic, sun, and the product type change that schedule, so I judge by how well water beads on the surface rather than by the calendar alone.
If you are trying to keep the area low-effort, the real win is consistency: clean spills early, keep grit off the slab, and avoid letting moisture sit in corners or under planters.
The routine I would use on a weekend patio cleanup
For most patios, I use a simple sequence: dry sweep first, wash with a mild cleaner, spot-treat the stubborn marks, and pressure wash only when the slab is plain, sound, and genuinely dirty. That order gives the cleanest result with the least risk of streaks, etching, or accidental damage.
If the patio has deep staining, flaking concrete, or a decorative finish you care about, slow down and use the gentlest method that works. A concrete patio stays easier to live with when you clean spills early, keep grit off the surface, and let a good sealer do part of the work between seasons.