Installing bifold doors is one of those home repairs where precision matters more than force. This guide covers how to install bifold doors in a standard interior doorway, from measuring the finished opening to dialing in the pivots so the panels fold cleanly. I focus on the checks that prevent rubbing, drifting, and the kind of small alignment problems that waste an afternoon.
The opening controls almost everything
- Measure the finished opening, not just the bare framing, before you touch the hardware.
- A typical interior set wants about 1/2 inch more width and 1 1/2 inches more height than the labeled door size.
- The top track needs to sit straight and centered, and the pivot side usually needs about 1/4 inch of final clearance.
- If the jamb is out of plumb, the door can fit on paper and still bind in real life.
- Wood doors should be finished on all six sides so they do not swell or warp after installation.
- Small adjustment screws solve minor issues; big framing errors usually need carpentry, not more tightening.
Check the opening before you buy or cut anything
I start with the finished opening, meaning the clear doorway after trim is in place. Measure the width at the top, middle, and bottom, then measure the height on both sides. If the jamb, the vertical frame on each side of the doorway, is not plumb, the panels can bind even when the door size looks right on paper.
Plumb means perfectly vertical, and square means the corners meet at true 90-degree angles. A bifold can handle a little imperfection, but not enough to hide a crooked opening. As a rule of thumb, the finished opening should be about 1/2 inch wider than the labeled bifold size and about 1 1/2 inches taller. If the opening is shorter than that, the kit usually needs carpentry changes, not more force; if it is a little tall, a wood strip at the head can bring the opening back into range.
That first measurement pass tells me whether I am installing doors or solving a framing problem first. Once those numbers are honest, the rest of the job becomes much less mysterious.
Understand the parts that control the fit
Bifold hardware is simple, but every piece has a job. I keep the parts organized before I drill anything, and I match the kit to the door weight rather than assuming one hardware set fits every panel. If the doors are wood, I let them sit in the room for at least 24 hours so they can acclimate before I finish or hang them.
| Part | What it does | What I watch for |
|---|---|---|
| Top track | Carries the weight and guides the upper pivot | It must sit straight and centered in the opening |
| Upper pivot | Lets the door swing and fold at the top | It needs to seat fully, not halfway in the track |
| Lower bracket | Anchors the bottom of the pivot door | It has to rest firmly on the floor or carpet |
| Snugger | Keeps the lead door closed more securely | It should be set where the door actually meets it |
| Aligner | Helps the center seam line up on wider, four-panel sets | It matters most when two bifold sets meet in the middle |
- Measuring tape
- Pencil
- Level
- Drill with the right bit for pilot holes
- Phillips screwdriver
- Hammer
- Safety glasses
- Shims if the opening is not perfectly plumb
With the parts and tools lined up, the first real installation step is the track, because everything else hangs off that line.
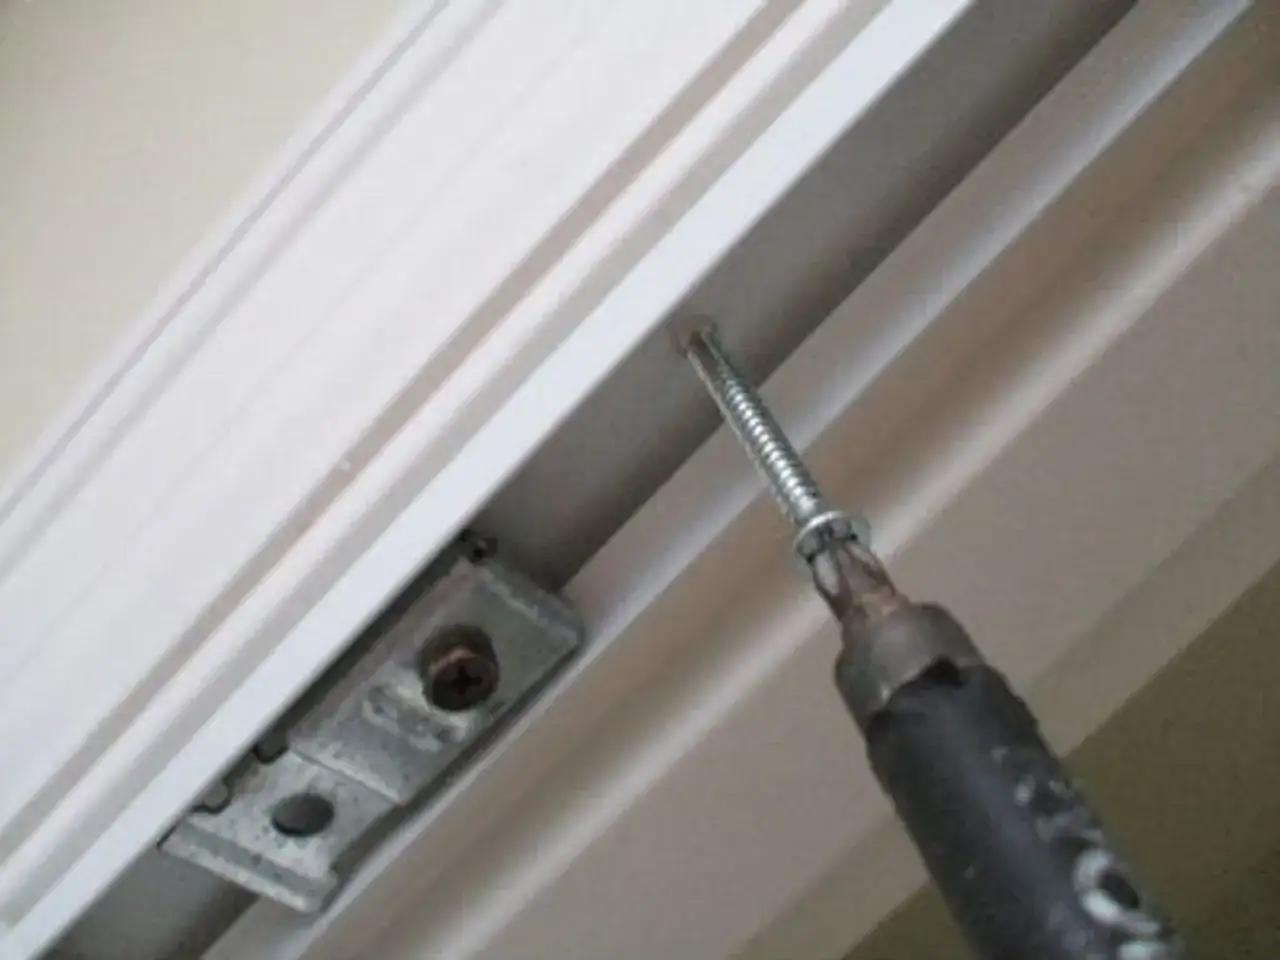
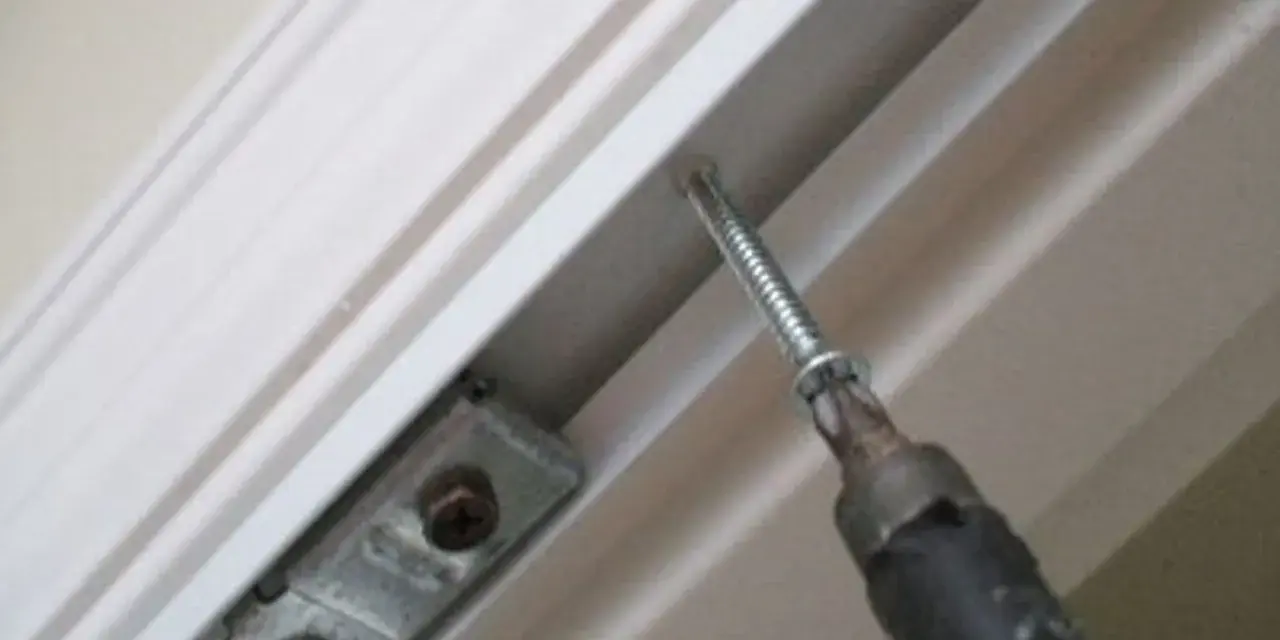
Install the track and lower bracket
The track carries the weight, so I treat its placement like the whole job depends on it, because it does. The top track should sit centered in the finished opening, with the open side facing down, and many kits want roughly 3/4 inch between the front of the track and the face of the opening. I hold it in position, check it with a level, and only snug the screws until the track is straight and stable.
- Mark the centerline at the top of the jamb.
- Hold the track on that line and confirm the screw holes land in solid wood.
- Fasten the track without twisting it.
- Set the lower bracket in line with the track and keep it seated firmly on the floor.
If the floor is carpeted, I still want the bracket seated firmly, not floating on the pile. After that, the opening is ready for the panels.
Hang the doors and lock in the pivots
Most kits use a pivot door, which carries the hardware, and a lead door, which closes first. I install the pivot pins into the predrilled holes, then lift the assembly so the upper pin drops into the track and the lower pin seats in the floor bracket. A dry fit, meaning a test hang before final tightening, matters here. If the panel is twisted even slightly, the problem shows up immediately when I try to fold the doors.
- Fit the lower pivot hardware first.
- Insert the upper pivot pieces into the track hardware.
- Lift the door assembly into place and seat both pivots.
- On a wider opening with four panels, add the center aligner so the middle doors meet correctly.
Once the panels are hanging, I test the fold before tightening anything else, because that tells me whether the geometry is close enough to finish adjusting.
Dial in the final alignment
This is the part where I stop treating the job as installation and start treating it as adjustment. I want equal space on both sides, smooth folding action, and at least 1/4 inch of clearance between the pivot door and the jamb. If the door sits too high, I raise or lower it at the lower pivot; if it sits too far toward one side, I shift the top bracket slightly and try again.
- If the top edge rubs, the track is usually off center or not level.
- If the bottom drags, the lower pivot is too low or the floor is uneven.
- If the doors will not close fully, the snugger may need to move.
- If the panels do not sit flush in the middle, the aligner on a four-panel set is probably missing or mis-set.
I always recheck after each small adjustment. Bifold hardware responds best to millimeters, not to optimism.
Fix the problems that show up on the first test
| What you see | What is usually wrong | What I change first |
|---|---|---|
| The door scrapes the floor | The lower pivot is set too low or the bracket is not seated | Raise the lower pivot and confirm the bracket is firm |
| The gap is wider on one side | The opening is out of square or the track is shifted | Re-center the track and check plumb again |
| The panels spring open | The snugger is missing, weak, or in the wrong spot | Install or reposition the snugger |
| The middle seam does not line up | The aligner is off on a four-panel set | Reset the aligner before changing anything else |
| The door sticks at the jamb | There is not enough side clearance | Move the top bracket slightly away from the jamb |
I change one thing at a time and test after each move. That discipline matters because it tells me what actually fixed the problem, instead of hiding it under a new adjustment.
Make the finish last and the door look built in
A clean installation still looks unfinished if the door edges are raw or the casing is rough. On wood doors, I finish all six sides of every panel, including cut edges and hardware cutouts, because unfinished edges are where swelling and warping start. Then I add the handle, touch up any cut surfaces, and, if needed, dress the opening with trim so the hardware disappears into the room instead of pulling the eye.
- Use matching paint or stain on any cut edge.
- Keep moisture under control during the first few days after installation.
- Check the door after several open-and-close cycles, not just once.
For me, the difference between a door that merely fits and a door that feels intentional is usually the last 10 percent of finishing work. When the measurements, track placement, and adjustments are right, the bifold stops behaving like a project and starts acting like part of the house.