The fastest fix for weak or uneven sink flow is usually at the tip of the faucet, not deep in the plumbing. Mineral scale, trapped grit, and dried residue can clog the aerator or spray face, so a careful clean often restores a steady stream without replacing anything. In this guide, I break down the safest way to clean different faucet heads, which cleaners actually help, and what to do when the problem is deeper than surface buildup.
The quickest way to restore a clean, even spray
- Most weak or crooked spray patterns come from mineral buildup, especially in homes with hard water.
- Removable aerators usually respond to a white-vinegar soak plus a soft brush or toothbrush.
- Fixed and pull-down spray heads are usually cleaned in place with a vinegar bag wrapped around the tip.
- Keep track of washers and screens when you take parts apart so the faucet does not leak afterward.
- Specialty finishes need more care; test first and avoid long soaks on delicate coatings.
- If the flow is still poor after cleaning, the cartridge, hose, or supply line may be the real issue.
Identify the fixture before you start
I always begin by figuring out what kind of faucet head I am dealing with, because the cleaning method changes fast once you move beyond a simple screw-off aerator. A standard kitchen or bathroom spout may have a removable aerator at the tip, while a pull-down faucet has a spray head on the end of a hose, and some newer faucets use soft nozzles that can be wiped clean by hand. In U.S. homes, hard water is the biggest repeat offender, but sediment from plumbing work or old pipes can cause the same symptoms.
| Fixture type | Best approach | Typical time | What I watch for |
|---|---|---|---|
| Removable aerator | Unscrew, soak, brush, rinse, and reinstall | 20 to 30 minutes for routine buildup, up to 60 minutes for heavier scale | Screen order, washers, and a snug but not forced reassembly |
| Fixed spout with spray face | Bag soak around the tip and scrub the nozzles | 30 to 60 minutes | Finish sensitivity and whether the nozzles are soft enough to clean by rubbing |
| Pull-down or pull-out sprayer | Clean the head in place or remove it carefully if the design allows | 30 to 60 minutes | Keep control of the hose so it does not retract into the faucet body |
| Touch-clean style nozzle | Wipe the openings with a finger, cloth, or soft brush | 5 to 10 minutes | Avoid aggressive cleaners that can dull the soft rubber surface |
Once you know which style you have, the actual cleaning becomes much less guesswork. The next step is the straightforward method I use most often for a removable aerator.
The fastest safe method for a removable aerator
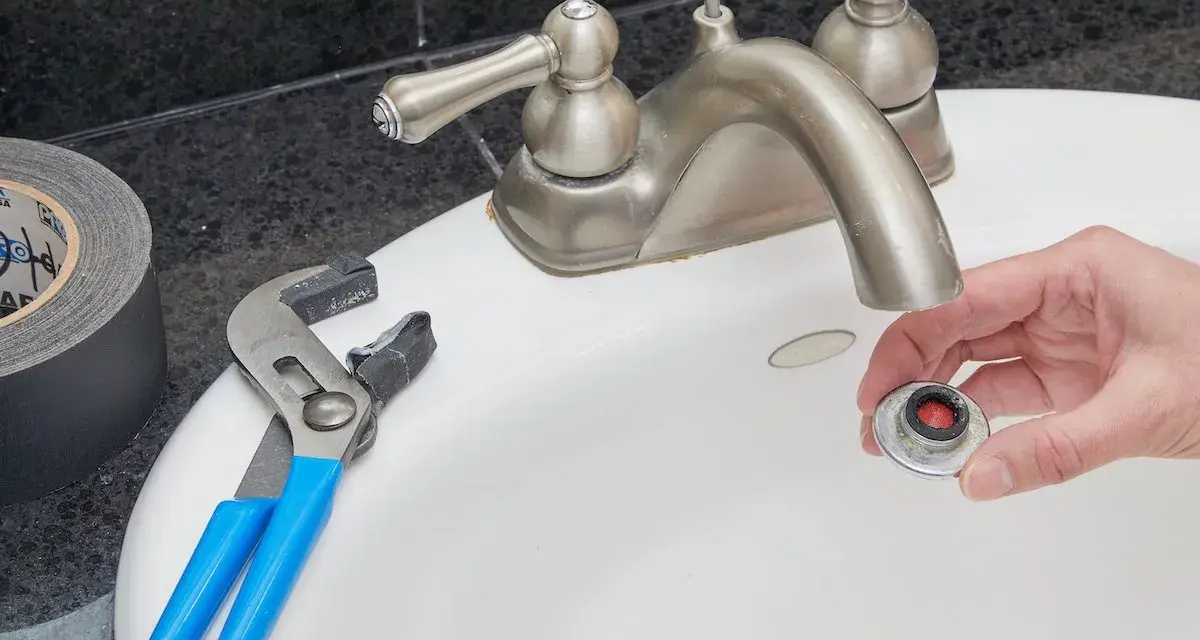
When the head unscrews by hand, this is the method I trust first. I keep a towel in the sink, plug the drain, and take the aerator off slowly so tiny parts do not vanish. If it feels stuck, I wrap the jaws of pliers in tape or cloth so I do not mark the finish. Then I lay the pieces out in the order they came off.
- Unscrew the aerator from the faucet tip.
- Set the screen, washer, and any insert pieces on a towel in the same order.
- Soak the parts in distilled white vinegar for 20 to 30 minutes.
- For heavier mineral scale, extend the soak to about 60 minutes, but do not assume longer is always better on older rubber parts.
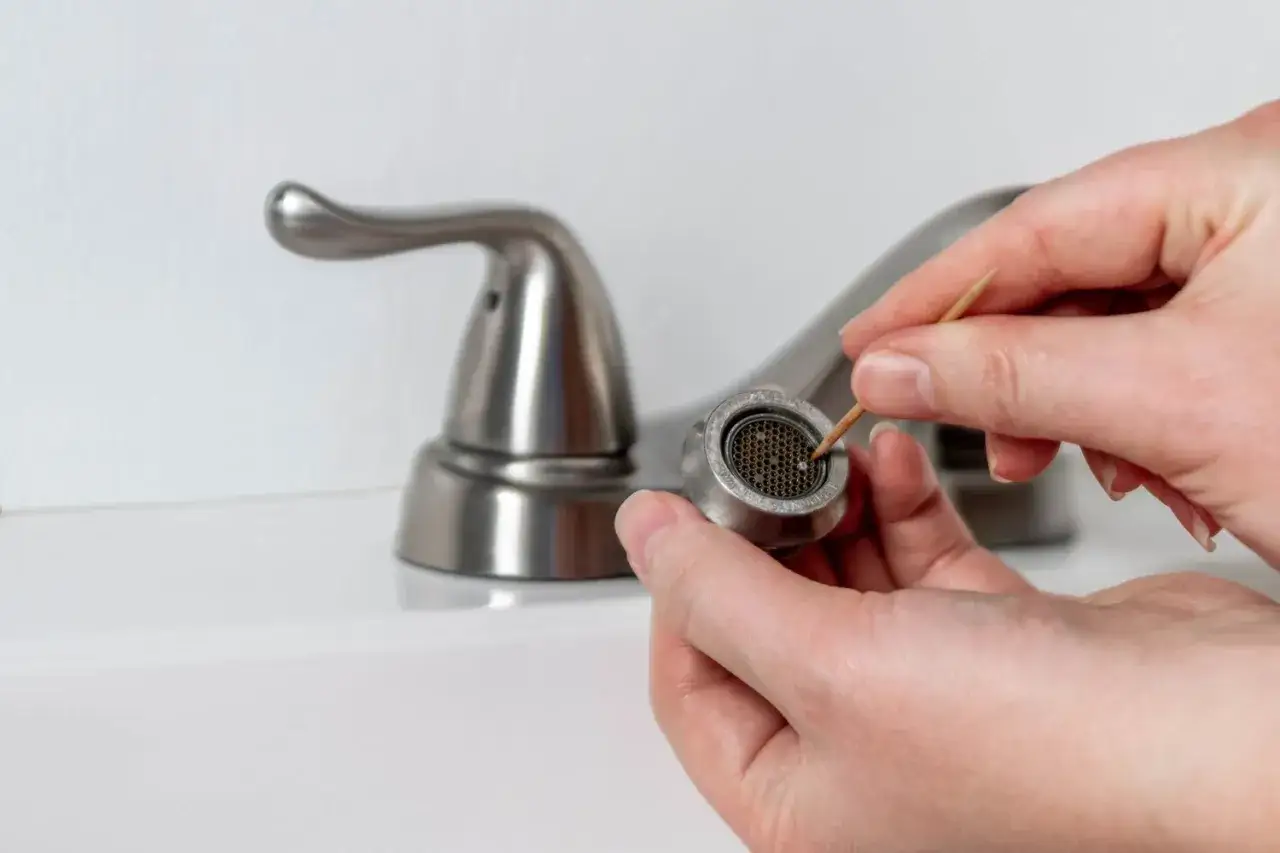
- Use an old toothbrush, soft brush, or wooden toothpick to clear the holes.
- Rinse everything thoroughly, then run water through the faucet for a few seconds before reassembling.
- Screw the aerator back on by hand until it is secure, then stop. Overtightening can warp washers and make the faucet leak.
If the screen is badly corroded, torn, or bent, cleaning may buy you a little time but not a full repair. In that case, replacing the aerator is often the cleaner fix. If your faucet has a fixed spray head or a hose, I switch to a different method instead of forcing removable-part logic onto the wrong design.
How I clean a fixed or pull-down spray head
For a fixed kitchen spray face or a pull-down sprayer, I usually clean around the head rather than taking the whole faucet apart. A small plastic bag, a rubber band, and white vinegar do most of the work. When the finish is delicate, I sometimes dilute the vinegar 50/50 with water and test a hidden spot first, especially on matte black or specialty coatings.
- Fill a bag with enough vinegar to cover the spray face.
- Slip the bag over the head and secure it with a rubber band or twist tie.
- Let it soak for 30 to 60 minutes.
- Remove the bag and scrub the spray openings with a soft brush or your thumb if the nozzles are silicone.
- Cycle the spray modes, if the faucet has them, so loosened debris flushes out of the internal passages.
- Wipe the head dry so fresh mineral spots do not form immediately.
On pull-down faucets, I am careful not to let the hose slip back into the faucet body if the head is detached. That is the kind of small, annoying mistake that turns a five-minute clean into a sink-cabinet problem. From there, the choice is mostly about the cleaner, and not every cleaner deserves the same level of trust.
Which cleaners help and which I skip
I prefer to match the cleaner to the actual buildup. Vinegar is excellent on mineral scale, but it is not a universal fix for every type of grime. Grease, soap film, and light surface dirt need a different touch, and very stubborn deposits sometimes justify a commercial descaler. Here is the way I sort it in practice:
| Cleaner | Best for | My rule of thumb |
|---|---|---|
| White vinegar | Calcium, limescale, and mineral crust | First choice for most faucet heads and aerators |
| Mild dish soap | Fingerprints, grease, and light film on the outside | Good as a first wipe before any soak |
| Baking soda paste | Surface grime and dull residue | Useful on the exterior, not packed into tiny internal holes |
| Commercial descaler | Heavy scale that vinegar cannot loosen quickly | Only if the label is safe for the finish and the rubber parts |
I skip abrasive powders, steel wool, and rough scouring pads. They can scratch chrome, dull stainless steel, and make buildup cling even faster the next time. I also avoid long acid soaks on old gaskets because brittle seals are more likely to split after they have been weakened for years. The cleaner matters, but the handling matters just as much.
Mistakes that damage the fixture
Most cleanup failures come from rushing, not from the vinegar itself. I see the same avoidable problems over and over:
- Using metal tools directly on the finish, which leaves permanent marks around the tip.
- Scrubbing with abrasive pads, which can haze polished metal and damage coated surfaces.
- Forgetting the order of the parts, especially on aerators with multiple screens or flow-control inserts.
- Overtightening on reassembly, which can crush washers and create a slow leak.
- Soaking delicate finishes too long, especially if the faucet has a specialty coating.
- Stopping too soon when the faucet still sputters, because the real blockage may be deeper in the head, hose, or cartridge.
One small habit prevents several of those problems at once: I take a photo before disassembly. It is a simple backup that makes reassembly much less stressful, especially when I am dealing with a recessed aerator or a pull-down spray head with more parts than expected. That leads naturally to the question I ask last: what if the faucet still does not flow properly after the head is clean?
When a clean head still does not restore pressure
If the spray is still weak after a proper cleaning, I stop blaming the aerator alone. At that point I look for a kinked hose, a partially closed shutoff valve, sediment in the faucet cartridge, or a worn internal seal. Those problems sit farther upstream, so the faucet tip can be spotless and still not perform well. In older plumbing, a stubborn pressure issue can also mean the line itself is carrying debris that keeps returning to the head.My practical rule is simple: clean the head first, then inspect the rest only if the symptom survives that step. For most fixtures, that sequence solves the problem with the least effort and the least risk to the faucet finish. If the water still comes out uneven after all that, the part you are cleaning is probably not the part that needs attention.