The fastest way to clean well without damaging the surface
- Start with the right machine for the job, because PSI and GPM matter as much as the nozzle you choose.
- Always begin with the widest spray pattern and the lowest effective pressure, then step up only if the dirt stays put.
- Inspect hoses, O-rings, fittings, and cords before every use so small defects do not become leaks or injuries.
- Use a GFCI-protected circuit for electric units and keep gas models far from enclosed spaces.
- Flat areas like driveways usually clean best with a surface cleaner attachment, not a narrow wand pass.
The main things to get right before you start
Before I ever pull the trigger, I think about three things: the surface, the spray pattern, and the risk of damage. PSI tells me how hard the water hits; GPM tells me how quickly it rinses dirt away. When those two are matched to the job, pressure-washing stops feeling aggressive and starts feeling precise.
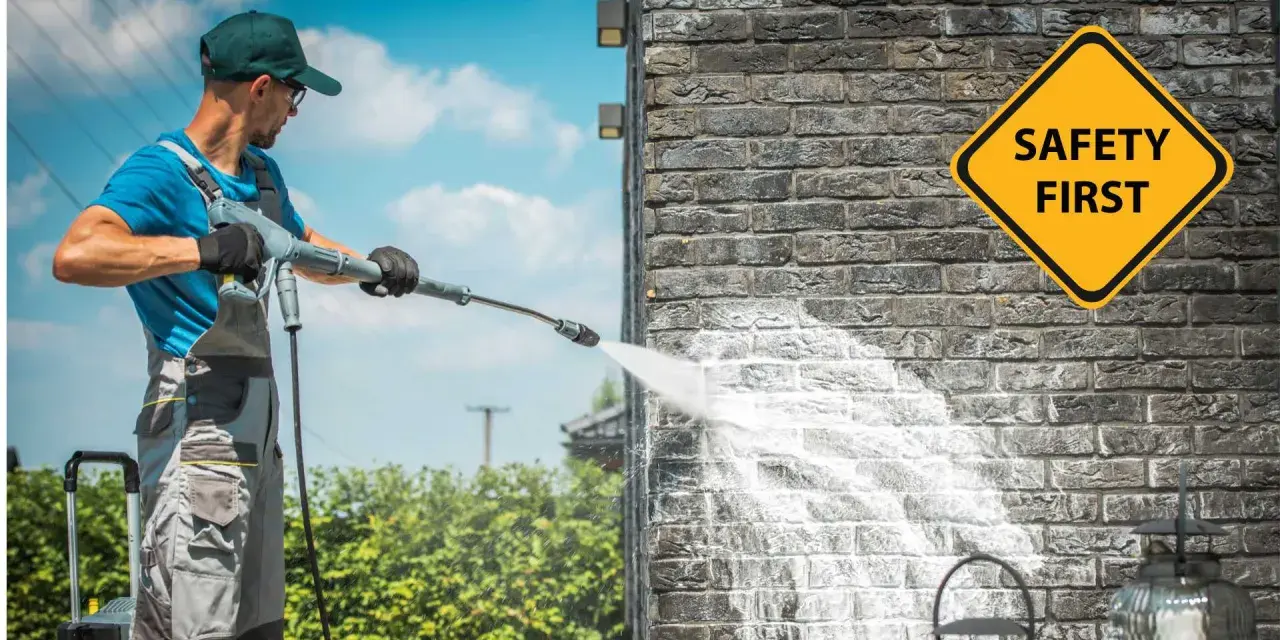
I also treat safety as part of the job, not an extra step. A pressure washer can cut skin, throw debris, and damage finishes faster than most people expect, so the smart approach is to build control into the process from the start.
Choose the machine and nozzle that fit the job

The easiest way to avoid trouble is to match the washer to the surface instead of chasing the biggest number on the box. For smaller household tasks, I prefer a lighter machine with a wide fan tip. For driveways and other hard surfaces, I move up in power and often use a surface cleaner attachment, which keeps the cleaning path even and reduces streaks.
| Task | Good starting setup | Why it works | Watch out for |
|---|---|---|---|
| Cars and outdoor furniture | Light-duty washer, 40-degree tip, detergent nozzle when needed | Enough cleaning power without stripping paint or forcing water into seams | Badges, seals, trim, and thin plastic panels |
| Siding and painted wood | Light- to medium-duty washer, 40-degree or soft-wash approach | Clears grime and mildew while staying gentle on finishes | Windows, vents, caulk lines, and upward spray into laps |
| Decks and fences | Medium-duty washer, low pressure, wide fan tip | Cleans weathered wood without scarring the grain | Old stain, loose boards, and soft wood that can fuzz up |
| Driveways and sidewalks | Higher-pressure washer, 15-degree tip or surface cleaner | Removes embedded dirt and algae from hard, flat concrete | Lingering in one spot, which can etch the surface |
As a rule, I avoid the red 0-degree tip for normal home cleaning. It is too concentrated for most jobs and can etch or cut the surface before you notice what is happening. The 40-degree tip is my default starting point, and I only narrow the spray if the material can handle it.
If you are wondering about pressure ranges, a useful rule of thumb is this: light-duty washers often sit around 1,300 to 1,900 PSI, medium-duty machines around 1,900 to 2,800 PSI, and driveway work usually calls for roughly 2,500 to 3,500 PSI. GPM matters too, because higher flow rinses dirt away faster and usually leaves a cleaner finish with fewer passes.
Prepare the space before you spray
Preparation saves more time than force does. I sweep away loose dirt first, because blasting grit across a surface can scratch it. Then I move chairs, planters, grills, toys, and anything else that could become a tripping hazard or get blown around.
- Close windows and doors before you start.
- Cover outlets, light fixtures, and other electrical components that should stay dry.
- Check for peeling paint, loose mortar, rotten wood, cracked caulk, or damaged siding before you spray.
- Keep pets and bystanders away from the work zone.
- Wear eye protection, closed-toe shoes, and hearing protection if the machine is loud.
- If the manual allows an extension cord, use only a heavy-duty outdoor-rated cord and keep every connection dry.
For gas models, I keep the engine well away from windows, doors, and vents. The CDC recommends staying at least 20 feet from openings, and I follow that because carbon monoxide is not something to gamble with. For electric units, I always test the GFCI before I begin and make sure the outlet, plug, and cord are in good condition.
The step-by-step cleaning method I trust
I like pressure washing best when I treat it as a controlled sequence, not a blast-and-hope exercise. If the surface is new to me, I test an inconspicuous spot first. That small test tells me whether I need less pressure, a different nozzle, or a softer method altogether.
- Start with the widest usable nozzle and stand farther back than you think you need to.
- Turn the water on, purge air from the line, and make sure the spray is steady before you begin cleaning.
- Work in slow, overlapping passes so the finish looks even instead of striped.
- Keep the wand moving. Lingering in one spot can etch concrete, raise the grain on wood, or strip paint.
- If you use detergent, apply it with low pressure and let it sit only for the label’s recommended dwell time.
- Rinse from top to bottom on vertical surfaces so dirty water does not run over already-clean areas.
- Step closer or narrow the spray only when the dirt is stubborn and the surface can handle it.
For large flat areas, I often switch to a surface cleaner attachment. A surface cleaner is a round tool with spinning nozzles under a protective shroud, and it gives a more even result than a bare wand. On driveways and patios, that usually means fewer tiger stripes and less backtracking.
Match the technique to the surface
The same washer can clean a driveway, a fence, and a patio chair, but not in the same way. The material decides the method, and the material is what I respect first.
Driveways and sidewalks
Concrete is one of the easiest surfaces to clean aggressively, but it still punishes sloppy technique. I usually start around 2,500 PSI and move up only if the slab is badly stained. A 15-degree nozzle works for focused cleaning, but on larger jobs I prefer a surface cleaner because it keeps the finish more uniform.
Oil spots and rust stains often need pretreatment. I do not assume pressure alone will lift them. On older concrete, I also keep the wand moving faster than I would on new slab so I do not etch the surface.
Decks and fences
Wood asks for restraint. On softwoods, I stay on the lower end of the pressure range, often around 500 to 1,500 PSI, and I use a wide fan tip. I clean with the grain rather than across it, because cross-grain passes can leave visible marks. If the deck has old stain or weathered fibers, I prefer a detergent-assisted wash over brute force.
One mistake I see all the time is over-cleaning the same board because the dirt is not moving fast enough. That usually raises the grain and leaves the wood feeling fuzzy. At that point, the washer has done less good than a gentler pass would have done.
Siding and trim
For siding, I stay cautious. A soft-wash approach often works better than raw pressure, especially on painted surfaces or older homes. I usually apply cleaner from the bottom up and rinse from the top down, because that keeps streaks from setting into the finish.
I also keep the spray angled downward and away from seams, vents, windows, and electrical features. Blasting upward can force water behind siding, which is exactly where it should not go.
Read Also: Organize Your Medicine Cabinet - Safer, Faster, Clutter-Free
Vehicles and patio furniture
Cars, outdoor cushions, and furniture need the lightest touch of the common household jobs. I use a wide nozzle, keep my distance, and lean on detergent more than pressure. The goal is to lift dust, pollen, and road film without driving water into seams or damaging coatings.If a material is thin, painted, or already brittle from sun exposure, I switch to a hose and brush sooner rather than later. Pressure washers are useful, but they are not automatically the best answer for delicate surfaces.
Mistakes that waste time or damage the surface
The biggest pressure-washing mistakes are usually simple. They come from starting too aggressively, rushing the prep, or assuming that a stronger stream is always a better one.
- Starting with the narrowest nozzle instead of the widest one.
- Holding the wand too close to wood, paint, or vinyl siding.
- Spraying upward into siding seams, vents, or trim joints.
- Using high pressure on old mortar, fragile brick, or damaged paint.
- Leaving detergent on the surface too long so it dries and streaks.
- Working without eye protection or sturdy shoes.
- Ignoring a hose crack, leaking fitting, or worn O-ring.
- Treating a cut from a spray stream like a minor scratch; high-pressure wounds can look small and still need medical attention.
Consumer Reports is right to stress inspection before use: cracked hoses, loose fittings, and damaged O-rings are small problems that can become leaks or injuries under pressure. I replace worn parts instead of trying to patch my way through them.
Shut it down and store it the right way
When I finish, I do not just switch the machine off and walk away. I shut off the water, turn off the unit, and squeeze the trigger to release the built-up pressure in the line. That one step makes disconnecting hoses safer and helps the system last longer.
- Flush detergent out of the pump and hose with clean water.
- Disconnect hoses, wand, and accessories only after pressure is released.
- Drain as much water as possible before storage, especially before freezing weather.
- Keep electric units unplugged and dry, and store cords so they do not kink or crack.
- For gas models, follow the manual for fuel storage and seasonal maintenance instead of guessing.
If the machine will sit unused for a while, I inspect the inlet screen, hose ends, and nozzle tips before I put it away. That small habit saves time on the next job and prevents the common startup problems that come from clogged filters or dried residue.
What makes the next cleanup easier
The best pressure-washing routine is the one that becomes predictable. I keep a small kit with spare O-rings, a nozzle-cleaning tool, and the tips I use most often, because losing five minutes to a missing washer or clogged nozzle is annoying in exactly the wrong way.
I also note what worked on each surface. If a deck needed a wider tip than expected, I write that down. If a driveway cleaned best with detergent plus a surface cleaner, I remember that too. Those notes matter more than they sound, because the next cleaning job usually goes faster when the setup is already tuned to the surface.
My simplest rule is still the one that matters most: start low, test first, and let the surface decide how far you can go. That is the practical way I approach pressure washing when I want a clean result without paying for it later in damage.