Knowing how to replace a toilet flange can save you from recurring leaks, sewer odors, and a toilet that never quite feels stable. This article walks through the practical decisions behind replacing the flange, choosing the right part for your drain, and resetting the toilet so the problem does not come back. I focus on the details that matter in a U.S. bathroom: flange height, pipe material, fasteners, and the mistakes that turn a small plumbing job into floor damage.
The essentials at a glance
- A cracked, rusted, or loose flange usually needs full replacement, not just a new wax ring.
- Match the new flange to the pipe material, drain size, and finished-floor height.
- The flange should sit on top of or slightly above the finished floor so the seal can compress properly.
- Always use a new wax ring and new closet bolts when the toilet goes back.
- If the subfloor is soft or the drain pipe is damaged, the repair gets bigger fast.
When the flange needs replacement and when a repair is enough
I start by asking one question: is the flange actually broken, or is the toilet just sitting on a weak seal? If the flange is cracked, rusted through, spinning, or no longer anchored to the floor, replacement is the right move. If the flange body is sound but sits a little too low, a spacer or extender may solve the problem without opening up more of the drain system than necessary.
| Situation | What usually works | Why |
|---|---|---|
| Flange is cracked or rusted | Full replacement | Damaged material will keep moving and can break the seal again. |
| Flange is sound but too low | Spacer, extender, or floor build-up before reset | Restores wax-ring compression without rebuilding the drain. |
| Toilet rocks but the flange is intact | Reset with correct height and shims | The bowl may be the issue, not the flange itself. |
| Soft or rotten subfloor | Repair the floor, then replace the flange | A new flange will not stay tight if the wood keeps moving. |
I treat replacement as the answer when the flange can no longer hold fasteners or keep its shape. That matters because the flange is not just a seal surface; it anchors the toilet to the floor. Once that anchor is gone, the wax ring is doing too much work, and that is when leaks start. Once you know the flange really has to go, the next step is choosing the right replacement and the hardware that goes with it.
Choose the right flange and gather the parts before you start
Before I touch the pipe, I want the replacement flange in hand and I want it to match the drain, not just the toilet opening. Most U.S. toilets use a 3-inch or 4-inch waste connection, but the pipe material and finished-floor height matter just as much as diameter. PVC, ABS, and cast iron are not interchangeable, and the wrong choice can fail at the joint or leave the flange sitting at the wrong height.
| Part or check | What I look for | Why it matters |
|---|---|---|
| Flange material | PVC, ABS, or cast iron | The connection method changes with the pipe. |
| Flange height | On top of or slightly above the finished floor | Too low weakens the wax seal; too high can rock the toilet. |
| Fasteners | Rust-resistant screws or anchors | The flange must stay fixed to the subfloor. |
| Closet bolts | New brass or stainless bolts | Old bolts corrode and make the reset harder. |
I also like to have a scraper, adjustable wrench, drill, rag, putty knife, and a saw or cutoff tool ready before I begin. If the bathroom floor is already finished, I aim for the flange to sit on top of the finished surface or just slightly above it, roughly 1/4 inch. If the floor is not finished yet, I measure from the final floor height, not the bare subfloor. A flange that looks fine before tile goes down can end up too low later, and that is a problem you do not want to discover after the toilet is reset. With the part and hardware selected, the actual swap becomes careful demolition and dry-fitting rather than guesswork.
How I replace the flange step by step
The work itself is straightforward if you stay methodical. I break it into three jobs: remove the toilet, remove the damaged flange, and install the new one at the right height with the right fasteners. The details change a bit with PVC, ABS, or cast iron, but the order stays the same.
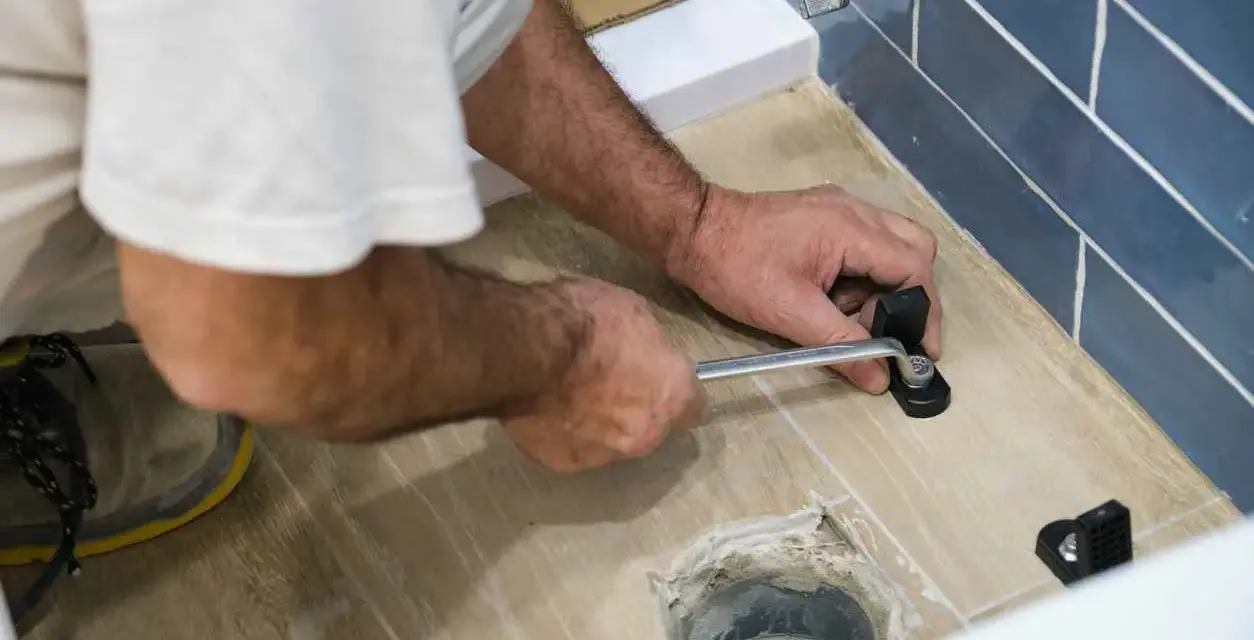
Remove the toilet and expose the drain
- Shut off the water supply at the stop valve and flush the toilet to empty the tank and bowl.
- Sponge out any remaining water, disconnect the supply line, and remove the tank-to-bowl caps or bolt covers if needed.
- Back off the closet nuts, then rock the bowl gently and lift it straight up. Set it on cardboard or a towel so you do not chip the porcelain.
- Stuff a rag into the drain opening right away. That keeps odors down and stops dropped screws, wax, or debris from disappearing into the pipe.
At this point I clean the old wax completely from the toilet base and the flange area. A clean surface makes it much easier to see whether the flange is broken or simply badly installed. If the floor underneath feels soft, I stop and inspect it now, because a new flange mounted over rotten wood will not hold for long.
Take out the damaged flange
- Scrape away any wax and dirt around the flange so you can see the fasteners and the pipe connection.
- Remove the old screws or anchors from the subfloor. If the flange is loose, check whether the flange itself is cracked or whether the floor has failed around it.
- On PVC or ABS, cut out the old flange or unfasten it according to the fitting style, then clean the pipe end for the replacement.
On plastic pipe, I dry-fit before I glue anything. Solvent welding means the cement actually fuses the plastic pieces together, so you only want one chance to get the height and orientation right. On cast iron, I am more careful. A repair flange or inside-fit style may be enough if the hub is sound, but a cracked or badly corroded cast-iron fitting stops being a simple flange job and turns into a larger drain repair.
Read Also: Toilet Seat Sizes - How to Measure & Choose Your Perfect Fit
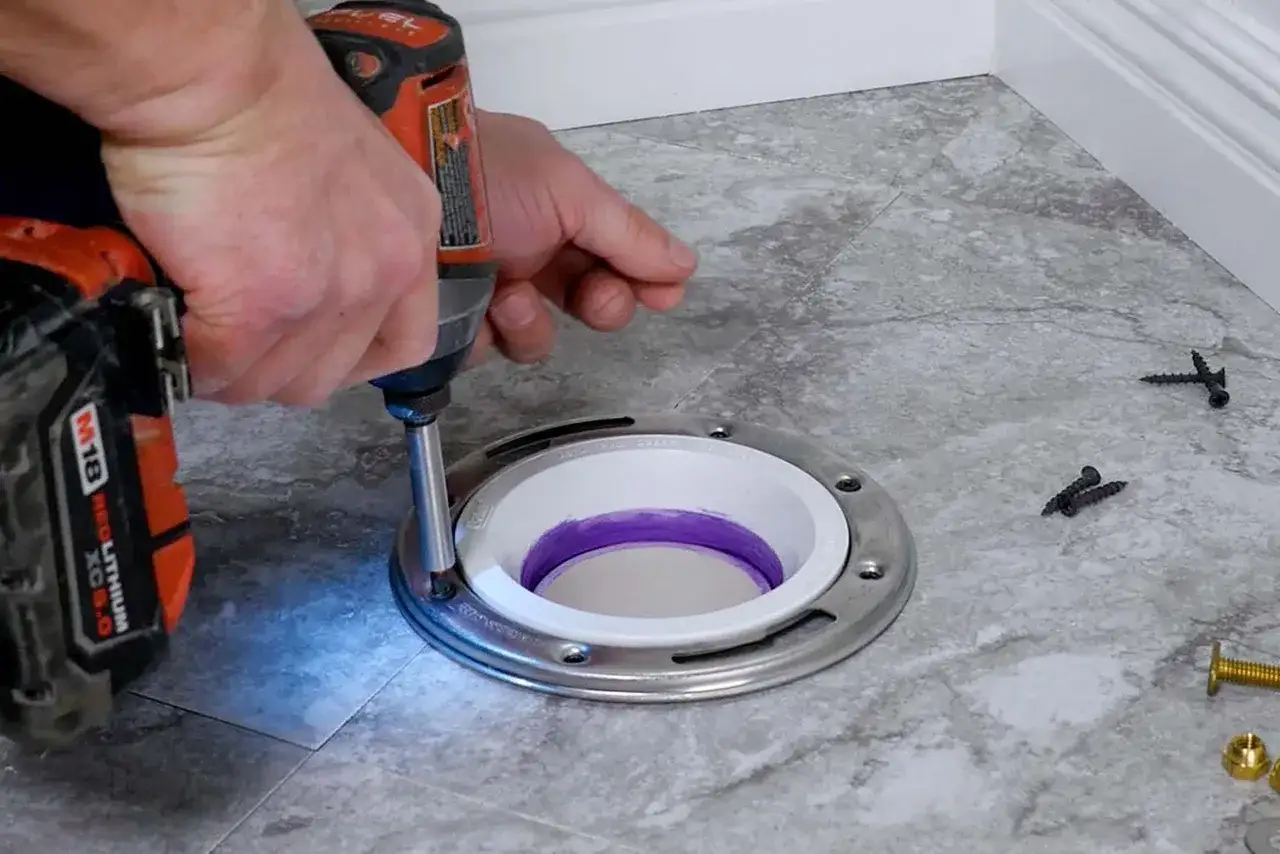
Install and fasten the new flange
- Test-fit the new flange and check that the bolt slots line up where the toilet needs them.
- Make sure the top of the flange lands on or slightly above the finished floor. If it is too low, correct the height before you move on.
- Use the proper connection method for the pipe material: solvent cement for PVC or ABS, or the correct repair hardware for cast iron.
- Anchor the flange to solid subfloor with rust-resistant screws or concrete anchors, depending on what is below the floor.
I want the flange to feel immovable before the toilet goes back. If it shifts under hand pressure, the wax ring will not last. Once the flange is secure, the remaining job is really about rebuilding the seal around it, which is where most DIY leaks are either prevented or created.
Set the toilet back with a seal that lasts
This is the part that looks easy and still trips people up. I never reuse the old wax ring, and I do not try to stretch a damaged seal for one more round. A new wax ring is cheap insurance, and a wax-free seal can be useful in some situations, but it is not a fix for a flange that is too low or loose.
- Set new closet bolts into the flange slots before you lower the bowl.
- Place a new wax ring, or an approved wax-free seal, exactly where the manufacturer expects it.
- Lower the toilet straight down without twisting it across the seal.
- Tighten the nuts alternately until they are snug, then stop before the porcelain flexes.
- If the bowl rocks at all, shim it before you trim the bolts or finish the base.
- Test several flushes and inspect around the base for seepage or movement.
If I caulk the base, I leave a small gap at the back so a future leak is visible instead of hidden. That is a small detail, but it matters. A toilet that sits still, seals cleanly, and passes a few test flushes is telling you the repair worked. Once the bowl is stable, the rest is about avoiding the mistakes that make people do the same job twice.
The mistakes that usually cause the second repair
Most failed flange jobs are not caused by fancy plumbing problems. They usually come from one of a few predictable misses, and every one of them is avoidable if you slow down for five minutes.
- Buying the wrong flange for the pipe. PVC, ABS, and cast iron need different connection methods. A flange that looks close enough can still leak at the joint.
- Setting the flange at the wrong height. Too low and the wax ring cannot compress properly; too high and the toilet can rock.
- Skipping subfloor repairs. If the wood is soft, the flange will move no matter how good the part is.
- Reusing the wax ring or old bolts. Once compressed, the seal is done. Corroded bolts make the reset unreliable too.
- Using weak fasteners. Drywall screws are a bad idea here. The flange needs rust-resistant hardware that holds up in a bathroom.
- Overtightening the bowl nuts. Cracked porcelain is an expensive way to learn restraint. Snug is enough when the flange is correct.
The bigger pattern is simple: do not use seal material to compensate for a bad flange. If the flange height is wrong by a little, a spacer or extender may help. If the flange is loose, cracked, or sitting over damaged flooring, fix the structure first. That leads naturally to the question most homeowners ask after they price the parts: whether this is still a DIY job or one to hand off to a plumber.
What the job costs in 2026 and when I would call a plumber
At current prices, the part itself is still inexpensive. This Old House puts many DIY replacements at $20 or less for homeowners who already own basic tools, while professional labor often adds about $45 to $150 before any flooring or drain repair is counted. That is why I only push for a plumber when the damage goes beyond the flange itself, because the bill can jump quickly once the subfloor, tile, or drain line needs rebuilding.
- Call a plumber if the cast-iron pipe is cracked, the flange spins in the opening, or the drain has dropped below the floor.
- Call a plumber if the subfloor is soft, swollen, moldy, or waterlogged. The floor has to be solid before a new flange can stay tight.
- Call a plumber if you do not know whether the pipe is PVC, ABS, or cast iron, or if the fitting is unusual enough that the replacement is not obvious.
- Do it yourself if the floor is sound, the drain is accessible, and the only real problem is a broken flange or a height correction.
On an easy job, I expect a few hours rather than a whole weekend. Once you add tile repair, subfloor patching, or concrete anchoring, the timeline becomes less about plumbing and more about the condition of the bathroom itself. That is usually the point where the smarter move is to stop and reset the plan.
The part that really makes the repair last
A flange swap looks small because the hardware is small, but the repair itself is about three things: correct height, solid fastening, and a fresh seal. If those are right, the toilet sits still, the wax ring does its job, and the bathroom stops sending out warning signs.
My final check is uncomplicated: no rocking, no odor, no seepage, and no soft spots in the floor around the toilet. If any of those remain, the job is not finished yet, even if the bowl is bolted down and the cap nuts are in place.