Bathroom mold is usually a moisture problem first and a cleaning problem second. Mold in bathroom areas is usually a sign of too much steam, weak ventilation, or a leak hiding behind what you can see. In this article, I’ll show how to clean small spots safely, decide what should be replaced instead of scrubbed, and set up a simple routine that keeps the room easier to maintain.
What matters most when bathroom mold appears
- Moisture control matters more than any cleaner you buy.
- Small spots on tile, glass, and other hard surfaces can usually be cleaned.
- Soft, swollen, or porous materials often need replacement, not more scrubbing.
- The fan should move air outdoors, and the room should dry quickly after use.
- Recurring growth is a clue that a leak, condensation issue, or ventilation problem is still active.
Why bathroom mold keeps coming back
I do not waste time separating mildew from mold when the same corner keeps turning dark; recurring growth means the room is too wet. Steam from showers, wet towels, condensation on cold surfaces, and slow leaks all leave enough moisture behind for growth to return. I try to keep indoor humidity below 60 percent, and ideally somewhere between 30 and 50 percent, because damp air gives the problem room to settle in.
The other part people miss is ventilation. A fan that makes noise is not enough if it does not actually pull moist air outdoors. If steam lingers on mirrors, grout, caulk, or the tops of toiletries, that moisture is still feeding the problem. That is why I treat the stain and the moisture source as one issue, not two separate chores. Once you see the moisture path, the cleanup becomes much more targeted.
How to clean small mold spots without making the problem worse
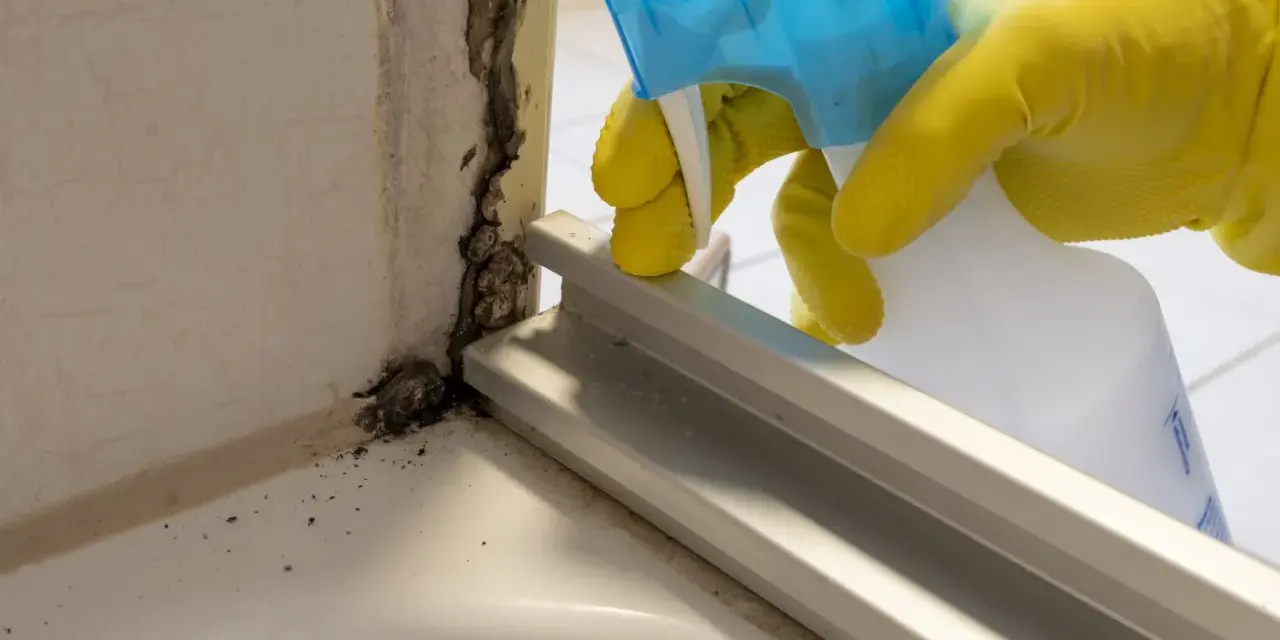
For small patches on glazed tile, glass, or chrome trim, I start with warm water and detergent. A small scrub brush works better than a cloth on grout lines and textured corners, because it reaches into the spots where residue tends to sit. If the visible patch is smaller than about 10 square feet, or roughly a 3-by-3-foot area, I usually treat it as a manageable cleanup rather than a full remediation project.
- Open a window or run the exhaust fan so fresh air moves through the room.
- Put on gloves and goggles, and wear an N95 if you expect to spend real time scrubbing.
- Scrub the surface with detergent and water, then rinse and dry it completely.
- If you use bleach on a suitable hard surface, keep it mild; CDC advises no more than 1 cup of bleach per gallon of water, and never mix it with ammonia or another cleaner.
- Throw away anything soft, swollen, or stained through that cannot be cleaned and dried fully.
I avoid the common mistake of spraying a product and walking away. On hard surfaces, the cleaning action comes from physically removing the growth, not from masking it. If the surface still feels damp when you finish, you have only delayed the next round.
Know what can be saved and what should be replaced
The hardest calls are usually the ones hiding behind a layer of finish. A shower wall may look minor, while the caulk line or drywall behind it has already absorbed moisture. I use this breakdown to decide whether I am cleaning, repairing, or replacing.
| Material | Usually safe to clean | When replacement makes more sense |
|---|---|---|
| Glazed tile and glass | Yes, with detergent and water | Usually only if the backing or grout is failing |
| Grout | Yes, if the growth is superficial | If it stays dark, crumbles, or never dries |
| Caulk | Only if the staining is light and the bead is intact | When it is cracked, soft, pulling away, or discolored through the line |
| Painted drywall | Sometimes, if the stain is on the surface only | When it is swollen, soft, bubbling, or damaged behind the paint |
| Fabric bath mat or shower curtain | Wash if the label allows it | If it stays musty, stains remain, or the backing never dries |
| Ceiling tile or carpet | Rarely | Usually the safer choice |
One rule I rely on: if the material is porous, spongy, or impossible to dry quickly, I do not expect a cleaner to solve the problem by itself. EPA guidance also warns against painting or caulking over moldy surfaces, because that hides the symptom and leaves the moisture source in place. That leads directly to the prevention work, which matters more than most people think.
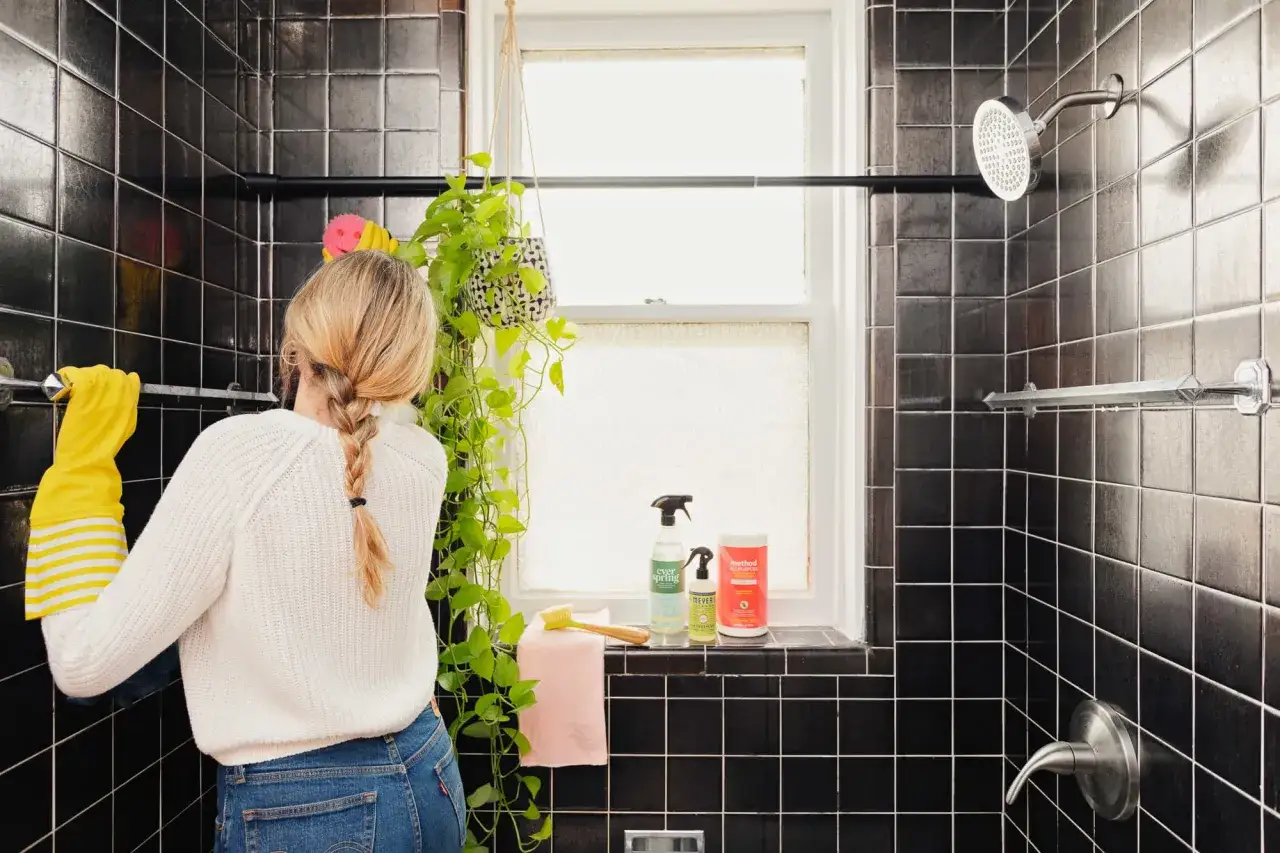
Set up a bathroom that dries quickly after every use
This is where cleaning and organization meet. I want water to leave the room quickly, and I want fewer places for it to hide.
- Run the exhaust fan while showering and make sure it vents outdoors, not into an attic or another cavity.
- Use the fan long enough to clear steam from mirrors and corners, not just until the noise stops bothering you.
- If the room has no fan, installing one is usually a better fix than buying stronger cleaners.
- Hang towels so air can reach both sides instead of piling them on hooks in a damp bundle.
- Keep shampoo bottles, razors, and soap on a caddy or shelf that drains and can be lifted to dry underneath.
- Squeegee shower walls and doors, then wipe the ledges, niche, and faucet base if water pools there.
- Wash bath mats and shower curtains regularly so they do not become a damp storage layer.
- Fix drips under the sink, around the toilet base, or at the shower valve as soon as you notice them.
In practice, a less cluttered bathroom dries faster. That sounds small, but it makes a real difference because standing water around bottles, trim, and corners gives recurring growth exactly what it wants. If the room still feels heavy with moisture, a dehumidifier or better ventilation is usually a better investment than a harsher cleaner. Once the room is drying properly, the question becomes whether the damage is still within DIY range.
When the cleanup is no longer a DIY job
I treat anything over about 10 square feet as a line where a homeowner should slow down and reassess. The same is true when the growth keeps returning after cleanup, when you see swelling or soft spots in drywall, or when the smell suggests hidden moisture behind a wall or under a vanity. Those are signs that the visible stain is only part of the problem.
- The affected area is larger than roughly a 3-by-3-foot patch, or about 10 square feet.
- The source is a leak you cannot fully stop right away.
- The growth is inside walls, under flooring, or in a ceiling cavity.
- The water came from sewage or other contaminated water.
- Someone in the home has asthma, COPD, immune suppression, or strong mold allergies.
When I reach that point, I care less about scrubbing technique and more about containment, drying, and repair. I would not put a sensitive person on cleanup duty, and I would not keep guessing once hidden damage is likely. A qualified mold professional or water-damage contractor can tell you whether materials need removal, whether hidden areas are still wet, and how to rebuild the space so the same problem does not come back next month.
A weekly routine that keeps the problem from taking over again
If I had to reduce all of this to one habit, it would be a short weekly reset. Ten minutes of prevention is cheaper and easier than another round of cleanup.
- Check the shower, tub, sink, and toilet base for new moisture or staining.
- Wipe down grout edges, caulk seams, and corners where water tends to linger.
- Rinse or wash shower curtains, liners, and bath mats before they smell musty.
- Declutter expired products and wet packaging so air can circulate around the surfaces.
- Look under the sink and around plumbing penetrations for drip marks or peeling paint.
I keep the problem under control by removing the growth, drying the room, and making the bathroom easier to dry the next time. When those three things are in place, the same spot stops being a recurring project and becomes a one-time repair.