A successful bathroom vanity installation is less about furniture and more about alignment: the cabinet has to fit the room, clear the plumbing, and sit level enough that doors, drawers, and caulk lines behave the way they should. In this guide, I walk through the parts that matter in a real remodel, from measuring and wall support to plumbing connections and the finishing details that keep water out of the cabinet. I also point out where a simple swap stays DIY-friendly and where the job turns into a bigger repair.
Key things to get right before the new vanity goes in
- Measure the opening, plumbing, and door swing before you buy the cabinet.
- Choose the vanity style based on wall support, floor space, and how much plumbing needs to stay hidden.
- Disconnect the trap and supply lines first, then remove the old unit cleanly so you can repair the wall.
- Level the cabinet before you tighten screws, or the doors and top will never sit right.
- Use the right sealant at the backsplash and around the sink so splash water does not creep into the cabinet.
- Expect a simple swap to take a few hours, but allow a full weekend for a wall-mounted unit or any support work.
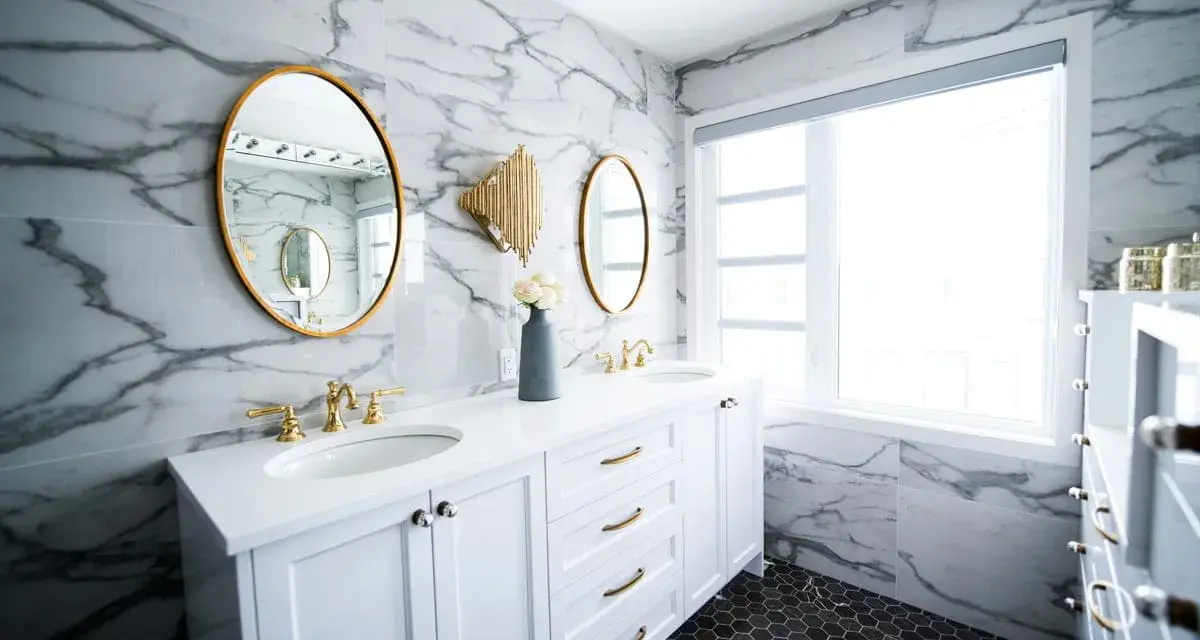
Choose the vanity style that fits the room and the plumbing
Not every cabinet behaves the same once it is on site. A freestanding vanity is the easiest fit when the rough-in stays put, while a wall-mounted unit asks for better framing and more patience. I use a simple rule: the more the cabinet depends on the wall, the more important the structure behind the drywall becomes.
| Vanity type | Best for | Main tradeoff |
|---|---|---|
| Freestanding cabinet | Fast replacement, standard bathrooms, same plumbing location | Easiest to install, but it takes floor space and can be unforgiving if the wall or floor is out of square |
| Wall-mounted vanity | Smaller baths, modern layouts, easier floor cleaning | Needs blocking or solid studs and much tighter height control |
| Cabinet with separate top | Projects where the sink, faucet, or countertop may change later | More flexible, but there are more joints to seal and more chances to mismatch parts |
For most U.S. bathrooms, I also check height early. Lowe's uses 30 to 32 inches as a standard vanity height, and that is a useful baseline when a room needs to stay comfortable for everyday use. I care just as much about how the top feels in the room as I do about the number on the tape measure, because a vanity that looks right but feels awkward gets annoying fast. Once the format makes sense, the next job is measuring the opening so the cabinet you choose can actually be installed without improvisation.
Measure the opening before ordering anything
Fit starts with the rough-in, not the finish. I check the width, depth, finished height, supply-valve positions, drain centerline, and door swing before I commit to a cabinet. If those details are wrong, the vanity may still go in, but the drawers, trap, or shutoffs will make the installation harder than it needs to be.
- Width: leave a little breathing room, especially if the walls are slightly out of square.
- Depth: make sure the cabinet will not crowd a door, toilet, or shower entrance.
- Height: confirm the finished top height, not just the cabinet box.
- Plumbing: identify where the drain and shutoff valves sit relative to the drawer layout.
- Wall structure: locate studs before you decide whether the vanity can be anchored normally or needs blocking.
Lowe's bathroom layout guide puts a standard vanity at 30 to 32 inches high and recommends at least 15 inches from sink center to a side wall, with 36 inches of walkway where possible. I treat those numbers as a practical baseline, not a law, because a powder room and a family bath do not have the same tolerance for tight clearances. If the vanity opens into a door swing or bumps a mirror cabinet, the design is wrong before the first screw goes in. Once the measurements work, removal gets much easier.
Remove the old vanity and fix the wall now, not later
I like to remove the old unit in a clean, predictable order. That keeps the room dry, avoids tearing the wall apart, and makes the new installation faster.
- Shut off the water, open the faucet to release pressure, and place a bucket or towel under the P-trap.
- Disconnect the supply lines and drain assembly, then cut the caulk or sealant where the backsplash meets the wall.
- Remove the screws holding the cabinet to the wall and pull the vanity out carefully.
- Inspect the wall and floor for soft drywall, rot, or water damage before you hide anything behind the new unit.
If the old vanity sat over a leak, I do not cover that damage and hope for the best. I want the wall dry, solid, and paint-ready before the new cabinet goes in. That matters even more with a heavy top or a wall-hung unit. As This Old House points out, blocking gives heavy wall-mounted fixtures a real attachment point instead of leaving them to the mercy of drywall alone. I would rather open the wall once and add support than chase a loose cabinet later. After the wall is sound, the new unit can be set with confidence.
Set the cabinet level and anchor it for real
Leveling is where a vanity stops being a box and starts becoming built-in millwork. I set the cabinet in place, check it front to back and side to side, and use shims to correct the floor before I tighten a single screw. If the floor is uneven, I level the cabinet to the room, not to the subfloor.
My order of operations is simple: position, level, shim, predrill, then fasten. That keeps the face frame straight and prevents the doors from drifting out of alignment after the top goes on. For a freestanding cabinet, I prefer to catch studs whenever possible. If the wall finish forces me into anchors, I use a wall anchor rated for the wall material instead of guessing.
- On drywall or plaster, I still try to hit studs first.
- On tile, I drill carefully and use the correct fasteners for the backing behind the tile.
- On wall-mounted vanities, I treat blocking or a reinforced ledger as non-negotiable.
- If a helper is available, I use one; hanging a wall unit alone usually costs more time than it saves.
The point is not just to hold the cabinet up today. I want the doors, drawers, and countertop to stay aligned after months of use. Once the cabinet is fixed in place, the plumbing work becomes much less stressful.
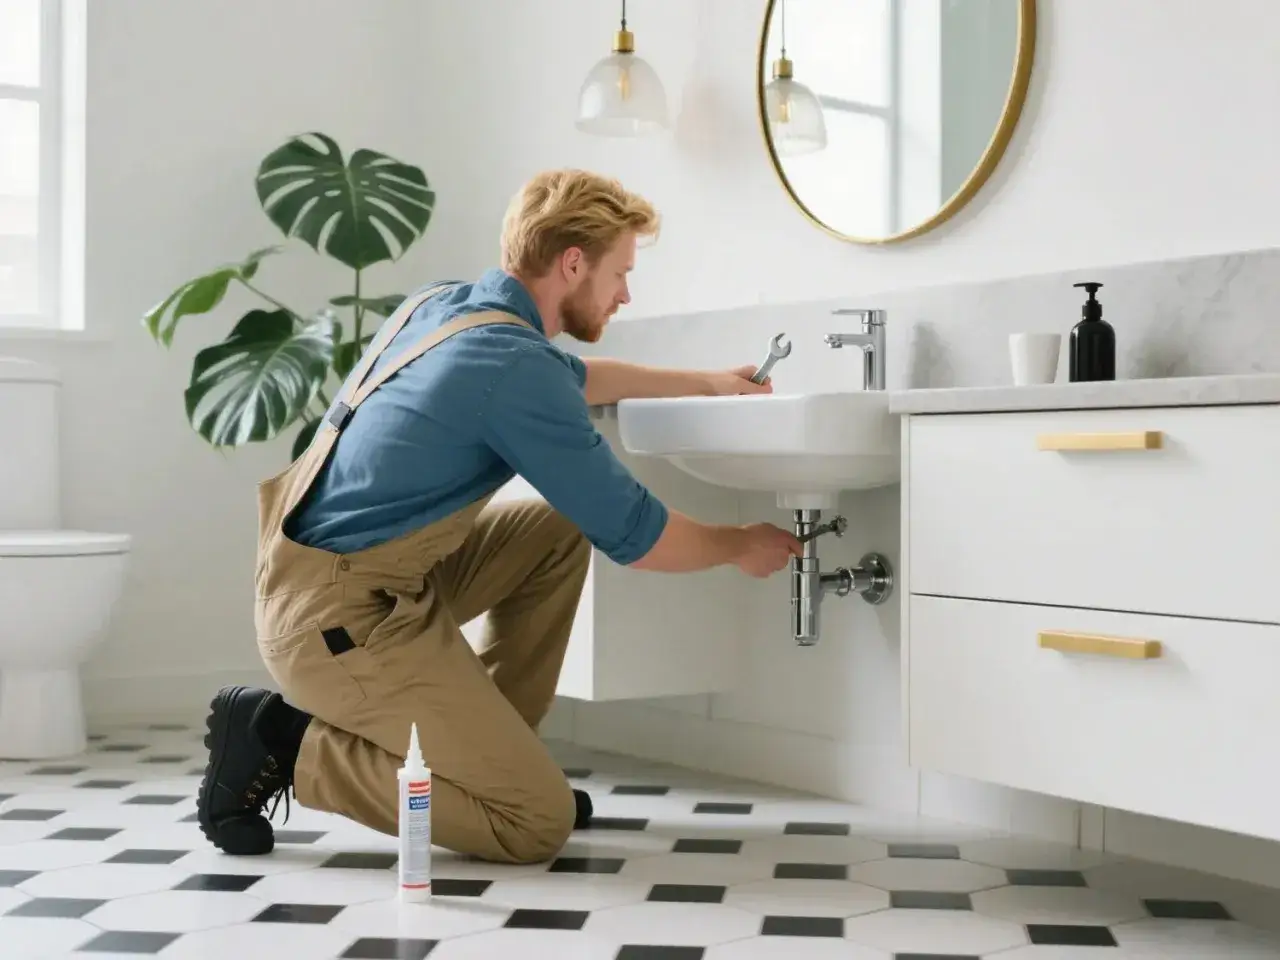
Connect the top, faucet, and drain without fighting the rough-in
This is where a lot of otherwise good installs go sideways. I dry-fit everything before I seal it, because once caulk and putty are in place, bad spacing turns into wasted time. The faucet should match the sink deck, the drain should line up with the trap, and the drawer box should not collide with the plumbing.
For the faucet, I follow the manufacturer’s gasket or sealant instructions instead of assuming one product fits every top. Some sink and drain assemblies still use plumber’s putty, but not every countertop material likes it, so I stay with the part instructions when in doubt. I also make a habit of replacing old supply lines while the vanity is open, because a cheap line can undo an expensive cabinet.
- Hot is on the left and cold is on the right.
- The P-trap should hang naturally, not be forced into a strange angle.
- If the trap fights the cabinet, the rough-in or cabinet layout needs to change.
- After tightening, I run water and check every joint with a dry paper towel.
If the top is separate, I set it only after the cabinet is stable and level. Then I tighten fittings gradually and test again. Leaks usually show up at the first fill-and-drain cycle, which is exactly why I do that test before I move on to sealing and cleanup.
Seal the gaps and finish the job so water stays where it belongs
The finish work is small, but it controls how long the cabinet lasts. I use a bathroom-rated caulk at the backsplash and along any visible joint where splash water might sit. The bead should be thin and continuous, not thick and lumpy; if I need a huge bead to hide the gap, the cabinet is probably not set correctly.
I smooth the caulk once, wipe the excess, and leave the surface alone long enough to cure. I do not rush that part, because early water exposure can ruin a clean seal and make the joint look sloppy. If the vanity has a backsplash, I press it neatly against the wall and seal both edges. That small detail keeps water from sneaking behind the top every time the sink is used.
Two things make the finish look intentional: a clean seam and consistent alignment. If the mirror, faucet, and sink centerline all agree with each other, the whole bathroom feels more composed. If they do not, the room looks slightly off even when the cabinet itself is installed correctly.
What the job usually costs and when I bring in help
I budget vanity work in ranges, not fixed prices, because the cabinet, top, faucet, and plumbing changes can swing the total quickly. A same-location swap is usually the least expensive path. A wall-mounted unit or any project that touches framing, tile, or plumbing relocations rises fast.
| Project type | Typical time | Typical U.S. budget range | My take |
|---|---|---|---|
| Same-location freestanding swap | 3 to 6 hours | $250 to $1,200 | Best case when the plumbing already lines up and the cabinet is stock size |
| Wall-mounted vanity with blocking | 1 to 2 days | $700 to $3,500+ | Worth it for a cleaner look, but the support work drives the labor |
| Move drains, valves, or electrical | 1 to 3 days | $500 to $2,500+ | Usually needs licensed trades if the wall has to be opened or wiring changes are involved |
I bring in help when the job stops being a clean cabinet swap. If the floor is soft, the wall shows old water damage, the trap will not line up, or the install requires new outlets or lighting, I stop treating it as a simple vanity project. That is not overcautious; it is how I avoid building a pretty cabinet over a bigger problem.
The details that make a new vanity look built in, not dropped in
The best-looking installs are rarely the most complicated ones. They are the ones where the cabinet, mirror, lighting, and backsplash share the same centerline and the room still has enough space to function. I pay attention to those small details because they are what separate a quick replacement from a proper upgrade.
- Center the mirror over the sink, not just over the wall.
- Keep the faucet reach and basin size in balance so water lands where it should.
- Leave access to shutoff valves and the trap, because future repairs should not require demolition.
- Save a little matching paint and one extra tube of caulk for touch-ups.
- If a drawer hits the plumbing, fix the rough-in instead of trimming the drawer and hoping for the best.
If I were doing this on a weekend, I would spend more time on measuring and wall support than on the cabinet screws themselves. That is where most mistakes happen, and it is also where the finished result is decided.