Replacing a dishwasher is one of those home repairs that looks simple until you are kneeling in front of a tight cabinet opening with water, power, and a heavy appliance all in the same space. I approach it as a sequence: disconnect the old unit safely, confirm the new one fits, reconnect the lines cleanly, then test everything before the toe kick goes back on. This guide covers the full process in practical terms, including what to check before you buy, how to pull the old machine out, and how to install the replacement without creating leaks or alignment problems.
What matters most before you start
- Turn off the breaker and close the water shutoff before touching any lines.
- Measure the opening carefully; most U.S. built-in dishwashers are 24 inches wide and adjust to roughly 33.5 to 34.5 inches high.
- Confirm the power setup: many models use a 120-volt, 15- or 20-amp circuit, either with a cord or direct wiring.
- Plan the drain correctly with a high loop or air gap so dirty water does not flow back.
- Replace worn supply lines and brittle fittings while the old dishwasher is already out.
- Have a second person nearby; the cabinet opening is tight and the appliance is awkward to move alone.
What I check before buying the replacement
The easiest dishwasher replacement is the one that fits the opening and matches the existing utility setup. I always measure width, height, depth, and the clearance under the countertop before I think about features or finishes. A 24-inch built-in is the standard full-size option in the U.S., but the real test is whether the new machine can slide in, sit level, and leave the door free to open without hitting the cabinet faces or toe kick.
| Check | Practical target | Why it matters |
|---|---|---|
| Width | About 24 inches for most full-size built-ins | Prevents a unit that cannot slide into the opening |
| Height | Roughly 33.5 to 34.5 inches of adjustment | Keeps the countertop clear and lets the unit level properly |
| Power | 120-volt, 15- or 20-amp supply | Matches the common electrical requirements for U.S. models |
| Drain | High loop or air gap | Helps prevent backflow and drainage complaints |
| Water line | Hot-water supply with a working shutoff valve | Old lines and corroded valves are the usual leak points |
If the model sheet calls for a power cord, get the right kit before installation day. If it is direct-wired, confirm that the junction box location and wire access are where they should be. I also look at the drain line and supply line as replaceable parts, not reusable trophies. If they are stiff, kinked, or stained with mineral buildup, I swap them now instead of gambling on another five years of service. Once the fit and connections are clear, the actual removal goes much faster.
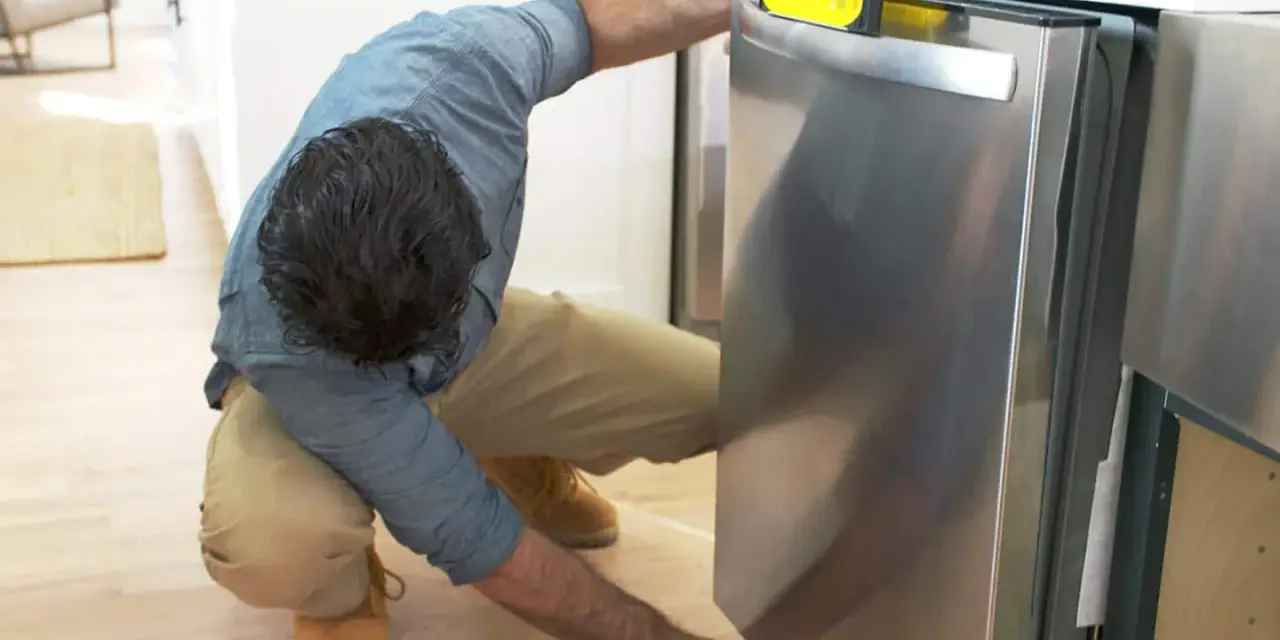
How I remove the old dishwasher safely
The removal step is where people get impatient, and that is usually when cabinets get scratched or a loose fitting starts dripping all over the floor. I slow down here and treat the old dishwasher like a live utility appliance, not just a box on legs.
- Shut off the dishwasher breaker and close the water shutoff under the sink.
- Open the lower front access panel and confirm whether the unit is plugged in or hardwired.
- Disconnect the electrical supply only after you are certain the power is off.
- Place a shallow pan or bucket under the water connection, then disconnect the supply line.
- Detach the drain hose from the sink branch tailpiece or garbage disposal inlet.
- Remove the mounting screws that fasten the dishwasher to the countertop or cabinet sides.
- Lower the leveling legs slightly, then slide the machine onto cardboard or a towel and pull it out with help.
I like to keep a flashlight handy because residual water often hides in the hose and base pan. If the dishwasher is hardwired and the box looks crowded or unfamiliar, I stop and let an electrician handle that part. This is not the moment to guess. With the old unit out, the next win comes from preparing the opening and the new machine before anything is shoved into place.
How I prepare the opening and the new unit
Clean prep saves time later. I wipe out the cabinet opening, check for swollen particleboard or old water damage, and make sure the shutoff valve actually turns freely. If the valve is crusted, the supply line is bent, or the cabinet floor shows signs of a slow leak, I fix that now. A new dishwasher will not solve a plumbing problem that is already sitting under the sink.
- Remove packaging, tape, foam blocks, and shipping brackets from the new dishwasher.
- Keep the cardboard box or a large sheet of cardboard nearby to protect the floor during the slide-in.
- Attach the elbow fitting, supply line, drain hose, and power cord, if your model uses them, before pushing the unit fully into the opening.
- Route the hoses and cord so they will not get pinched by the rear legs.
- Check whether the insulation blanket stays in place; it helps keep the machine quiet and can affect fit in a tight opening.
Many current installation instructions also recommend replacing the water line when you replace the dishwasher, and I agree with that approach. It is cheap insurance compared with tearing out a cabinet floor later because an old line split at the fitting. This prep work sets up the part where the machine is actually installed, leveled, and anchored.
How I install and level the new dishwasher
This is the part most people picture when they think about replacement, but the trick is not brute force. It is alignment. A dishwasher should sit plumb, meaning perfectly vertical, and level front to back and side to side so the door seals correctly and the rack slides smoothly.
- Feed the supply line, drain hose, and power cord through the cabinet opening before the dishwasher goes in.
- Slide the unit in slowly, checking that nothing catches under the rear legs.
- Stop before the front face is fully closed in and adjust the leveling legs as needed.
- Check the machine with a level on both sides and across the top edge.
- Raise or lower the feet until the door opens freely and the front sits aligned with the surrounding cabinets.
- Fasten the dishwasher to the countertop or cabinet sides using the mounting points supplied by the manufacturer.
- Reinstall the toe kick only after the unit sits square and stable.
I never force a dishwasher into a tight opening. If it binds, something is usually routed wrong, the legs are too high, or the cabinet opening is smaller than the spec sheet suggested. Once the unit is anchored, the next job is to make the connections watertight and code-friendly.
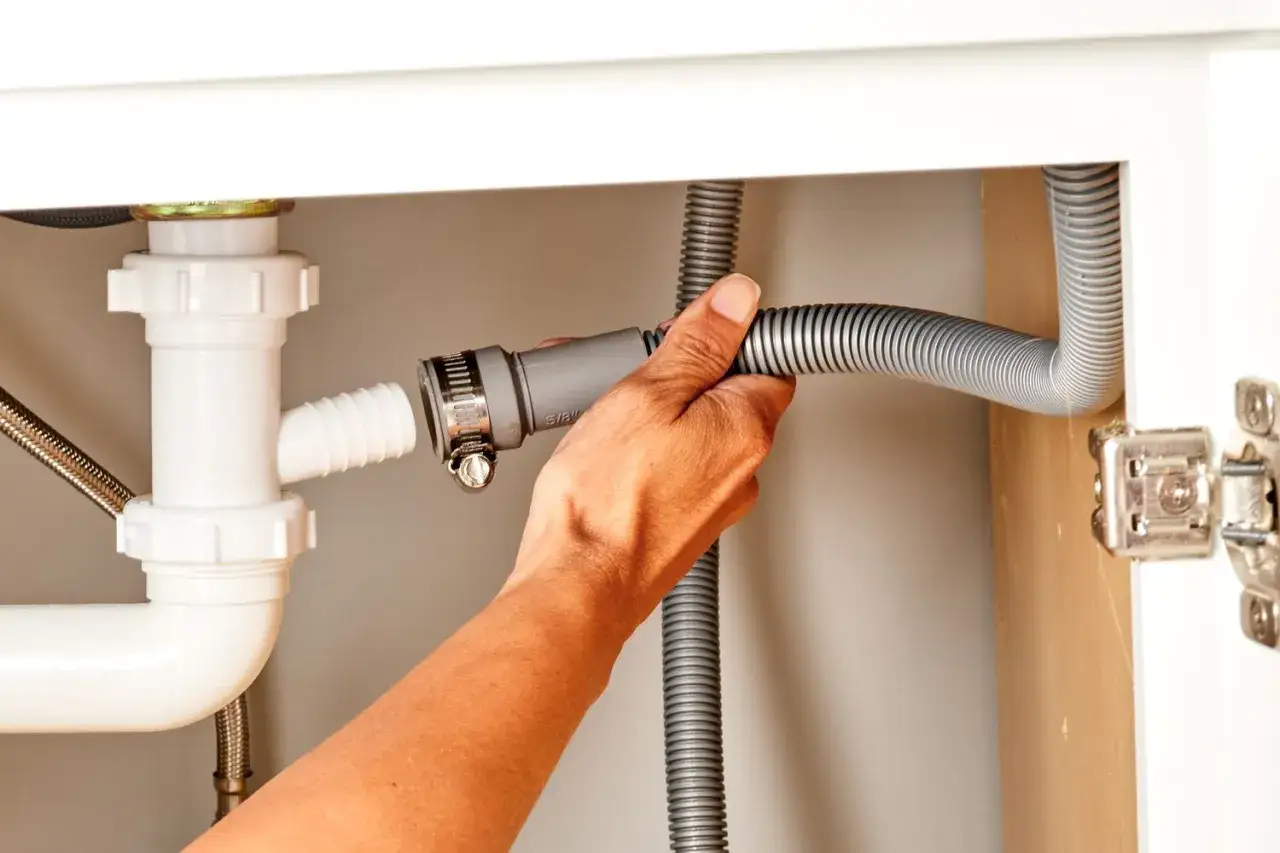
How I connect water, drain, and power correctly
The connections are where a good installation can become a headache. I treat each one differently because each has a different failure mode. Water leaks usually come from poor tightening or a damaged hose. Drain problems usually come from a low loop, a kink, or a disposal plug that was never knocked out. Electrical problems come from using the wrong connection method or leaving the wiring too loose.
- Water: Use the correct fitting for your model and tighten the compression connection snugly, not aggressively. If the line is old, replace it instead of reusing a brittle one.
- Drain: Secure the hose with a clamp and keep it routed high under the counter. If your local code requires an air gap, install one rather than assuming a high loop is enough.
- Power: Follow the manual exactly. Some dishwashers plug into a grounded receptacle, while others are direct-wired into a junction box. Do not mix methods.
One detail people miss is the garbage disposal inlet plug. If the dishwasher drain connects to a disposal, that knockout has to be removed first or the water has nowhere to go. I also keep the access panel off until the first test run is complete so I can inspect the fittings quickly if anything seeps. That test run is where the installation either proves itself or reveals what still needs attention.
How I run the first test and catch leaks early
Before I call the job finished, I run a short cycle and watch the machine as if I expect trouble. That is not pessimism; it is how you catch small problems before they turn into swollen cabinets or a wet floor.
- Turn the water back on and restore power at the breaker.
- Start a short wash or rinse cycle.
- Use a flashlight to inspect the supply connection, drain clamp, and underside of the unit.
- Watch the fill and drain stages to make sure water moves normally.
- Open the door after the cycle and confirm the tub is draining fully.
- Check the floor and the cabinet base again after the machine has sat for a few minutes.
If the dishwasher will not drain, I first check the hose route, the high loop, and the disposal connection. If water pools at the front, I recheck leveling and door alignment. If the breaker trips, I stop immediately and inspect the electrical setup instead of resetting it over and over. A dishwasher that passes the first cycle still deserves one more decision point: knowing when the job should stop being a DIY repair.
When I stop and call a pro
There is a clear line between a straightforward appliance swap and a repair that deserves licensed help. I do not try to force a replacement when the problem is no longer the dishwasher itself but the plumbing, wiring, or cabinetry around it.
- The shutoff valve is frozen, leaking, or buried behind other plumbing.
- The old wiring is hardwired and the junction box is crowded, damaged, or unfamiliar.
- The cabinet opening has warped from a previous leak and needs carpentry repair.
- The new dishwasher requires a dedicated circuit or electrical upgrade that is not already in place.
- You see mold, rot, or a swollen subfloor beneath the cabinet opening.
That judgment call matters because a simple appliance swap is only simple when the surrounding systems are already sound. If the connections look clean, the opening is square, and the test cycle stays dry, the replacement is finished. If not, the smartest move is to pause before the repair grows into a bigger one.
A replacement that looks built-in, not patched in
The best dishwasher replacement disappears into the kitchen and works without drama. I get there by doing the boring parts well: measure twice, replace weak hoses, route the drain correctly, level the body carefully, and test for leaks before the panel goes back on. That process is what turns a risky weekend project into a clean home repair.
- Keep the installation sheet and model number with your appliance records.
- Recheck the mounting screws and hose clamps after a few wash cycles.
- Look under the sink and inside the base cabinet the next day, not just right after the first run.
If the opening is tight, the valve is stubborn, or the wiring does not match the manual, I would rather stop early than repair water damage later. A careful installation is not about finishing fast; it is about making the new dishwasher feel like it was always meant to be there.