Finding a stud is one of those small jobs that decides whether a shelf hangs straight or a repair turns into a patch-and-pray mess. This guide shows how to use a stud finder the right way, from choosing the right model to calibrating it, confirming the reading, and avoiding the false signals that waste time. I keep it practical because wall type, fastener spacing, and hidden wiring matter more than the tool’s beeps.
The few checks that matter most before you drill
- Start with a clean, flat wall and a fresh battery.
- Calibrate on the actual wall surface, not in the air.
- Scan slowly and mark both edges, then split the difference for center.
- Expect studs at 16 inches on center, but check for 24-inch spacing in some walls.
- Recheck around outlets, tile, plaster, or metal lath before you trust the reading.
- Treat any wire alert as a stop sign, not a challenge to push through.
Choose the right stud finder for the wall you are working on
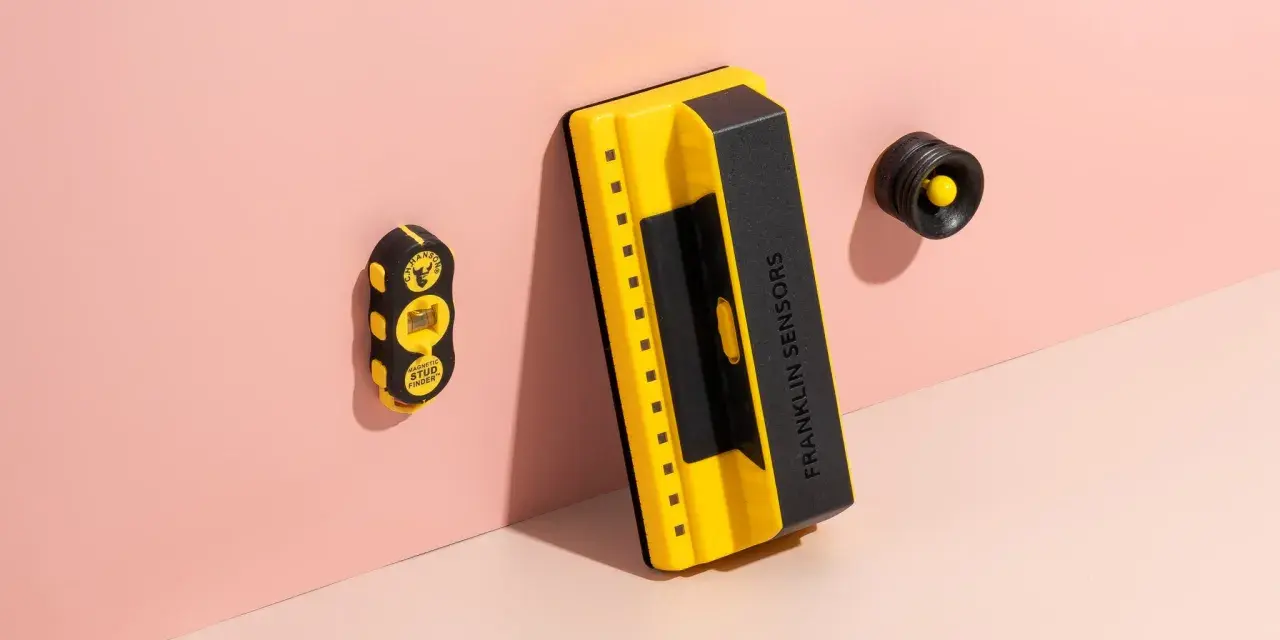
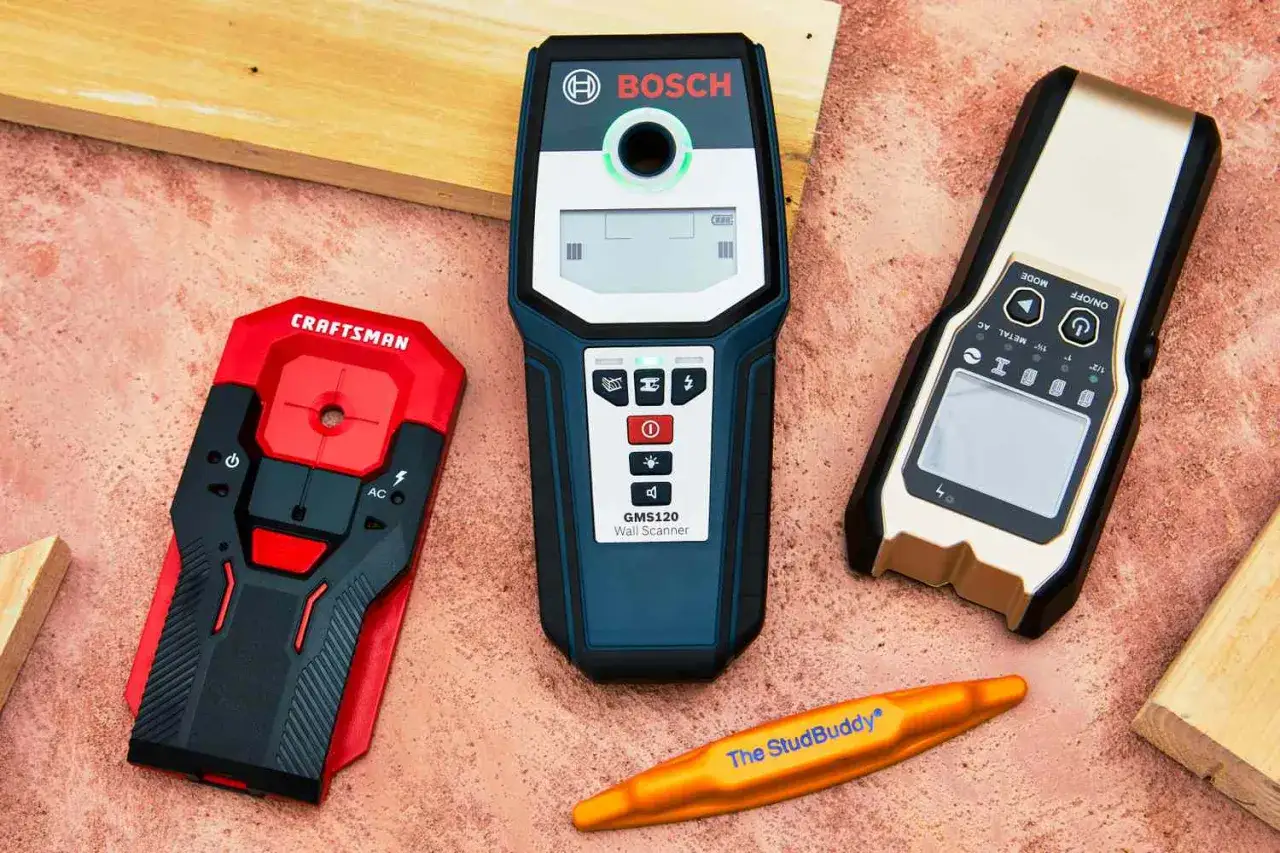
I start with the tool itself, because not every finder behaves the same way. A simple magnetic model is great when I only need to locate screws or nails, while an electronic model is usually better for finding edges and centers on painted drywall. If the wall is thick, layered, or stubborn, a more advanced whole-stud sensor is worth the extra money because it gives you a broader picture instead of one narrow signal.
| Type | Best use | Strengths | Limits |
|---|---|---|---|
| Electronic edge or center finder | Drywall projects, shelves, TVs, mirrors | Usually locates stud edges and often the center; many models add wire alerts | Needs calibration and a steady hand |
| Magnetic finder | Quick checks and simple hanging jobs | No batteries, simple to use, and reliable once it finds fasteners | Finds metal fasteners, not the wood itself |
| Whole-stud or multi-sensor finder | Thicker walls and more demanding repair jobs | Broader detection area and better coverage on tougher walls | Costs more and still needs verification |
If I only need to hang a picture frame, I will often reach for a basic tool. For a TV mount or a heavy cabinet, I want a finder that gives me more than one clue, because guessing wrong there is expensive. Once you know what kind of finder you are holding, the wall prep becomes much more predictable.
Prep the wall so the reading is worth trusting
A stud finder is only as good as the surface under it. I always clear the wall first: remove artwork, shift furniture, and make sure I am not scanning across a patch, seam, or obvious repair line. That matters because compound ridges, old nail pops, and uneven paint can throw off the sensor before it ever finds a stud.
- Check the batteries before you begin.
- Use a pencil, not a marker, so corrections stay easy.
- Pick a flat area away from corners, trim, and window casings.
- Know what the wall is made of: drywall, plaster, tile, or something layered over it.
- Stay cautious near outlets and switches, because those areas can hide wiring.
I also like to think about the wall layout before I scan. Most residential framing uses studs spaced 16 inches on center, and some walls use 24 inches on center, so the first reading should fit a pattern, not stand alone. With the wall cleared, the device can do its job without fighting all the noise around it.
Calibrate and scan in a controlled pass
Most electronic finders need to be zeroed on the wall before they can give a useful reading. I place the tool flat against the surface, press the power or calibration button, and wait for the indicator to settle before I move. If the device is tilted or dragged too quickly, the signal is less trustworthy and the readings start drifting.
- Place the finder flat on a clean section of wall.
- Calibrate it according to the device’s prompt until it is ready.
- Move it slowly in a straight horizontal line, not diagonally.
- Mark the first edge when the signal changes.
- Keep moving until the signal drops off, then mark the opposite edge.
- Measure the midpoint between the two marks.
- Repeat the same pass from the opposite direction and again a little higher or lower.
That second pass is where weak readings usually expose themselves. If the marks shift a little, I do not panic; I simply rescan and compare. A standard wood stud is 1.5 inches wide, so once you have both edges, the center is easy to calculate. When the pass is controlled, the next step is making sure the reading survives a second test.
Confirm the stud before you hang anything heavy
I never trust a single beep when the job matters. The easiest confirmation is spacing: once I find one stud, I measure 16 inches to the next likely center, and if the wall is built differently I check 24 inches as well. That quick measurement tells me whether I have found a real framing pattern or just a stray false positive.
- Find one solid reading and mark the center clearly.
- Measure outward in 16-inch increments from that point.
- If the spacing does not line up, test again at a different height.
- Look for the same stud from left to right and right to left.
- Use fasteners or a tiny test hole only when the reading is already convincing.
For heavier fixtures, I want at least two confirmed studs whenever the bracket allows it. That is especially true for TVs, floating shelves, and cabinets, where the load is not forgiving. The point is not just finding wood; it is finding the exact center that gives the screw the best bite. That confirmation matters because the wall spacing tells you whether the signal is real or just a lucky hit.
Know when the wall itself is the problem
Some walls make the tool work harder than others, and the wall material is often the real reason a scan feels unreliable. Drywall is the easiest surface, while plaster, tile, foil-faced insulation, metal mesh, and layered repair work can all distort the signal. In those cases, the finder may still help, but I treat it as one clue rather than the final answer.
| Wall condition | What usually happens | What I do instead |
|---|---|---|
| Fresh drywall | Readings are usually clean and predictable | Use a normal calibration and confirm the center |
| Plaster or plaster over lath | False positives and jumpy signals are common | Rescan from different heights and confirm with fasteners |
| Tile or dense backsplash | Some sensors read poorly or not at all | Start from an adjacent drywall section if possible |
| Thick or layered wall assemblies | Basic models may miss the stud center | Use a deeper-scan or whole-stud model and verify spacing |
| Near outlets or switches | Wiring can confuse the reading | Stop and choose a safer location before drilling |
This is the part people often blame on the device, but the wall itself may be the limitation. If the surface is irregular or layered, I slow down and switch to confirmation methods instead of assuming the sensor is broken. Once you know the failure mode, the fix is usually simple.
Avoid the mistakes that create false readings
Most bad stud-finder results come from technique, not bad luck. The common errors are easy to make: moving too fast, holding the tool at an angle, starting on a seam, or trusting the first signal without checking it again. I have also seen people scan over a patch of joint compound and assume they found a stud when they were really just following the repair line.
- Do not scan diagonally or jerk the tool back and forth.
- Do not calibrate on top of a suspected stud.
- Do not trust a single reading from only one direction.
- Do not forget that a weak battery can still power the display while hurting the sensor.
- Do not scan directly over metal corner bead, pipes, or HVAC elements and assume the result is clean.
My rule is simple: if the reading does not repeat, I do not use it. A reliable result should survive a slow second pass, a reverse pass, and a quick spacing check against the wall layout. That discipline saves more time than rushing ever will, especially when the next step is drilling into the wall.
Use the mark safely for shelves, TVs, and heavy fixtures
Once the stud is marked, the job becomes a fastening decision. For light décor, one stud may be enough, but for heavier items I want the bracket centered on solid framing and the screw driven straight into the middle of the stud. If the mount spans two studs, I follow the hardware pattern exactly rather than improvising around the wall.
- Use wood screws or the fasteners supplied with the mount when they are rated for the load.
- Center the screw in the stud so it has the strongest hold.
- Pre-drill if the screw is large or the wood is hard.
- Turn off power at the breaker if you are drilling near switches, outlets, or fixture boxes.
- Use drywall anchors only when the item is light enough and the anchor is rated for the wall and load.
I am especially careful with TVs and cabinets because those loads punish a weak installation fast. If the wall layout is unclear, I would rather spend five extra minutes confirming the studs than patch a blown-out hole later. After the hole is drilled, the last job is making the result useful for the next project.
The small checks that keep the next scan faster
The best stud finder routine is the one you can repeat without thinking. I keep the tool with a tape measure and pencil, note the walls that seem to use 16-inch spacing, and remember which rooms have odd framing so I do not relearn them every time. If I am working in the same house more than once, I also save myself time by lightly mapping a few confirmed studs in a notebook or on painter’s tape while the area is still open.
That habit turns a simple wall check into a reliable part of home repair instead of a guessing game. I trust the tool most when I have cleaned the wall, calibrated carefully, scanned slowly, and confirmed the result from more than one angle. When those pieces line up, hanging something heavy becomes a straightforward job rather than a risk.