A good caulk job does more than make trim or tile look finished. It blocks water, air, dust, and insects, and it can buy real time before a small gap turns into a bigger repair. Learning how to caulk properly means choosing the right product, preparing the joint correctly, and finishing the bead before it skins over.
The essentials that make the seal hold
- Wet areas need a waterproof, flexible sealant; dry painted trim usually needs a paintable acrylic-latex option.
- Old, loose caulk has to come out before new material goes in.
- Deep or wide joints are usually better with backer rod, not a larger blob of sealant.
- A small, steady bead beats an overfilled one every time.
- Tool the bead within about 5 to 10 minutes, then give it enough time to cure before water or paint.
Choose the right caulk for the room and the movement
The right tube depends more on the joint than on the room name printed on the label. If the seam sits around a tub, sink, shower, or exterior penetration, I reach for a flexible waterproof sealant; if it is painted trim in a dry room, I want something paintable that blends in after finishing.
| Product type | Best use | Paintable | What I expect from it |
|---|---|---|---|
| 100% silicone | Tubs, showers, sinks, glass, wet exterior joints | No | Best moisture resistance, very flexible, harder cleanup |
| Acrylic latex | Dry interior trim, baseboards, drywall | Yes | Easiest to apply and clean, but less flexible |
| Siliconized acrylic latex | Painted trim, kitchens, light-moisture areas | Usually yes | A practical middle ground with better flexibility than plain latex |
| Hybrid or polyurethane sealant | Exterior joints, masonry, mixed materials, higher movement | Often yes, check the label | Strong adhesion and flexibility, usually slower cure and a higher price |
My rule is simple: if the joint will move or get wet, choose flexibility first; if it will be painted and stays dry, choose a paintable formula first. Once you know which product belongs in the gun, the next job is making the joint ready for it.
Prep the joint so the new bead can actually last
Preparation is the part most DIY repairs underdo. Fresh sealant sticks poorly to dust, soap film, loose paint, and old hardened beads, so I remove anything flaky first and then clean the surface with a residue-free cleaner that is safe for the material.
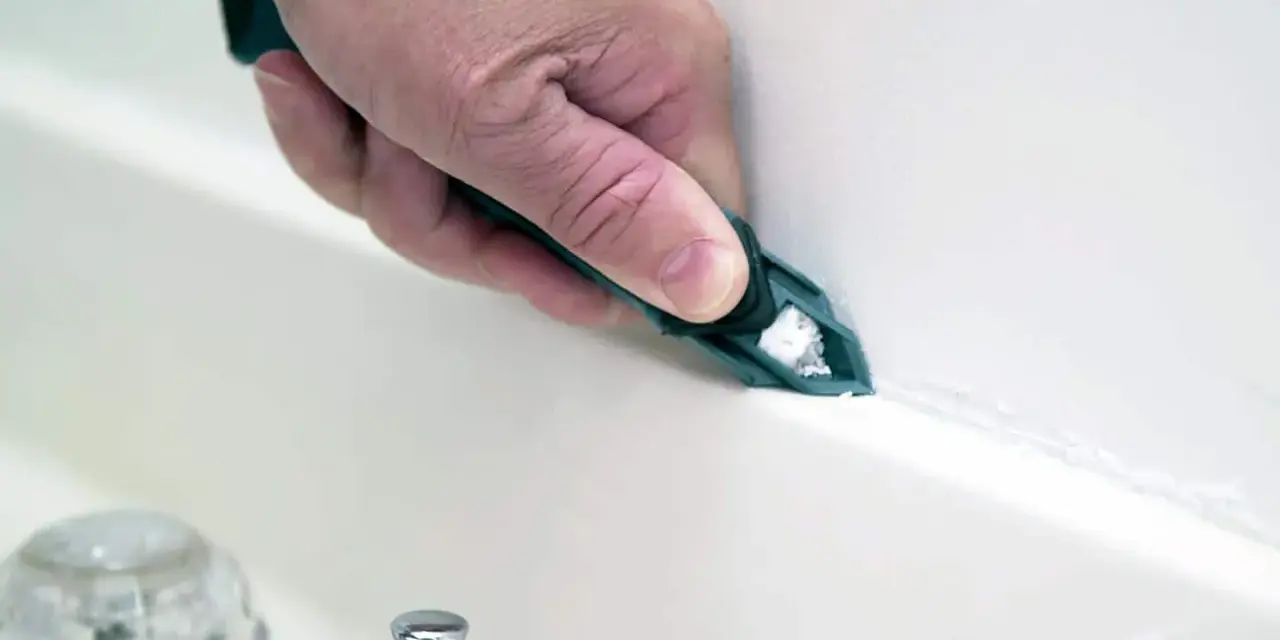
- Cut out loose old caulk with a utility knife or a caulk remover.
- Scrape away paint ridges, soap scum, and grime.
- Let the joint dry completely; in a bathroom, that can mean waiting overnight.
- Use backer rod if the joint is deeper than it should be or wider than about 1/4 inch.
- Mask the edges with painter's tape if you want a sharper finish on smooth surfaces.
A useful rule is to aim for a joint that is about twice as wide as it is deep. That gives the sealant a better shape to flex in, and it keeps it from sticking to the back of the joint, which is exactly what you want to avoid. With the surface prepped, the bead itself becomes much easier to control.
Lay down a steady bead without overworking it
This is the part people overcomplicate. I usually push the bead into the joint at a shallow angle, because that gives me more control than trying to drag a thick line across the surface.
- Cut the nozzle at a 45-degree angle, starting with a small opening.
- Puncture the inner seal and load the tube into the gun.
- Practice on cardboard for a few seconds so you can feel the pressure and flow.
- Set the nozzle against the joint and move at a steady speed while squeezing consistently.
- Leave enough material to fill the gap after tooling, but do not build a rounded ridge that has nowhere to go.
If I am sealing trim, I keep the bead smaller than I think I need and let the tooling do the final shaping. On bath and kitchen joints, I would rather make a second pass for a tiny low spot than flood the seam and clean up a mess later. Once the bead is in place, the finish depends on tooling it before skin forms.
Tool the bead before it skins over
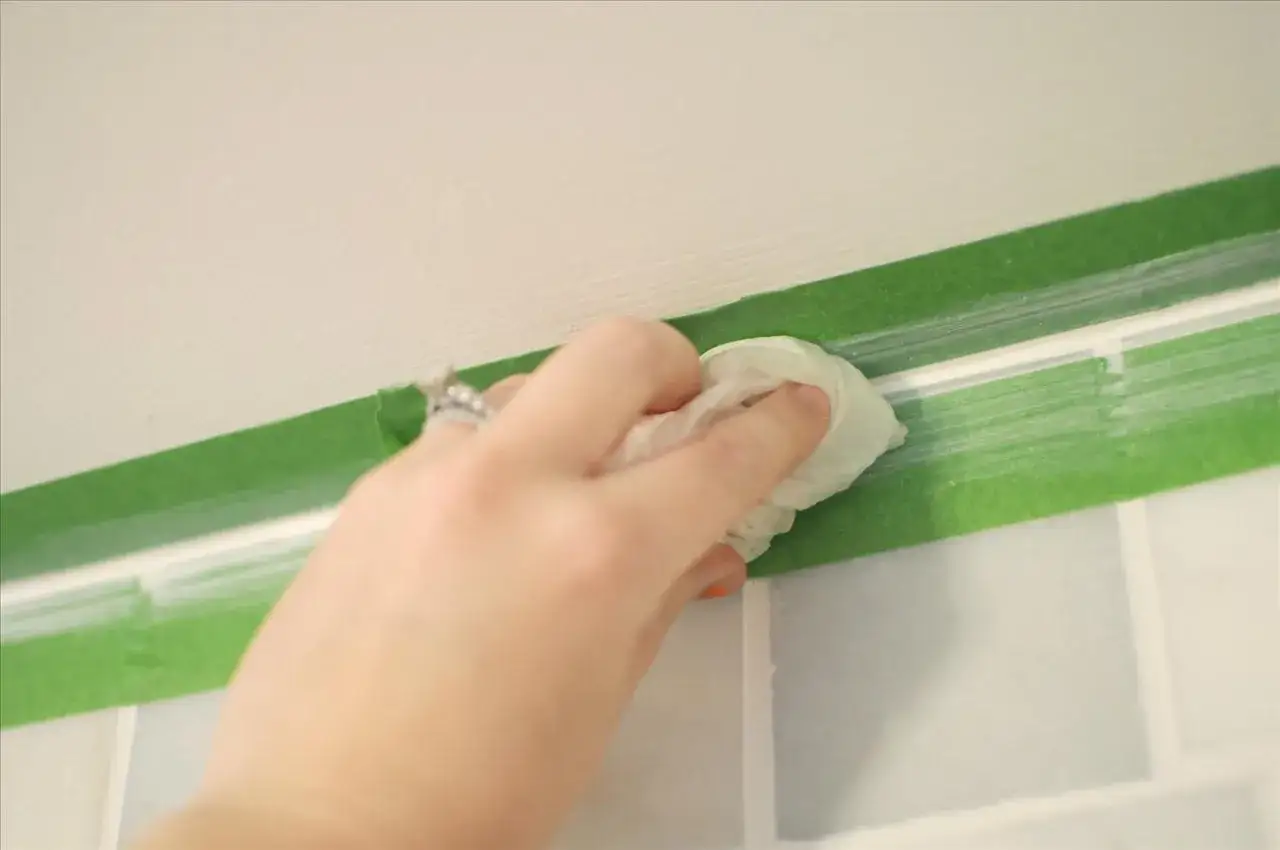
Tooling is where the line changes from functional to clean. I smooth the bead within 5 to 10 minutes of application, before the surface starts to skin over, and I pull the tape immediately afterward so the edges stay crisp.
- A good bead is slightly concave, not rounded into a hump.
- The finish should bridge both sides of the joint without pinholes.
- For latex products, a damp fingertip or finishing tool works well.
- For silicone, I prefer a dedicated caulk tool or a gloved finger because the material is stickier and less forgiving.
- Wipe excess from the surface right away; once it sets, cleanup gets much harder.
One detail matters more than people expect: do not wait until the joint looks perfect before removing the tape. If the sealant starts to skin, the tape can tear the edge and leave a ragged line. After that, the real test is avoiding the mistakes that make the repair fail early.
Avoid the mistakes that make caulk fail early
Most bad caulk jobs fail for boring reasons, and the good news is that every one of them is avoidable. The trick is to treat the bead as the last step in a sound repair, not the repair itself.
| Mistake | What happens | Better approach |
|---|---|---|
| Caulking over damp or dirty surfaces | The bead peels, bubbles, or grows mildew faster | Clean thoroughly and let the joint dry fully before applying sealant |
| Using painter's caulk in a tub or shower | Water breaks it down or it fails at the edges | Use a bathroom-rated silicone or another wet-area sealant |
| Filling a wide gap with sealant alone | The bead sinks, cracks, or pulls away | Use backer rod or repair the substrate first |
| Painting over pure silicone | The paint flakes or never bonds properly | Use a paintable acrylic-latex or siliconized acrylic product when the joint will be painted |
If the gap keeps reopening, moving, or leaking, I stop and look for the cause; caulk cannot stabilize loose tile, rotten trim, or a cracked substrate. Once those issues are ruled out, the only thing left is timing, which is where many repairs go sideways.
Let the sealant cure before you test it
Cure time is not the same as dry time, and that distinction matters if the area will be painted or exposed to water. Many acrylic-latex products are dry to the touch in about 30 minutes, paint-ready in roughly 2 hours, and fully cured in 24 hours, while silicone often needs a full day or more before it should see heavy water.
| Product type | Typical dry-to-touch time | When I would use or paint it | Notes |
|---|---|---|---|
| Acrylic latex | About 30 minutes | Often paintable in about 2 hours | Good for dry interior trim and easy cleanup |
| Siliconized acrylic latex | About 30 to 60 minutes | Usually paintable in 2 to 4 hours | Useful when you want paintability with a little more flexibility |
| 100% silicone | About 10 to 30 minutes | Not paintable; many wet areas need 24 hours or more before water exposure | Best for sinks, tubs, showers, and other moisture-heavy joints |
Cool rooms, thick beads, and high humidity stretch every number above, so I always give the joint extra time if the conditions are not ideal. On exterior work, I also watch the weather window and avoid rushing a bead before rain, washing, or temperature swings can interfere. That leaves the part that keeps a good repair good: a few habits that make the seal last longer.
A few small habits that make the seal last longer
Once the bead is cured, maintenance is mostly visual. I inspect tubs, sinks, backsplashes, window trim, and other high-use seams a couple of times a year, because cracking, peeling, or mildew usually starts small and is easy to miss until water gets behind the finish.
When I see a failure, I cut it out and redo it rather than burying it under another layer. That extra ten minutes of removal usually saves a bigger repair later, and it keeps the next bead from inheriting the same problem.
The simplest rule is the one I trust most: match the product to the movement, keep the bead thin and continuous, and give it enough time to cure before you test it. That is what turns a quick patch into a repair that actually holds.