A stripped screw in wood is annoying because the driver no longer has anything solid to bite, but the fix is usually more about order than force. This guide focuses on how to get a stripped screw out of wood without chewing up the surrounding grain, starting with the least invasive tricks and ending with the heavier tools. I’ll also show what to do after the screw comes out so the hole still holds the next fastener.
The fastest path without damaging the board
- Start with the least aggressive fix: a better-fitting driver, then added grip, then pliers.
- If the screw head still sits above the surface, locking pliers usually beat drilling.
- If the head is rounded or flush, a screw extractor or left-handed drill bit is usually the next step.
- Cutting a fresh slot works only when you can stay centered and keep the blade steady.
- If the screw spins but will not rise, stop before you enlarge the hole and switch methods.
- After removal, repair the hole with glue and hardwood filler only if the fastener is not structural.
The safest order to try first
When I deal with a damaged screw head in wood, I think in terms of escalation. Each step should give you a little more bite or leverage without increasing the damage to the board, and that usually means the best option is the one that removes the screw with the least extra work afterward.
| Method | Best when | Typical U.S. cost | Risk to wood | My take |
|---|---|---|---|---|
| Different screwdriver size or type | Slots are still visible | $0 to $15 | Low | Often the cleanest first fix |
| Rubber band or abrasive compound | The head is rounded but not destroyed | $0 to $10 | Low | Good first attempt before tools get aggressive |
| Locking pliers | The head stands above the surface | $15 to $35 | Low to moderate | Usually the fastest win when there is something to grab |
| Cut a new slot | The head is flush and the metal is still thick enough | $0 to $80 | Moderate | Works well if you stay centered |
| Extractor or left-handed drill bit | The head is badly stripped or partly buried | $8 to $30 | Moderate | Best next step for stubborn screws |
| Drill the head off | Nothing else works | $0 to $30 | High | Last resort; plan on hole repair afterward |
In easy cases, the whole job can take under 10 minutes. If the screw is rusted, buried, or badly deformed, I expect 15 to 30 minutes once the tools are out, and I treat that as normal rather than a sign that I am doing something wrong. Once you know the order, the next step is gathering the tools that make the work smoother instead of messier.
Tools worth setting out before you begin
You do not need a full workshop, but a few specific tools make the job much easier. I keep these within reach before I start so I am not improvising halfway through the repair.
- Manual screwdriver set - A good hand driver gives you better control than a drill and helps avoid cam-out, which is when the bit climbs out of the head instead of turning it.
- Locking pliers - These are the best option when any part of the screw head is exposed above the wood.
- Rubber band or abrasive grip compound - Cheap, fast, and surprisingly useful when the slots are only partially rounded.
- Utility knife, awl, or pick - Handy for clearing paint, rust, sawdust, or packed debris out of the screw recess.
- Hammer - Useful for seating a driver more firmly into the head before you turn it.
- Screw extractor kit - A small kit usually runs about $8 to $25 in the U.S. and is worth having if you do repairs more than once a year.
- Left-handed drill bits - These often come in the same price range as extractor kits and can back a screw out while you drill in reverse.
- Rotary tool or oscillating tool - Helpful if you need to cut a fresh slot across the head.
If I had to buy only two things for occasional home repairs, I would choose locking pliers and a screw extractor kit. That combination covers a lot of real-world cases without pushing you straight into destructive drilling, which is a useful bridge to the actual removal methods.
The step-by-step removal methods I use
I always start by cleaning the screw head, because a lot of “stripped” screws are really just dirty or partially filled with paint. After that, I move from gentler traction tricks to stronger grip methods, stopping as soon as the screw starts to turn cleanly.
-
Clear the recess and try the right driver.
Scrape out paint, dust, or rust, then press in a driver that fits as tightly as possible. If the screw is Phillips and the head is worn, I sometimes try a slightly larger bit or a different style that matches what remains of the recess. Firm downward pressure matters here because it keeps the bit from riding out of the slot.
-
Add grip with a rubber band or abrasive paste.
Lay a wide rubber band across the head, seat the driver into it, and turn slowly. If the screw is only lightly rounded, that extra friction can be enough. A small amount of abrasive compound does the same thing with a little more bite, which is useful when the rubber band starts to slip.
-
Use locking pliers if the head is exposed.
If the screw stands proud of the wood even a little, locking pliers are often the cleanest solution. Clamp them on as squarely as possible, squeeze until they bite, and work the screw back and forth before turning it out. I prefer this method whenever it is available because it removes the screw without damaging the surrounding grain.
-
Cut a new slot across the head.
If the head is flush but still accessible, a rotary tool or oscillating tool can create a fresh straight slot for a flathead screwdriver. The cut does not need to be deep, just clean enough to give the screwdriver something to bite. I use this method carefully because a wandering blade can scar the wood fast.
If the screw still refuses to move after those steps, I stop pretending more pressure will help. That is the point where extraction tools or drilling become the smarter move, because repeated slips usually do more damage than the screw itself ever did.
When drilling or extraction is the right call
Once the head is badly rounded, sunken, or rusted into place, I switch to a screw extractor or a left-handed drill bit. A screw extractor works by biting into a pilot hole in the metal head and backing the screw out, while a left-handed bit can catch the screw as you drill in reverse.
- Center your bit first. A center punch helps keep the drill from skating, and even a small nail set is better than guessing by eye.
- Use slow speed and steady pressure. High speed makes it easier to wander or overheat the bit, especially on harder screws.
- Match the bit to the metal. A high-speed steel bit is fine for many jobs, but harder fasteners may call for cobalt bits, which hold up better against wear.
- Do not drill deeper than necessary. The goal is to loosen the screw head, not to enlarge the hole in the wood behind it.
- Wipe away excess lubricant. If you use penetrating oil on a rusty screw, keep it minimal so you do not stain the wood around it.
For a screw that has failed completely, I treat drilling the head off as a controlled loss, not a mistake. The head comes off, the board stays mostly intact, and the remaining shank is usually easier to deal with once the pressure is gone. After that, the real job becomes repairing the hole so the next screw has something worth holding onto.
Repairing the wood after the screw comes out
Once the fastener is out, I check the hole before driving anything else into it. If the fibers are only slightly chewed up, the board may be fine with a fresh pilot hole, but if the hole is enlarged or ragged, a small repair will save the next screw from slipping.
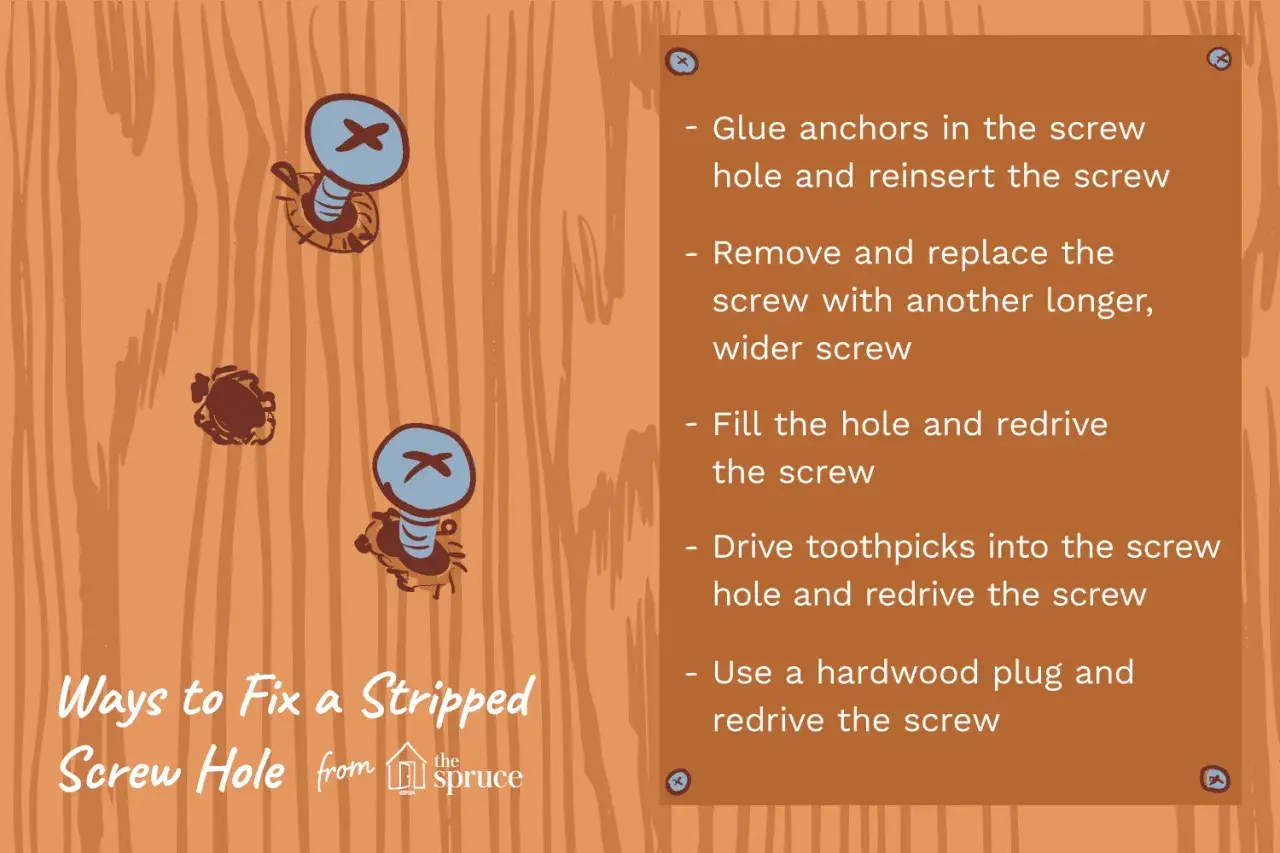
- For minor damage - Pack the hole with wood glue and a couple of hardwood toothpicks or matchsticks, then trim them flush after the glue sets.
- For larger holes - Use a hardwood dowel cut to size, glued into the opening, then redrill a pilot hole once it dries.
- For cosmetic-only fixes - Wood filler can hide the damage, but I do not rely on it for a load-bearing screw.
- For softwood surfaces - Be especially careful with pilot-hole size, because pine and similar woods strip faster than dense hardwoods.
How to keep the next screw from stripping
Prevention is cheaper than extraction, and it is usually easier too. Most stripped screws happen because the driver is the wrong size, the angle is off, or the screw was forced into wood that should have been predrilled first.
- Use the exact driver size the screw needs, not the one that is close enough.
- Keep the bit square to the screw so the head does not cam-out under pressure.
- Pre-drill pilot holes, especially in hardwood or near the edge of a board.
- Stop the moment a driver starts slipping instead of trying to “muscle through” it.
- Choose better-quality screws for important repairs, because soft heads strip much faster.
- For repeated assembly and disassembly, use screws with stronger drive patterns such as Torx, which resists slipping better than a standard Phillips head.
I think of prevention as part of the repair, not an afterthought. A five-minute pause to size the bit correctly can save an hour of extraction work later, and that is a trade I will take every time.
The mistakes that turn one screw into a bigger repair
The biggest mistake I see is people keeping the drill on a stripped head after the bit has already lost purchase. That only polishes the metal and tears at the wood around it. A few other habits cause the same kind of damage fast.
- Using too much force before checking whether the driver actually fits.
- Letting the bit sit at an angle instead of keeping it centered.
- Drilling too aggressively and enlarging the hole before the screw has been loosened.
- Clamping pliers so hard that they crush veneer or dent the surrounding finish.
- Relying on wood filler to hold a screw that needs real structural strength.
When I keep the pressure controlled and switch methods before the head gets worse, stripped screws stay manageable. If the fastener is still showing any usable metal, I still have options, and that is usually enough to save both the screw and the wood around it.