Learning how to use a table saw safely matters because this tool is built for fast, repeatable straight cuts, not improvisation. In home repairs, I reach for it when I need clean rip cuts, square trim, shelving parts, or plywood strips, and I avoid it when the stock feels too short, too twisted, or too hard to control. This guide covers setup, cutting technique, kickback prevention, and the mistakes that usually turn a simple job into a dangerous one.
What matters most before the first cut
- A sharp blade, a solid fence, and a proper guard system matter more than speed.
- Rip cuts belong against the fence; crosscuts are safer with a miter gauge or sled.
- Stand slightly to one side of the blade so kickback moves past you, not into you.
- Use push sticks or push blocks for narrow stock and keep long pieces supported at both ends.
- Dull, cracked, or badly aligned blades should come out of service immediately.
What a table saw is best at in home repairs
I think of a table saw as a precision straight-line machine. It shines when I need the same width cut again and again, especially for shelf stock, trim, cabinet parts, and framing lumber that has to match exactly. It is less impressive when the workpiece is tiny, warped, or awkward enough that I would have to chase it with my hands.
For homeowner projects, that usually means the saw is a strong choice for ripping boards, trimming plywood, and cleaning up lumber for repairs. It is usually a poor choice for freehand curves, tiny offcuts, and long crosscuts that leave the board hanging in space. If the board cannot stay flat, square, and supported from start to finish, I start looking for another tool.
| Repair task | Good fit | What I would watch |
|---|---|---|
| Ripping shelf boards or trim stock | Yes | Use the rip fence, support both ends, and use a push stick when the cut gets narrow. |
| Shortening boards for casing or baseboard | Usually | Use a miter gauge or crosscut sled instead of the rip fence. |
| Cutting 3/4-inch plywood strips | Yes, with support | Large sheet goods need outfeed support or a helper; otherwise the sheet wants to tip. |
| Small repair parts | Only with a jig | Do not hold tiny pieces by hand near the blade. |
| Curved or irregular cuts | No | Use a jigsaw or another saw that is designed for that shape. |
That division matters because the saw rewards controlled, repeatable work and punishes improvisation. Once you know the right job for the tool, the setup becomes much easier to think through.
Set the saw up before the first cut
I never treat setup as busywork. A table saw that is even slightly out of alignment can bind the stock, burn the cut, or throw the board back at you. Before I switch it on, I check the blade, the fence, the guard system, and the support around the saw.
- Unplug the saw or remove the battery before changing the blade, adjusting the fence, or installing accessories.
- Choose the right blade for the cut. A ripping blade, a combination blade, and a fine crosscut blade do different jobs.
- Set the blade just high enough to clear the stock cleanly. I do not leave more blade exposed than the cut needs.
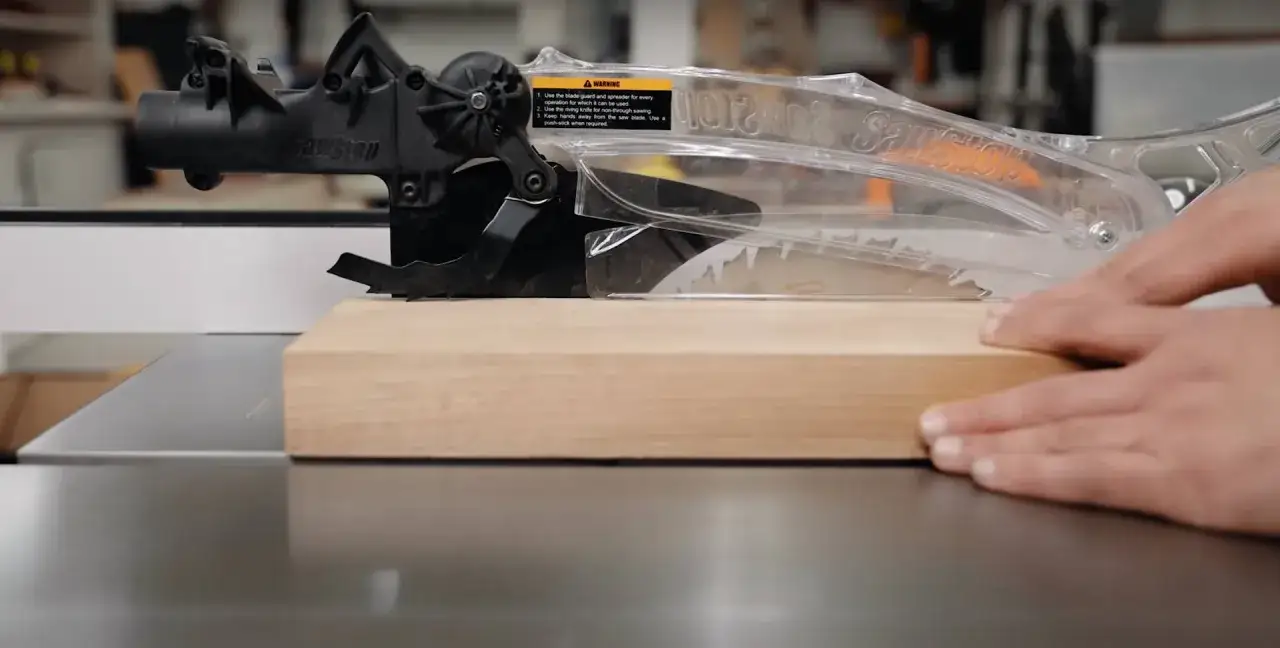
- Check the guard, riving knife, and anti-kickback parts so they are actually in place and aligned.
- Confirm the fence is parallel to the blade path before ripping anything valuable.
- Clear the floor and the outfeed area so the board has somewhere to go after it leaves the blade.
- Wear eye protection and hearing protection, and avoid loose sleeves, jewelry, or anything that can catch.
OSHA and the CPSC both point to the same core protections: sharp blades, guard systems, and kickback control. That is not bureaucracy; it is the difference between a cut that behaves and one that suddenly does not. With the saw ready, the next step is learning how to feed the stock without fighting it.
Make the cut with steady feed and a clear path
When I cut, I want the wood moving smoothly and the blade doing the work. If I have to shove, twist, or wrestle the stock, something is already wrong. The goal is a clean, steady feed that keeps the board flat on the table and tight to the correct guide.
For a rip cut
- Mark the cut line clearly on the waste side of the board.
- Set the rip fence to the finished width you want.
- Make sure the board has infeed and outfeed support if it is long or heavy.
- Start the saw and let it reach full speed before the wood touches the blade.
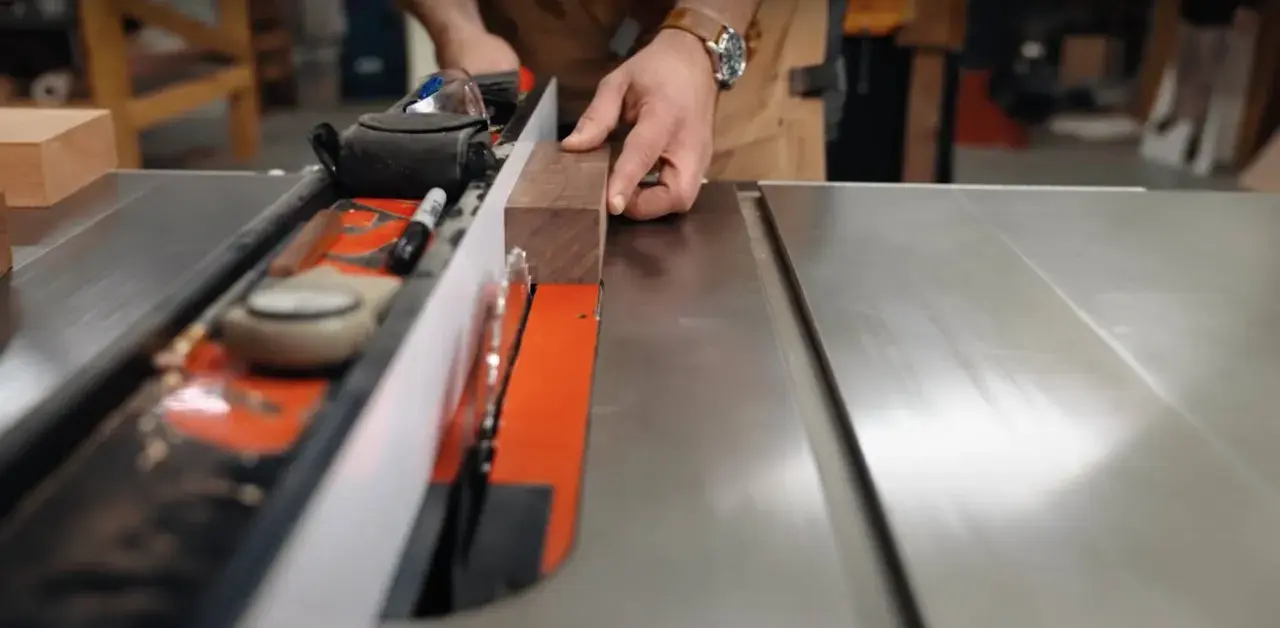
- Feed the board forward with even pressure, keeping it flat and against the fence.
- Switch to a push stick or push block once your hands get close to the blade.
- Keep moving until the full cut clears the blade, then let the machine coast down before handling offcuts.
Read Also: Patch a Hole in the Wall - Make Repairs Invisible
For a crosscut
- Use a miter gauge or crosscut sled, not the rip fence.
- Keep the workpiece tight to the gauge face so it cannot twist.
- Hold the board on both sides of the cut line until the blade is fully through.
- Let the offcut fall away or clear safely before you reach for it.
There is one rule I follow every time: I do not pull stock backward through a spinning blade. If I need to stop, I switch off the saw and wait. That simple habit removes a lot of ugly surprises and leads straight into the biggest risk on the machine: kickback.
Keep kickback from becoming the main problem
Kickback happens when the blade catches the stock and throws it back toward the operator. It is faster than a normal reaction and more common during ripping than crosscutting, especially when the board pinches, drifts, or warps. I treat it as the hazard that deserves the most attention because it is the one that can turn a normal cut into an injury in a split second.
For me, the safest table-saw habits are simple and consistent: keep the work aligned, keep my body out of the line of fire, and keep the blade sharp. That matches the practical guidance from the safety agencies I trust most in this space, and it also matches what I see in real shops.
| Kickback trigger | What it looks like | How I handle it |
|---|---|---|
| Pinched kerf | The board closes in behind the blade and binds | Use a riving knife or splitter, and do not force warped stock. |
| Fence misalignment | The fence traps the board against the blade | Check fence parallel before ripping. |
| Twisted or bowed lumber | The board rocks or shifts while feeding | Choose flatter stock or prep the board differently first. |
| Dull or wrong blade | The cut burns, slows down, or chatters | Use the right blade and replace damaged ones. |
| Unsupported long stock | The board tips as soon as the cut begins | Add infeed and outfeed support before you start. |
One more detail matters here: I stand slightly to the side of the blade, not directly behind it. If the stock moves back, I want the board to miss my body line entirely. That small stance change is cheap insurance, and it pairs with the habits that keep the cut clean in the first place.
Avoid the mistakes that turn a simple cut risky
Most table-saw mistakes are not dramatic. They are small, ordinary choices that build into a bad cut: using the fence the wrong way, letting the board wander, or keeping a dull blade in service because “it still cuts.” Those errors are easy to ignore until the blade starts fighting back.
| Mistake | Why it is a problem | Better move |
|---|---|---|
| Using the rip fence for a crosscut | It can trap the offcut and set up kickback | Use a miter gauge or crosscut sled. |
| Cutting small pieces by hand near the blade | Your fingers get too close to the danger zone | Use a push block, jig, or another tool. |
| Removing the guard because it is inconvenient | You lose a physical barrier and, often, support for the stock | Only remove accessories when the cut truly requires it, then restore them. |
| Forcing a dull blade through wood | It increases heat, binding, and operator fatigue | Sharpen or replace the blade before the next cut. |
| Starting with no support behind a long board | The workpiece tips and shifts as soon as the cut begins | Set up infeed and outfeed support first. |
| Letting the offcut stack against the blade | The loose piece can pinch, fall, or get flung back | Plan the cut so the waste side has room to clear safely. |
I also pay attention to the type of cut I am making. A dado is a groove cut across the grain, and a rabbet is an edge notch used in cabinet work and shelving. If I am doing either one, I make sure the saw is configured correctly and I restore every guard or safety part afterward. The convenience of a quick setup is never worth turning the machine into a compromise.
The habits that keep the saw accurate
After the cut, I do a short reset before I walk away. That usually takes less than a minute, but it keeps the saw accurate and ready for the next repair. Dust, resin, and small alignment shifts are normal; ignoring them is what creates problems later.
- Brush sawdust off the table, fence, and throat plate after use.
- Check the blade for pitch buildup. Pitch is the sticky resin that collects on the teeth and body of the blade.
- Inspect the blade for chips or missing teeth before the next job.
- Store push sticks, sleds, and wrenches where they are easy to reach, not buried in a drawer.
- Recheck fence alignment if the saw has been moved.
- Keep the manual nearby if your saw uses a specific guard or insert for certain cuts.