What matters most before you reseal the tub
- 100% silicone is usually the safest choice for the tub-to-tile joint because it handles постоянная moisture best.
- Old caulk, soap film, and trapped moisture are the main reasons a new bead peels or mildews early.
- A 3/16-inch bead is enough for most bathtub seams; gaps deeper than 3/8 inch need backer rod or a real repair.
- Tool the bead within 5 to 10 minutes, before it skins over.
- Many bath silicones are water-ready in about 30 minutes, but 24 hours is the safer full-cure target.
- If the tub or tile moves, caulk alone will not solve the problem for long.
Choose the right sealant before you cut the first bead
I start with the sealant because the wrong tube makes the rest of the repair harder than it should be. For a bathtub, I usually want 100% silicone or a true kitchen-and-bath sealant labeled for tubs and showers; it handles constant moisture better than general-purpose caulk. I also check the room temperature, because many bath sealants want the surface above 40°F for reliable application.
| Caulk type | Best use | Main advantage | Tradeoff | Typical water-ready time |
|---|---|---|---|---|
| 100% silicone | Tub-to-tile seams, high-splash zones | Best water resistance and flexibility | Not paintable; cleanup is less forgiving | Often 30 minutes to 24 hours |
| Siliconized acrylic-latex | Drier trim areas or quick patching | Easier cleanup and painting | Less durable in permanently wet joints | Usually 18 to 24 hours |
| Advanced bath sealant | Homeowners who want easier tooling with strong moisture resistance | Smooth application and good adhesion | Label varies by brand, so check the tub/shower rating | Often 30 minutes to 24 hours |
A standard 10.1-ounce cartridge usually covers about 55 linear feet at a 3/16-inch bead, which is enough for a typical bathtub surround if you do not overapply. If the joint is deeper than 3/8 inch, I use backer rod instead of trying to bridge the whole void with sealant. Once you have the right tube in hand, the rest is about prep and patience.
With the sealant chosen, the next step is stripping the old line clean enough for the new bead to bond properly.
Remove the old caulk and get the joint truly clean
Old caulk has to come out completely. I cut both edges with a utility knife, then pull the bead away in strips; what matters is getting every bit of loose silicone and soap film out of the joint. After scraping, I wipe the seam with isopropyl alcohol, let it dry fully, and check for movement or soft drywall. If the gap is wider than 3/8 inch, or the tile is loose, caulk alone is the wrong fix and the substrate needs attention first.
- Score both sides of the old bead so it releases without tearing the tile edge.
- Lift out the loose caulk with a scraper or caulk-removal tool.
- Remove all residue, especially in corners and along textured tile.
- Clean the seam with alcohol to break up soap film and body-oil buildup.
- Let the area dry completely before you load the gun.
If mildew keeps returning right away, I assume moisture is still trapped somewhere behind the finish surface. That is the point where I stop thinking about caulk as a cosmetic fix and start thinking about hidden water damage. Once the joint is stripped and dry, the next job is laying a controlled bead instead of a fat one.
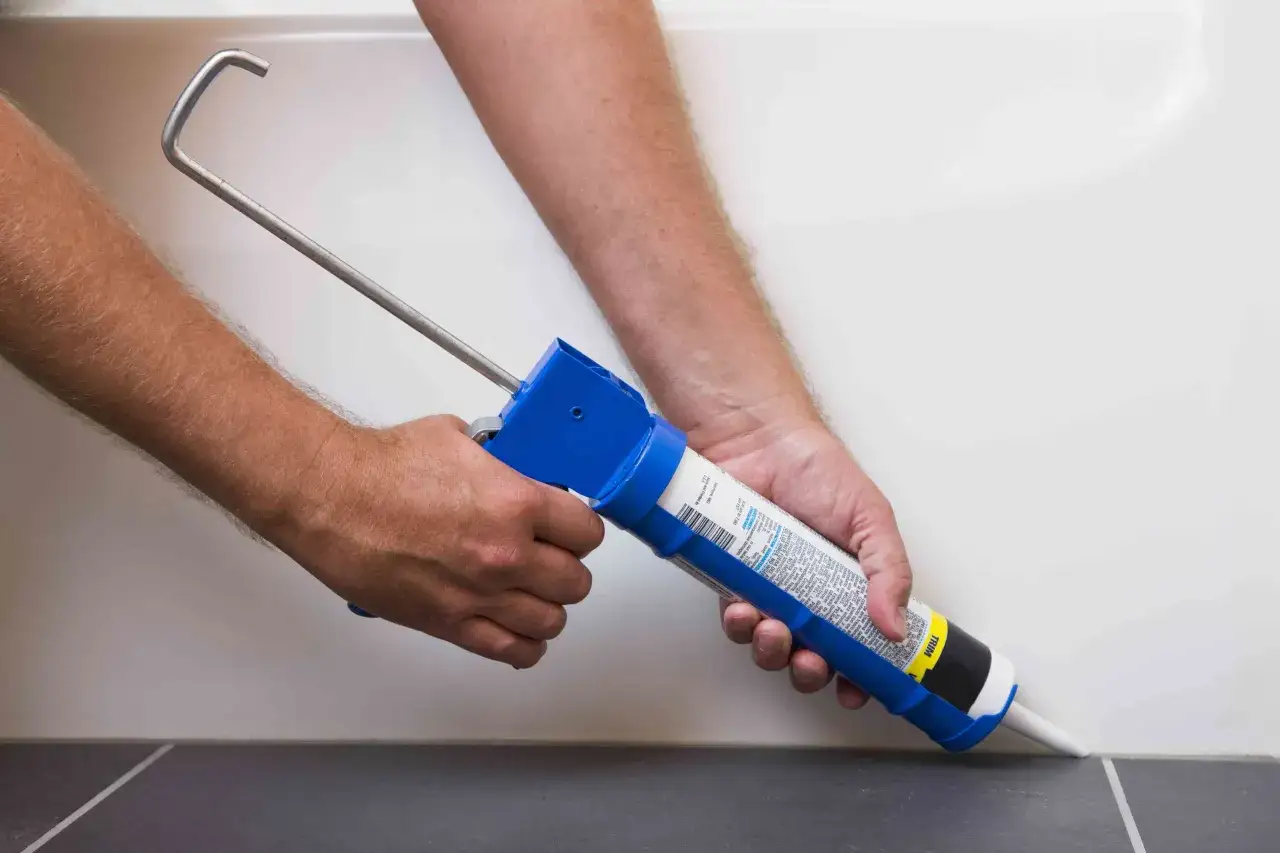
Lay a smooth bead without overfilling the gap
I cut the nozzle at a 45-degree angle and keep the opening smaller than I think I need; a wider cut invites a messy bead. For most tub seams, a steady 3/16-inch line is enough. I move in one continuous pass, keeping the tip lightly pressed into the joint so the sealant fills the seam instead of sitting on top of it. On tubs that flex, I sometimes seal with the tub in its normal loaded position so the joint is formed the way it will actually sit in use.
- If you want crisp edges, run painter’s tape about 1/8 inch from the joint on both sides.
- Start at the least visible corner so any restart happens where it shows least.
- Squeeze with steady pressure and move at a consistent speed.
- Keep the nozzle moving; stopping and starting creates lumps and weak spots.
- If a small gap appears, fill it immediately rather than trying to fix it after the bead skins over.
I like to think of this step as filling, not painting. The sealant has to bridge the joint and bond to both surfaces, so a thick decorative ribbon usually performs worse than a thinner, properly seated bead. A neat line is only half the job; the cure window is what turns it into a watertight seal.
Tool the line, then give it enough time before water touches it
The best-looking line is still a failure if you touch water too early. I tool the bead within about 5 to 10 minutes, before the surface skins over, using a caulk finisher or a gloved finger with light pressure; the goal is to press sealant into both edges, not scrape it thin. Then I leave it alone. Many bath silicones are water-ready in about 30 minutes and fully cured in 24 hours, while acrylic-latex products often need 18 to 24 hours before water exposure, and cool or humid bathrooms slow that down.
- Remove painter’s tape right after tooling, while the bead is still soft.
- Wipe stray sealant off tile immediately, before it hardens.
- Avoid showers, baths, or heavy steam until the full cure window passes.
- If the label gives a longer cure time, follow the label instead of the clock on your wall.
I do not treat “water-ready” as the same thing as fully cured. A bead can feel dry on the surface and still be soft underneath, which is exactly when it gets damaged by the first long shower. If the seal fails anyway, the problem is usually not the smoothing step but the joint or the substrate underneath.
When new caulk still fails and what that usually means
When a fresh bead fails quickly, I look past the caulk itself. The usual causes are old residue left in the joint, water trapped behind the seam, a bead that was too thick, or too much movement in the tub surround. If the tub-to-tile gap opens when the tub is full, or the caulk peels where the tub flexes, the seal is doing its job under the wrong conditions.
- Cracks along the middle of the bead usually point to movement or a bead that was too thin.
- Peeling from the tile usually points to dirt, soap film, or leftover old caulk.
- Mold that returns fast often means moisture is trapped behind the finish layer.
- Loose tile, soft drywall, or rotten trim means the repair needs more than caulk.
That is why I never describe caulk as a structural fix. It seals a joint; it does not stabilize a wall, stiffen a tub, or repair water-damaged backer board. Once you accept that limit, you can decide whether the seam only needs new sealant or whether the bathroom needs a deeper repair.
Small habits that keep the repair from aging fast
I treat bathtub caulk as maintenance, not a one-time fix. A quick wipe-down after showers, decent bathroom ventilation, and a yearly inspection for cracks or gaps will keep most seams in service much longer. If the line starts to yellow, shrink, or separate, I replace it before water has a chance to work behind the wall.
When I reseal a tub, the lasting result comes from three things: a sealant that belongs in a wet joint, a surface that is truly clean and dry, and enough cure time for the bead to set before the next shower. Get those right, and the repair stays simple instead of becoming a recurring leak hunt.