Torque matters any time a fastener has to hold without being crushed, stretched, or left loose enough to work itself free. In home repairs, that shows up more often than people think: wheel lugs, mower blades, bicycle parts, appliance hardware, and plenty of assemblies where “snug” is not good enough. Understanding how to use a torque wrench is mostly about control: set the spec correctly, pull smoothly, stop at the signal, and leave the tool ready for next time.
The essentials you need before the first turn
- Match the wrench to the torque range and unit printed on the job spec.
- Use a click, beam, or digital model based on how often you need it and how easy the reading must be.
- Tighten with a slow, steady pull until the click, beep, or pointer says stop.
- Do not use the tool to break loose stuck fasteners or as a cheater bar.
- Reset the wrench to its lowest setting after use and store it in a dry case.
- If you drop it or it starts feeling inconsistent, have it checked before trusting it again.
What a torque wrench is actually measuring
I like to start with the part people often skip: a torque wrench measures rotational force, not “tightness” in the vague sense. That matters because a fastener can feel firm long before it reaches the value the manufacturer designed for the joint. In practical terms, torque is the force you apply through the handle, and the wrench tells you when you have reached the target on the scale or the click point.
That difference explains why over-torquing can be so destructive. Too much force can stretch a bolt, strip threads, crush a gasket, or crack a softer part such as aluminum housing. Too little force can leave a wheel, blade, bracket, or fitting loose enough to move under vibration. In home repairs, the right torque is really about clamp load: keeping the parts pressed together with the amount of force they were built to handle.
Once that idea is clear, the rest of the process makes more sense, because the next decision is not just tightening harder. It is choosing the right wrench for the job.
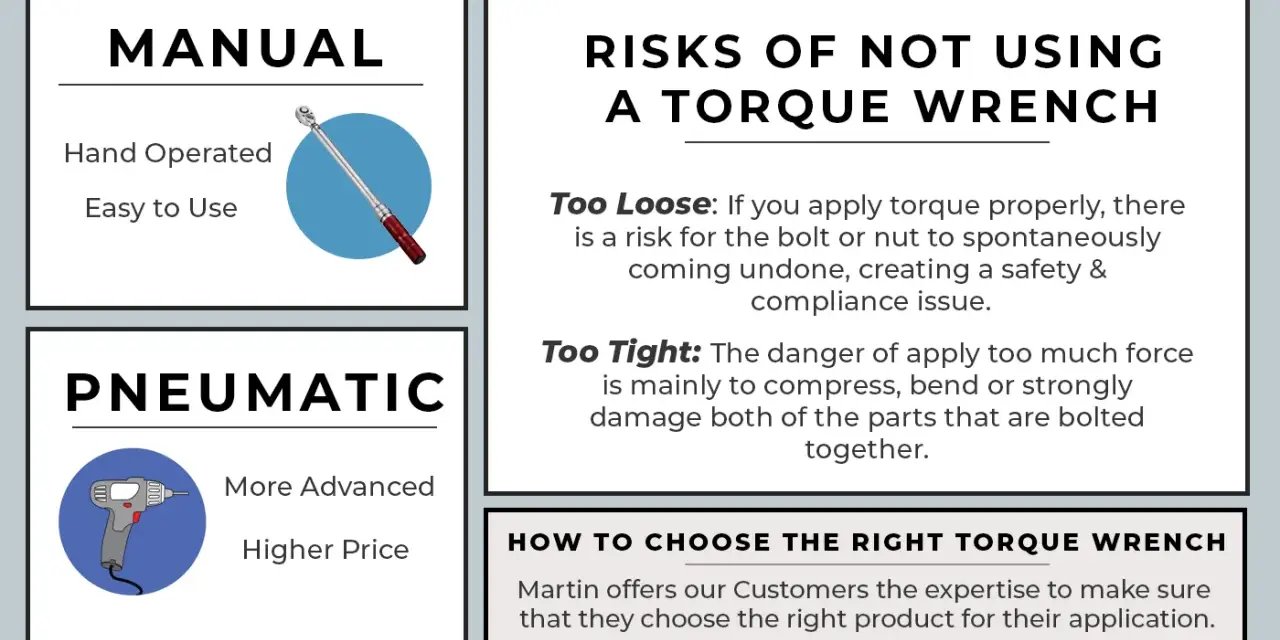
Choose the right wrench for the job
For most homeowners, the choice comes down to three styles: click, beam, and digital. I use the job, the space around the fastener, and how precise the reading needs to be as my filter. A wrench that is easy to read on a bench can be annoying under a hood, behind an appliance, or in a tight corner.
| Type | Best for | Strengths | Limits |
|---|---|---|---|
| Click-type | Most home and garage repairs | Fast, familiar, easy to use once set | You have to stop immediately at the click and reset it after use |
| Beam | Occasional use and low-cost projects | Simple, durable, no spring to set | Harder to read at awkward angles; parallax can throw off the reading |
| Digital | Frequent use and awkward access | Clear display, beeps or vibration, easy unit changes | More expensive and may need batteries |
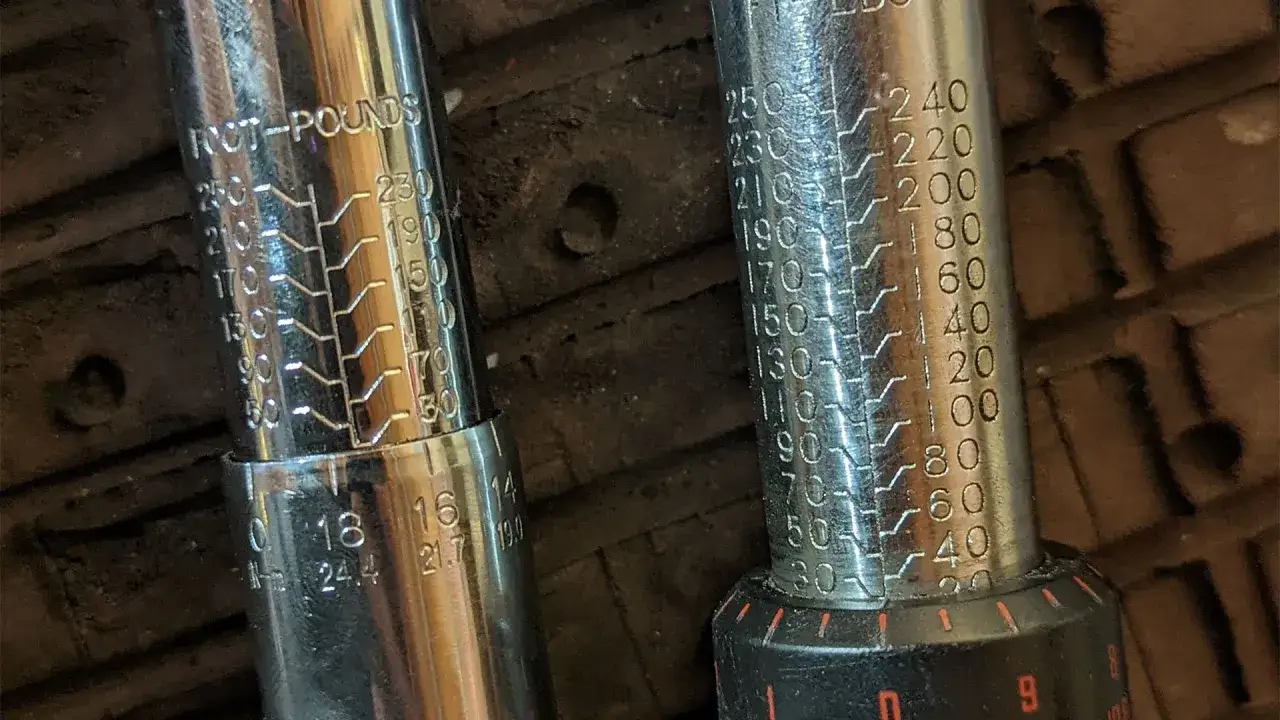
Drive size matters too. A 1/4-inch drive is usually better for smaller inch-pound work, a 3/8-inch drive covers a lot of general home tasks, and a 1/2-inch drive is the better pick for larger hardware and higher torque. Typical working ranges vary by model, but I think of it this way: small fasteners, medium fasteners, and the jobs that need more leverage than finesse. If you are matching a tool to a job in the U.S., pay attention to the units as well. Foot-pounds and inch-pounds are not interchangeable, and 1 ft-lb equals 12 in-lb.
With the wrench matched to the task, the next step is setting it correctly before a single bolt moves.
Set the wrench correctly before you tighten
I usually read the spec twice before I touch the handle, because that is where mistakes start. The number is only useful if the unit matches the wrench and the fastener is being tightened in the direction the tool is designed for. Some wrenches are reversible; others are meant for one direction only. If the head or manual marks a direction, respect it.
- Find the exact torque specification for the fastener and confirm whether it is listed in in-lb, ft-lb, or N·m.
- Choose the wrench whose range comfortably includes that spec. I avoid living at the top or bottom of a wrench’s scale if I can help it.
- Set the value carefully and lock it if the model uses a locking collar or handle.
- Seat the socket fully on the fastener before you begin the pull.
- If the wrench is click-type, test the motion once on a scrap fastener so the feel is familiar before you touch the real part.
One detail that matters more than people expect is thread condition. Dry threads, lubricated threads, and threads with anti-seize do not behave the same way. If the spec assumes dry threads, do not add lubricant because it feels smoother. If the spec calls for lubrication, use it exactly as directed. That is one of the fastest ways to change clamp load without meaning to.
Once the setting is right, technique matters more than strength, and that is where a lot of people overshoot the mark.
Use a smooth pull and stop at the signal
The motion should feel deliberate, not aggressive. I hold the wrench so the force stays in line with the handle and pull steadily until the click, beep, or pointer reaches the target. A torque wrench is not a breaker bar, and it does not reward speed. In fact, a jerky pull can make you miss the signal and carry right past it.
- Pull smoothly. A steady motion gives the wrench time to signal at the actual target.
- Stop at the first clear signal. One click or beep is enough. A second pull usually means extra torque.
- Keep your hand position consistent. Pull near the grip area the manufacturer expects, not randomly closer to the head.
- Use a repeatable sequence on multi-fastener jobs. On wheel lugs or similar patterns, I tighten in stages instead of going to final torque in one pass.
That staged approach helps the part seat evenly. I often do a snug pass first, then a mid-pass, then the final torque in the correct sequence. On wheels, that usually means a star pattern; on a flange or bracket, it means following the order the part needs to settle evenly. The wrench is only half the job if the part itself is still shifting.
With the pull technique sorted out, the remaining errors are mostly avoidable habits rather than hard problems.
Avoid the mistakes that throw off torque
The biggest problems are usually small and boring, which is exactly why they show up so often. I see the same mistakes repeated: wrong units, wrong direction, wrong leverage, and too much confidence in a tool that is being used outside its comfort zone.
- Using the wrench to loosen stuck fasteners. That is how people damage the internal mechanism or get a bad reading later.
- Adding a pipe to the handle. Snap-on manuals warn against this for a reason: the extra leverage can damage the wrench and the fastener.
- Ignoring adapters and crowfoot geometry. If an adapter changes the effective length of the wrench, the applied torque changes too. Keep a crowfoot at 90 degrees to the wrench when possible, or compensate properly if the geometry changes.
- Mixing up inch-pounds and foot-pounds. This is a classic error, especially on smaller hardware.
- Pulling past the click. Once the wrench signals, extra force is extra torque. There is no bonus point for making it “really tight.”
- Working without checking lubrication state. Dry and lubricated threads do not behave the same way, so the spec has to match the condition.
I also avoid relying on a torque wrench for fasteners that are already damaged, rusted solid, or badly galled. In those cases, the real problem is not precision; it is getting the joint safe enough to work on. A breaker bar, penetrating oil, or a repair to the fastener itself may need to happen first.
Once those habits are out of the way, keeping the tool accurate between projects becomes much easier.
Keep the wrench accurate between projects
Torque wrenches are accurate instruments, not just strong ratchets. Tekton’s manual is blunt about storing the wrench at its lowest setting so the internal spring is not left under tension, and Snap-on manuals make the same basic point while also warning against using the tool to break fasteners loose. I follow that advice closely because it is simple and it works.
My maintenance routine is short: wipe the wrench clean, return it to the lowest setting, and store it in a dry case. If the tool was dropped, bent, or used on a job that felt unusually heavy, I treat that as a reason to verify calibration before the next critical use. For a wrench that sees regular home or garage work, an annual check is a practical habit. If it is only used a few times a year, I still check it whenever the result matters a lot.
Digital models add one more detail: keep the battery and display in mind. If the display is dim, the reading is unstable, or the unit changes unexpectedly, I do not trust the wrench until I sort that out. That kind of discipline matters most on the jobs where a bad torque reading really can cause damage.
The home repairs where I would not skip torque
Some tasks are forgiving. Others are not. If the fastener is decorative, low-load, or hidden inside soft material, exact torque may not be essential. But when the joint has to survive vibration, heat, or repeated loading, I want a wrench in hand instead of guesswork.
| Home repair task | Why torque matters | What I would usually reach for |
|---|---|---|
| Wheel lug nuts | Even clamping helps prevent loosening and uneven loading | 1/2-inch click or digital wrench |
| Mower blades and similar outdoor equipment | Too loose is unsafe; too tight can stress the spindle or blade bolt | 1/2-inch drive, matched to the spec |
| Bicycle stems, seat clamps, and lighter hardware | Over-tightening can crush lightweight parts or strip small fasteners | 3/8-inch or 1/4-inch wrench, often in inch-pounds |
| Appliance brackets, panels, and assemblies | Sheet metal and threaded inserts are easy to damage if you guess | Smaller drive size with a low torque range |
| Deck hardware or structural connectors with a published spec | Uniform clamp load helps the joint stay consistent under load | Wrench sized to the hardware and range |
One place I stay cautious is plumbing. Some fittings depend on torque, but many also depend on thread sealant, thread type, and how the joint is designed to seal. In other words, torque is only part of the picture. If the manufacturer gives a spec, follow it exactly. If not, I would not invent one just because the fitting seems “tight enough.”
When a job is both visible and structural, I check it twice, and that leads to the last routine I use before I put the tool away.
The final check I use before I call the job done
Before I close the toolbox, I run a short check that saves me from the mistakes that show up later. I confirm the fastener sequence is complete, the wrench is back at its lowest setting, and the socket is removed before storage. If the job used a different unit than I normally work in, I also make a note of it so I am not starting from the wrong assumption next time.
- Confirm every fastener in the pattern reached the same final spec.
- Look once more for anything that may have shifted while tightening.
- Reset the wrench and store it dry.
- Put the manual or spec back where I can find it.
- Trust the tool only if the pull, click, or reading felt normal.
That is the practical version of torque work: not dramatic, not complicated, just consistent. If you respect the setting, use a smooth pull, and keep the wrench in good shape, it will give you the one thing home repairs often need most: a fastener you can trust without overthinking it.