Knowing how to use wood filler correctly saves time on the small repairs that make a room look tired: nail holes in trim, scratches on a table, chipped cabinet edges, and shallow dents in a door frame. The best results come from three things working together: choosing the right filler, preparing the surface properly, and giving the patch enough time to cure before sanding. In practice, I treat filler as a cosmetic repair, not a structural one, and that distinction matters more than most people expect.
The cleanest repair starts with the right filler, solid prep, and enough cure time
- Use wood filler for shallow, non-structural damage; switch to epoxy or replacement when the wood is soft, moving, or missing too much material.
- Overfill slightly so you can sand the repair back to flush instead of trying to add more later.
- Shallow repairs often dry in about 2 to 6 hours, while deeper fills can take much longer.
- Sand only after the filler is fully hard, then paint or stain the area to match the surrounding surface.
- Stain matching is harder than paint matching, so choose a stainable formula if the wood will stay natural.
Choose the right filler for the repair
Not every patching product behaves the same way, and the wrong choice can make the repair harder to hide. For small cosmetic defects, a standard filler is usually enough. For stained wood, I prefer a stainable formula. For soft or damaged edges, a harder two-part product or epoxy is the better call because it resists shrinkage and gives you something real to shape.
| Material | Best use | Can it be sanded? | Can it be stained? | Typical cure |
|---|---|---|---|---|
| Wood filler | Nail holes, shallow gouges, trim before paint | Yes | Only with stainable formulas | About 2 to 6 hours for shallow repairs |
| Wood putty | Tiny touchups on already finished wood | No, because it stays soft or non-hardening | Usually no | It does not harden like filler |
| Two-part repair filler | Rotted edges, missing chunks, larger rebuilds | Yes | Color match varies | Often sandable in about 15 to 30 minutes |
| Epoxy wood repair product | Exterior damage, soft wood, damp-prone areas | Yes | Limited, depending on the product | Varies by formula and depth |
If the repair has to flex, move, or bridge a joint, filler is the wrong material. In those cases I reach for caulk, epoxy, or a replacement piece instead. Once the material is matched to the job, the next step is making the wood clean, dry, and ready to grab onto it.
Prepare the wood so the filler can bond
Good prep is what keeps the patch from popping loose or leaving a ring around the repair. I start by removing dust, loose fibers, cracked finish, wax, and any crumbly wood inside the defect. If the surface is glossy, a quick pass with 80 to 120 grit gives the filler something to grip. On stained or painted surfaces, it helps to clean a little beyond the damaged area so you are not sanding through dirt later.
- Vacuum or brush out dust and debris before you open the container.
- Cut away loose splinters and soft fibers so the patch sits on solid wood.
- Sand glossy edges so the filler can key into the surface.
- Let damp wood dry fully before you patch it.
- If rot is present, stabilize it or replace the section first.
I keep the prep area a bit wider than the defect itself, because a clean transition is easier to sand than a dirty one. Once the wood is clean and dry, the actual application goes much faster.
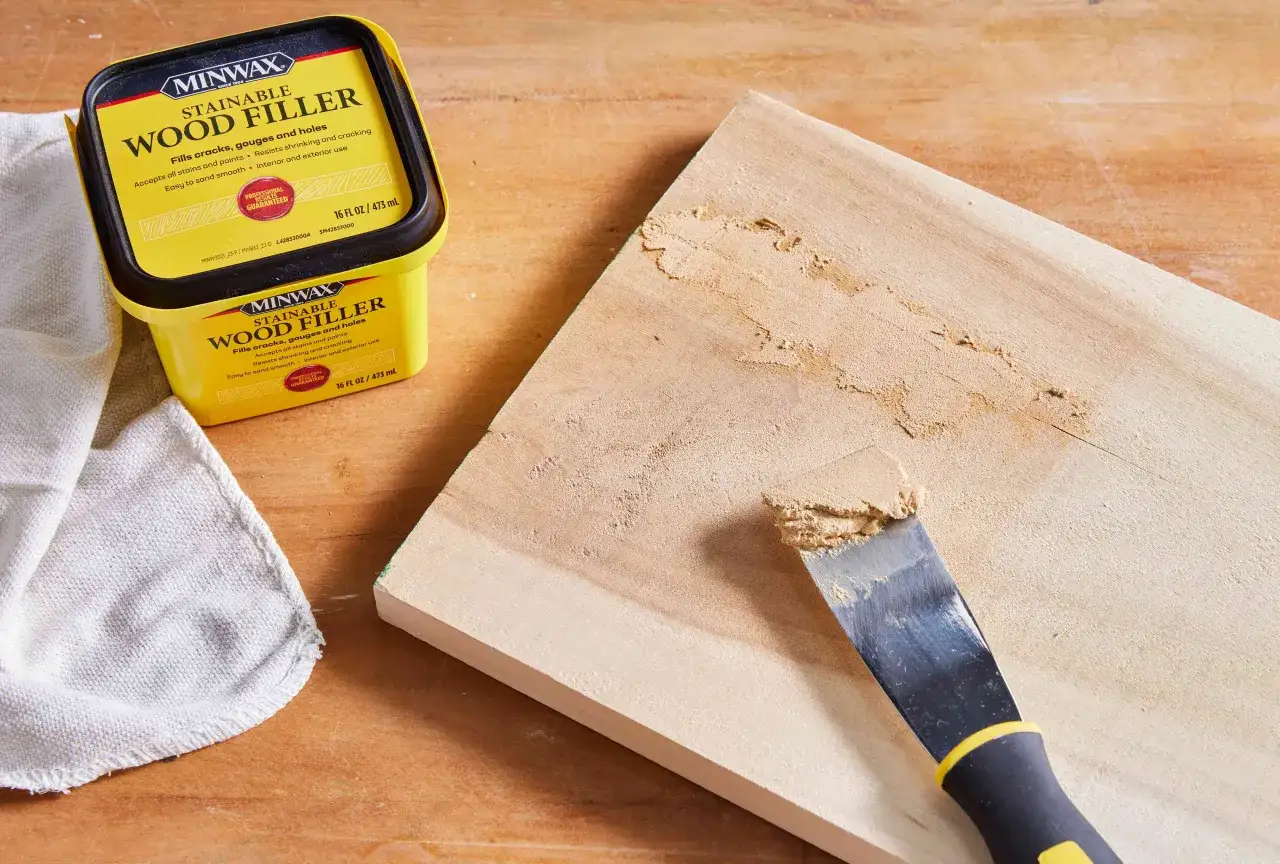
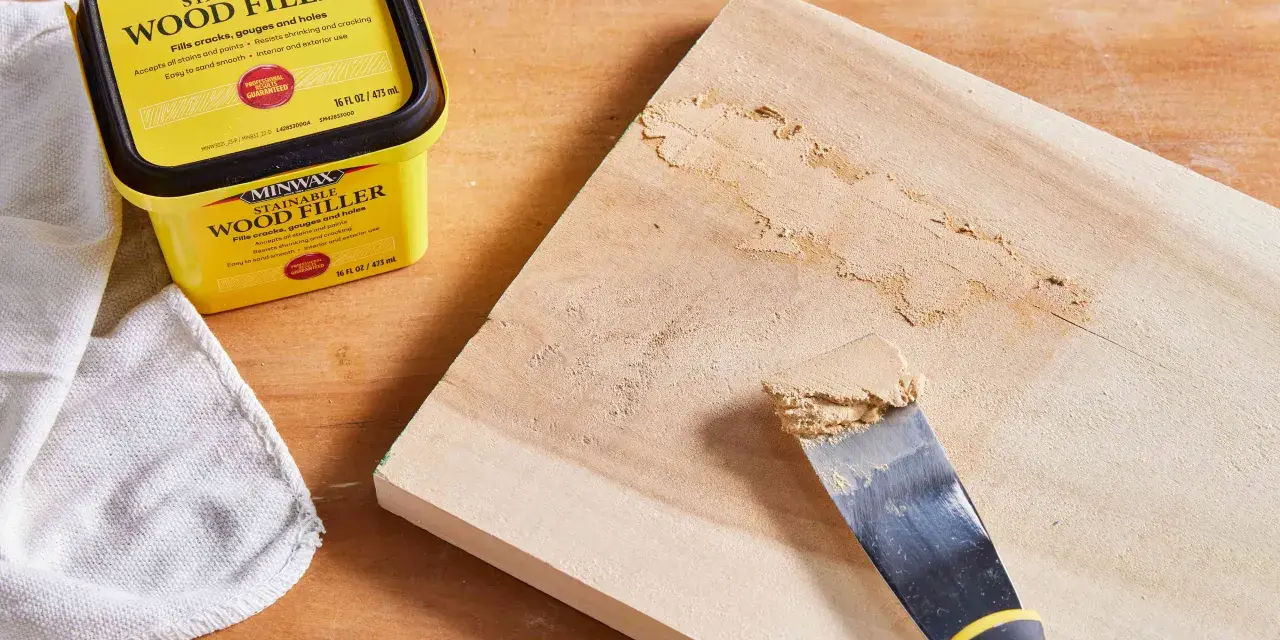
Apply the filler in thin, deliberate layers
I use a flexible putty knife for almost everything because it lets me press the filler into the defect instead of just smearing it on top. The rule is simple: pack the void, then leave a little extra. That extra material is what you sand back later, and it is much easier to remove than to add.
- Load a small amount of filler onto the knife.
- Push it across the defect from several angles so you do not trap air.
- Overfill slightly so the patch ends up proud of the surface.
- For holes or gouges deeper than about 1/4 inch, build the repair in layers rather than one thick mass.
- Scrape off obvious excess before it hardens.
- Leave the edges clean so the sanding step is short, not messy.
For nail holes and shallow dents, one pass is usually enough. For missing corners or deeper damage, I prefer a harder filler or epoxy and I let each layer set before adding the next one. That extra patience pays off when the repair is ready to be leveled.
Let it cure fully before you sand
This is where a lot of decent repairs get ruined. If the filler is still soft, sanding just drags it across the surface and leaves a low spot that shows up later under finish. As a practical rule, shallow water-based repairs usually need about 2 to 6 hours, while deeper fills can take up to 36 hours. Faster two-part repair fillers can often be sanded in about 15 to 30 minutes, but I still check the label and the depth of the repair before I rush anything.
| Repair situation | Typical wait | What I look for |
|---|---|---|
| Shallow cosmetic fill | 2 to 6 hours | The surface is firm and no longer cool or tacky |
| Deeper fill in layers | Several hours to 36 hours | The color is uniform and the center is hard |
| Fast two-part filler | 15 to 30 minutes | It can be carved or sanded without smearing |
When the patch is ready, I start with 80 to 120 grit to level it, then move to 150 to 180 grit if the area will be painted. If the project will be stained, I avoid over-sanding the repair with very fine grits; on stainable fillers, sanding too smooth can close the pores and make the stain grab unevenly. A quick wipe with a tack cloth or vacuum attachment before finishing makes a bigger difference than people think.
Blend the repair with the final finish
Paint is forgiving. Stain is not. That is the main reason finish matching takes longer than the actual filling. On a paint project, I am mostly concerned with flushness and edge quality. On a stain project, I also care about color, porosity, and how much the filler will absorb the stain compared with the surrounding wood.
For unfinished wood, a stainable filler gives you the best chance of a reasonable match, but I still test the stain on a scrap piece or in a hidden spot first. Even good stainable products rarely mimic the grain of real wood perfectly, especially on oak, walnut, or other strongly figured species. If the surrounding surface already has finish on it, a touch-up marker, gel stain, or a thin topcoat can help the repair disappear without making the whole piece look overworked.
- Use primer before paint if the filler or surrounding wood needs it.
- Stain light first, then deepen the color if needed.
- Topcoat after the stain cures so the sheen matches the rest of the piece.
Once the finish is chosen, the only real risk left is using filler in a situation where it should never have been the material in the first place.
Know the mistakes that turn a simple patch into a redo
The most common mistake is asking filler to do structural work. If the wood flexes, the joint opens and closes, or the material underneath is soft and crumbly, filler alone will not last. The second mistake is skipping cleanup: dust, wax, and loose fibers stop the patch from biting into the wood, and the failure often shows up later as a hairline crack around the repair.
- Do not use filler on moving joints where caulk or replacement is the better option.
- Do not fill damp, punky, or rotten wood without stabilizing it first.
- Do not apply one thick mound when several thin passes will cure more evenly.
- Do not sand before the filler is fully hard.
- Do not expect a paint-grade filler to disappear under clear stain.
If the damage is large, soft, or deeper than a cosmetic patch should handle, I stop the filler work and move to epoxy consolidation, a hardener, or a replacement piece. That is usually the point where the repair becomes faster, not slower, because you stop fighting the wrong material.
The repairs that last are the ones you keep within the material’s limits
For everyday home repairs, the cleanest result comes from a simple sequence: prepare the wood, press the filler in firmly, let it cure completely, sand it flush, and match the finish with as little fuss as possible. Keep the repair shallow, keep the surface dry and clean, and let the product do the work it was designed to do. If you remember one rule, make it this one: filler hides damage best when it is used for cosmetic fixes, not as a substitute for good carpentry.
When I am not sure whether a defect is still cosmetic, I assume it is not and move up to a stronger repair method before I waste time on a patch that will fail later.