A well-fitted screen does three jobs at once: it keeps insects out, preserves airflow, and stays visually clean from the curb. For most homeowners, window screen installation is less about strength than about measuring correctly, choosing the right mesh, and seating the spline so the frame stays square under heat, wind, and repeated use. In the sections below, I cover the materials, the fitting process, the mistakes that create loose corners, and the situations where a custom screen makes more sense than a quick DIY repair.
The fit comes from measuring the groove, matching the mesh, and locking the spline evenly
- Measure the frame channel, not the old mesh. Damaged screens are unreliable as a size reference.
- Choose mesh for the exposure. Fiberglass is the budget standard, while polyester and pet screen hold up better in harsher outdoor conditions.
- Use the correct spline size. The spline should match the groove; thicker specialty mesh often needs a smaller spline.
- Keep the screen taut, not over-stretched. Too much tension can bow the frame or create waves after the first hot day.
- Rescreening is cheap when the frame is sound. Bent corners, warped rails, or rotten wood usually justify replacement instead of repair.
Choosing the right screen material for your climate
The screen itself matters more than most people expect. In a mild, shaded window, a standard mesh can last a long time. On a south- or west-facing elevation, or anywhere with strong sun, wind, salt air, or pets pushing against the frame, the material choice starts to affect durability, visibility, and how often you will be back at the same window fixing the same problem.
For U.S. homes, fiberglass remains the common starting point because it is affordable and easy to work with. Aluminum stays crisp and resists sagging better, but it can crease if handled roughly. Polyester costs more, yet it usually handles UV and tension better. Pet screen is thicker still, which helps in high-traffic areas but slightly reduces visibility and airflow.
| Material | Best use | Strengths | Tradeoffs | Typical U.S. price band |
|---|---|---|---|---|
| Fiberglass | General-purpose windows | Affordable, flexible, easy to install | Can sag more than metal or polyester | About $20 to $35 per 100 sq ft |
| Aluminum | Standard windows with better shape retention | Stays taut, good visibility, rust resistant | Can dent or crease if overhandled | About $25 to $45 per 100 sq ft |
| Polyester | Sunny or coastal exposures | Tough, more tear resistant, better long-term stability | Costs more than basic fiberglass | About $35 to $70 per 100 sq ft |
| Pet screen | Windows near pets or kids | Thicker and harder to puncture | Heavier look, lower visibility, stiffer to work with | About $45 to $100 per 100 sq ft |
Lowe's puts screen material in roughly the $20 to $100 range per 100 square feet, depending on the mesh type, and that lines up with what I see in real projects: standard fiberglass is cheap, specialty mesh is not. If the window faces harsh afternoon sun or coastal air, I usually lean toward polyester; if budget is the priority, fiberglass still makes sense for interior-facing or sheltered openings. Once the material is chosen, the next decision is whether the frame you have is worth keeping.
Measuring the frame so the screen actually fits
This is where most problems begin. People measure the torn screen, not the frame channel. The torn mesh does not tell you what the groove width is, what the corners are doing, or whether the frame is slightly out of square. I always remove the screen, clean the frame, and measure the actual opening before I cut anything.
For a clean fit, I check four things: the frame width, the frame height, the depth and width of the spline groove, and the corner geometry. As a practical target, I want the diagonals to be very close, because a screen that is visibly out of square will fight you when you try to seat it. On a small frame, even a slight mismatch can show up as a corner gap or a bowed side. I also cut the mesh larger than the frame, usually leaving about 1 to 2 inches of overlap on every side so I have room to tension and trim later.
- Measure the opening in the frame, not the old mesh. Old mesh stretches and lies.
- Measure the spline groove. Standard fiberglass and aluminum usually take a spline that matches the groove width, while thicker specialty mesh may need one size smaller.
- Check the diagonals. If the frame is out of square, fitting becomes frustrating fast.
- Leave extra mesh. A few inches of overlap gives you control when you roll the spline in.
That prep work sounds slow, but it saves time because a screen only fits well when the frame is honest. With the measurements locked in, the actual fitting process becomes straightforward.
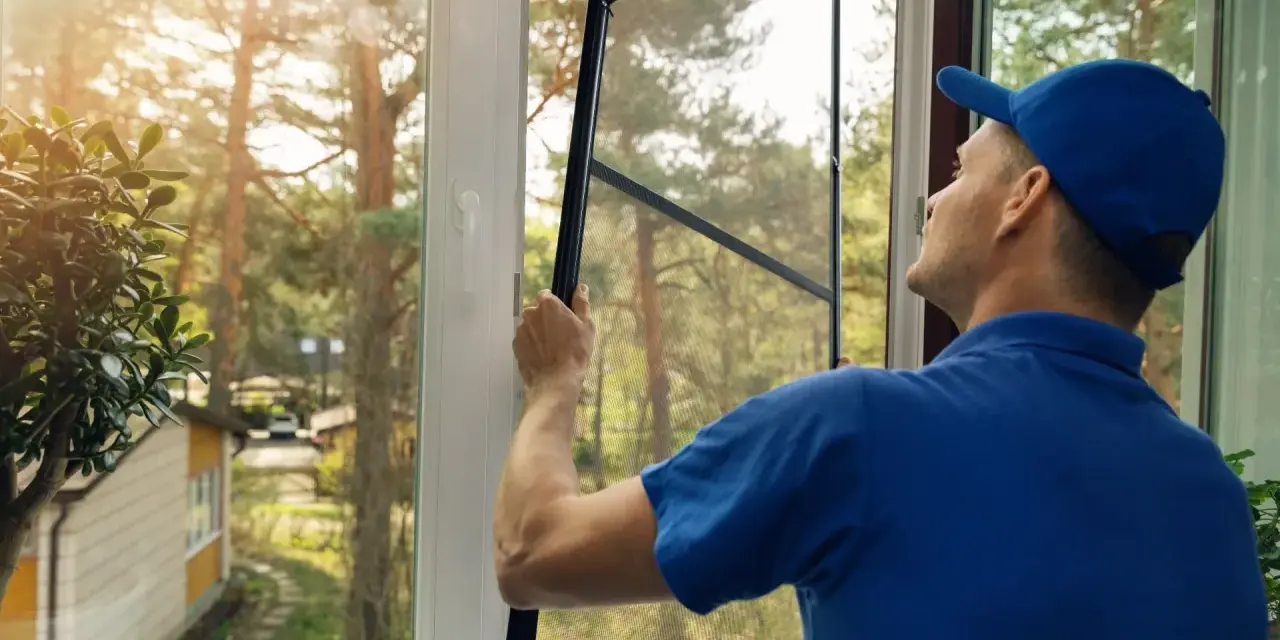
How I fit the screen into the frame without distorting it
For this part, I treat window screen installation as a fit-and-finish job, not a strength test. The goal is even tension, square corners, and a spline that seats fully without crushing the mesh. A flat table, a fresh blade, and a steady hand matter more than force.
- Clean the frame and groove first. Dust, old spline bits, and debris keep the new spline from seating properly. I wipe the frame and inspect the corners before I start.
- Lay the mesh oversize on a flat surface. I position the frame on top and let the material overhang all sides. I want enough excess to work with, usually at least 1 to 2 inches beyond the frame.
- Start the spline on one long side. I use the concave side of the spline roller to press the mesh into the groove lightly, then roll the spline in with steady pressure. Starting in the middle and working toward the corners helps control the tension.
- Seat the opposite side next. This is the step that keeps the screen balanced. I keep gentle tension on the mesh, but I do not pull so hard that the frame bows.
- Finish the short sides and corners. Corners are where wrinkles usually appear, so I slow down there. If the mesh bunches, I back up a little and reset it instead of forcing the spline forward.
- Trim the excess only after the spline is fully seated. I use a sharp utility knife and angle the blade outward so I do not nick the mesh that is already locked in place.
- Test the fit before I call it done. The screen should drop into the window opening cleanly, sit flush, and stay stable when the window opens and closes.
If the screen looks tight on the bench but waves after installation, the issue is usually uneven tension or the wrong spline size. A screen that is stretched like a drum may look neat for a moment, but heat expansion and daily use tend to expose that mistake quickly. I would rather redo one side than live with a frame that keeps warping itself out of shape.
The mistakes that turn a simple screen into a frustrating one
Most bad screen jobs are not caused by advanced problems. They come from rushing. I see the same errors over and over: cutting too small, choosing spline that is too thick, over-tightening the mesh, and ignoring a frame that was already bent before the work started.
- Using the old screen as the measurement reference. If it was torn, stretched, or warped, the numbers are already wrong.
- Picking the wrong spline size. Too small and the screen loosens; too large and the groove fights back, which can wrinkle the mesh.
- Pulling the mesh too hard. Excess tension can bow thin aluminum frames and make corners pop later.
- Working on an uneven surface. A screen frame needs full support while you roll the spline in.
- Trimming before the spline is seated. Once the excess is cut too early, you lose the material you need to correct a wrinkle.
- Ignoring corner damage. If the corners are loose or cracked, the screen will never stay square for long.
When I want a quick quality check, I hold the finished screen at arm’s length and look at the frame lines. If the mesh appears wavy, the corner gaps are uneven, or the sides seem to flare outward, I do not assume the problem will disappear after installation. It usually gets worse outdoors, especially in heat and wind.
When to rescreen, replace, or order a custom frame
The right fix depends on the condition of the frame, not just the mesh. If the screen material is torn but the frame is straight and the corners are solid, rescreening is the sensible move. If the frame is bent, the corners no longer stay square, or the groove is damaged, replacement becomes the better investment.
| Situation | Best move | Why it makes sense |
|---|---|---|
| Mesh torn, frame square | Rescreen | Low cost, fast repair, good result |
| Spline brittle or shrinking | Replace spline and mesh | Fresh spline restores grip without replacing the whole frame |
| Frame bent or corners loose | Replace the frame | A distorted frame will keep causing fit problems |
| Odd-size opening or specialty window | Order custom | Custom sizing is often faster than fighting a poor fit |
| Old wood, rot, or swelling | Replace the unit or repair the surround first | The screen cannot compensate for a failing frame structure |
In practical terms, a DIY rescreen is usually inexpensive if the frame is reusable. Once you move into custom sizes, specialty mesh, or repeated redo work, the cost gap narrows. That is when I stop treating the job as a screen repair and start treating it as a frame problem, because a screen can only fit as well as the structure behind it.
What I check before I call the job finished
The last pass is the one that separates a screen that merely exists from one that actually works outdoors. I want the mesh taut but not over-stretched, the spline fully seated on all four sides, and the frame to drop into the window without forcing anything. If a window has tabs, locks, or spring clips, I test those too, because a perfect-looking screen that rattles in the opening is still a poor result.- Check the corners. They should sit flat, with no visible gaps or lifted mesh.
- Check the surface tension. The screen should look even from several feet away, not rippled or drum-tight.
- Check the fit in the opening. The frame should seat without bending when you install it.
- Check the edges after the first warm day. Heat can reveal a spline that was not fully locked in place.
- Check the exposure. If the window faces intense sun, wind, or salt air, revisit the material choice before the next replacement cycle.
My rule is simple: if the screen disappears into the window from a normal viewing distance and still feels stable when the window moves, the job is right. If it draws attention to itself, something in the fit still needs adjusting, and it is better to correct that now than wait for the first loose corner to show up outside.