Learning how to build a gazebo starts with a few practical decisions: size, footing type, roof style, and whether you want a full DIY build or a kit that saves time. I focus on the parts that actually determine whether the structure feels solid in wind, drains properly after rain, and looks intentional in a backyard rather than improvised. I also cover the planning details most people miss, especially permits, setbacks, and anchoring, because those are the mistakes that cost the most to fix later.
The decisions that matter most before you start
- Most backyard gazebos work best in the 8- to 12-foot range, with 10x10 or 10x12 being a comfortable middle ground.
- Check setbacks, height limits, and permit rules before you dig; some U.S. towns exempt seasonal structures, others do not.
- Set footings below local frost depth and use proper anchors so freeze-thaw movement does not twist the frame.
- Square the posts and beams before the roof goes up; roof problems usually begin with a crooked base.
- Budget realistically: current market estimates put many projects around $4,739, with a wider range of roughly $400 to $15,500.
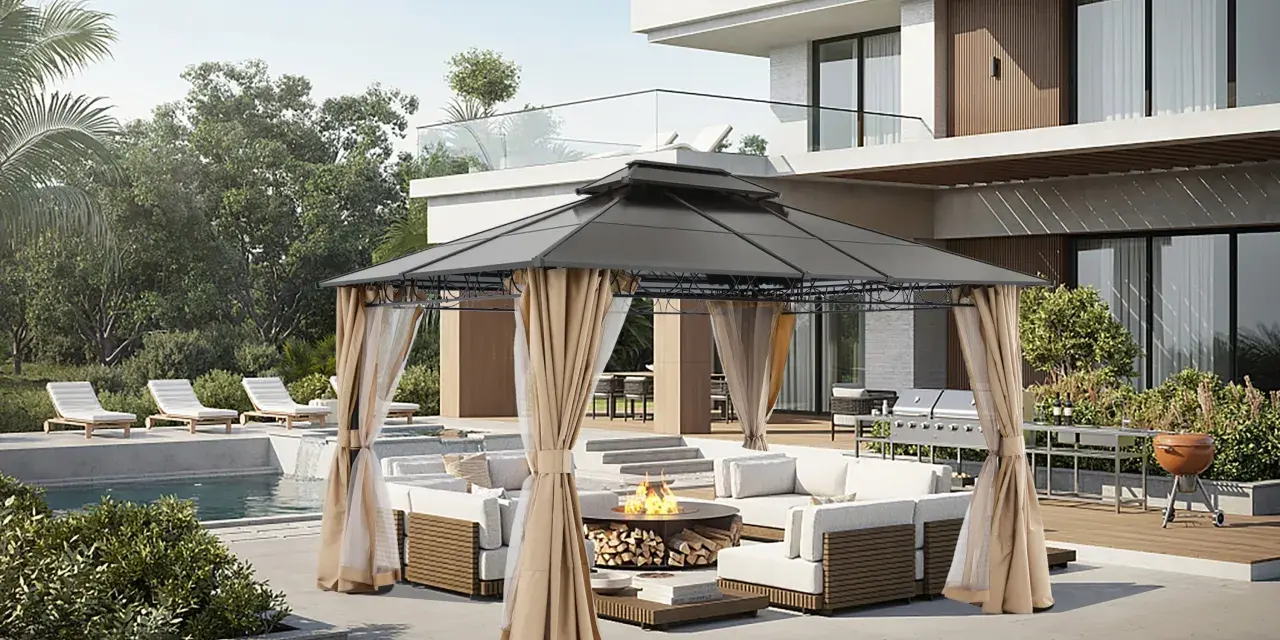
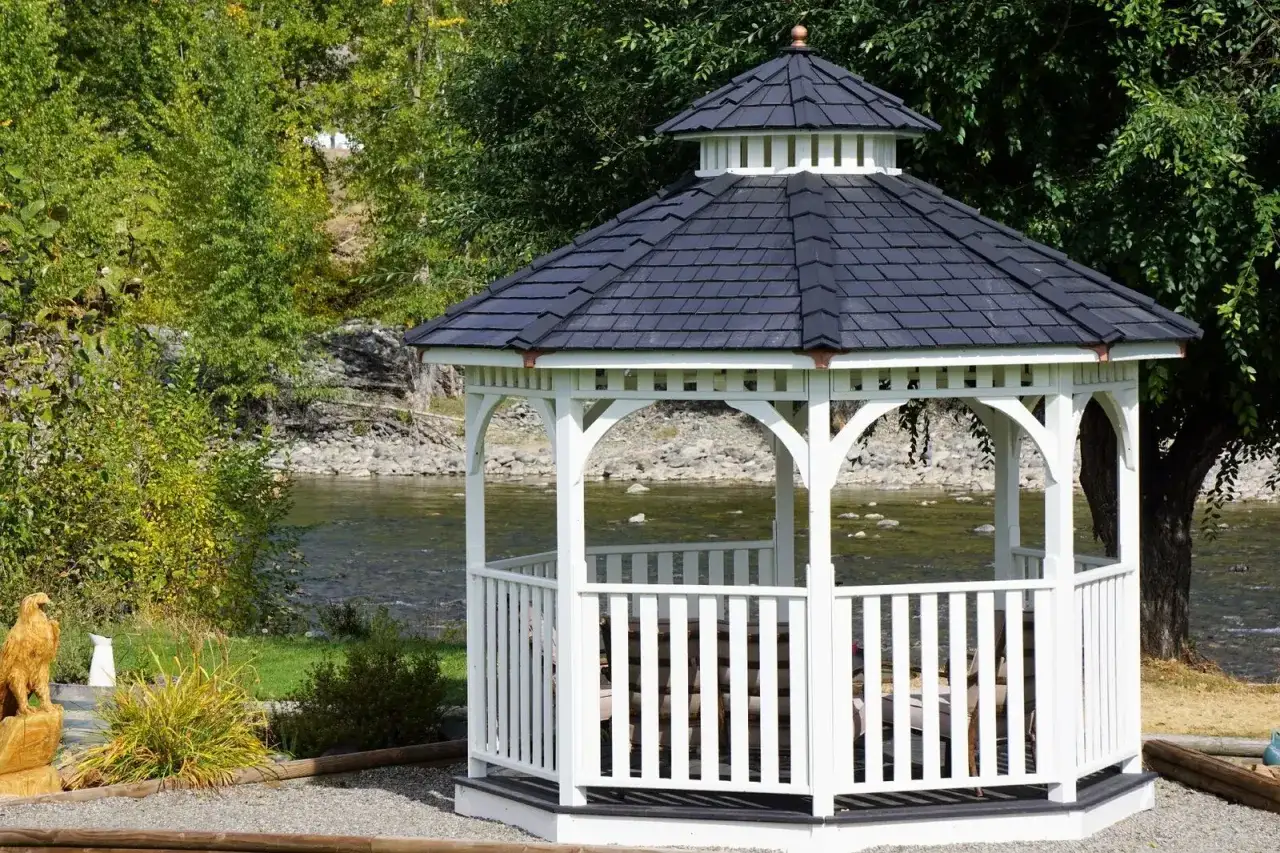
Choose the shape and build style that fit the yard
I always start with shape, because shape controls the framing math, the roof complexity, and how the gazebo sits in the landscape. A square or rectangular layout is the easiest to frame and furnish, while a hexagonal or octagonal version gives you the classic gazebo look at the cost of more angle cuts and a trickier roof. Round and oval designs look elegant, but they usually push the project into custom-build territory.
| Shape | Why I pick it | Tradeoff |
|---|---|---|
| Square or rectangular | Fastest framing and easiest furniture layout | Less traditional in appearance |
| Hexagonal or octagonal | Classic look and better sightlines from inside | More angle cuts and a more demanding roof |
| Round or oval | Soft visual profile and strong focal point | Usually requires custom planning and a bigger budget |
For size, I like to think in living space, not just footprint. An 8x8 structure feels compact, a 10x10 handles a small seating set, and a 10x12 or 12x12 gives you room to move around chairs without bumping into posts. That matters more than people expect, because a gazebo that is technically “big enough” can still feel cramped once furniture and traffic are inside.
Material choice also changes the whole project. Current market estimates put materials for a gazebo anywhere from about $2,000 to $8,500, with wood commonly landing around $4,000 to $7,000, vinyl around $2,000 to $3,500, metal around $3,000 to $8,500, and brick around $4,000 to $7,500. I treat those ranges as a reality check before I buy anything, because they tell me whether I should keep the design simple or plan for a more substantial build. Once the form is set, the site itself becomes the next critical decision.
Check the site, setbacks, and permit rules first
Before I put a shovel in the ground, I check two things: where the structure is allowed to go and what is buried underneath the lawn. In the United States, accessory-structure rules vary a lot by city and county, and a gazebo may be treated as a permanent building, a seasonal structure, or a permit-exempt accessory feature depending on size and location.
- Call 811 before digging so utility lines are marked.
- Confirm property lines and setbacks, which are the minimum distances from lot boundaries.
- Ask whether height limits apply, especially if you want a taller roof profile.
- Verify whether a permit is required for the structure, the foundation, or any electrical work.
- Check drainage so the site does not hold standing water after rain.
If the ground slopes, I do not assume a surface-level frame will solve the problem. I rework the location or adjust the footing heights so the finished structure sits level without fighting gravity all season. That matters even more if the gazebo is freestanding, because a self-supporting structure needs its own stable base instead of relying on a house wall or a deck ledger. Once the site is cleared and approved, the foundation becomes the part that decides whether the build lasts.
Set a foundation that stays level through wind and freeze-thaw cycles
The foundation is where I slow down and get picky. In cold climates, footings need to respect the local frost depth so freeze-thaw movement does not lift or tilt the structure. The International Residential Code also sets a minimum footing depth requirement for certain exterior footings, but local frost conditions can demand more depth, so I follow the local building department first and generic rules second.
- Mark the post locations and confirm the layout is square before you dig.
- Dig to the required depth, not just to whatever feels reasonable on the day.
- Add a few inches of compacted gravel for drainage where appropriate.
- Use concrete footings or approved post bases so the wood stays out of standing water.
- Brace each post until the concrete has cured enough to hold the load.
Why I prefer post bases over burying wood
A metal post base keeps the post separated from the concrete and soil, which reduces rot and gives me a cleaner detail at ground level. I only embed wood directly when the plan calls for it and the lumber is rated for that contact. For most backyard gazebos, keeping the wood dry is the smarter long-term choice.
Read Also: Build a Wheelchair Ramp - Outdoor DIY Guide
What “plumb” and “square” really mean
Plumb means perfectly vertical. Square means the corners are true and the diagonals match. Those two checks sound basic, but they are the difference between a roof that fits cleanly and one that spends the rest of its life looking slightly off. When the base is true, the framing phase becomes much more predictable.
Frame the posts and beams with square geometry
Once the posts are set, I treat the beam stage as a structural lock-in. This is the point where the frame gains rigidity, so I use bolts or approved structural connectors at the primary joints instead of relying on screws alone. Screws are useful, but they are not the same as a structural connection when the roof and wind loads start working on the frame.
- Stand the posts and install temporary braces before adding the top beams.
- Connect opposite posts first so the frame cannot wander out of alignment.
- Measure diagonals again and adjust until the frame is square.
- Install the perimeter or top ring beam, then recheck level.
- Tighten all hardware only after the frame sits correctly in position.
This is also where racking becomes a concern. Racking is sideways movement in the frame, and if the structure can shift even a little here, the roof will show it later. I keep temporary braces in place longer than people think they need to stay, because a stable base saves time everywhere else. With the frame locked in, the roof is next, and that is where a lot of DIY projects go from manageable to frustrating.
Build the roof as a separate project, not an afterthought
The roof is the hardest visual and structural part of the build, so I plan it like its own job. A gazebo roof has to shed water, handle its own dead load, and sit cleanly on the top frame without forcing the structure out of alignment. Dead load is the permanent weight of the roof itself, and it matters because a heavier covering needs a stronger frame underneath.
| Roof option | Best for | What I watch for |
|---|---|---|
| Asphalt shingles | Familiar look and straightforward sourcing | Weight, underlayment, and flashing details |
| Metal panels | Durability and strong water shedding | Fastener quality and noise in heavy rain |
| Polycarbonate panels | Light-transmitting shade | Heat buildup and a less traditional appearance |
I like to assemble as much of the roof as possible on the ground, then lift it into place in manageable sections. That is safer and usually more accurate than trying to build overhead from scratch. If the design includes shingles, I make sure the sheathing, underlayment, and drip edge are right before I cover anything. If snow is a real factor where you live, I do not guess at roof pitch or spacing; I design for load, because snow load is simply the downward force from accumulated snow and it changes what the frame needs to support. Once the roof is on, the project starts looking finished, but it still needs the details that make it usable.
Add the finishes that keep it comfortable and low maintenance
Finishing is where I turn a structure into a space people actually want to use. On a wood gazebo, I seal cut ends, stain or paint the frame, and use exterior-rated fasteners that resist corrosion. Hot-dip galvanized or stainless hardware costs more up front, but it avoids the rust streaks and loosened joints that cheaper hardware tends to create after a few wet seasons.- Seal exposed end grain so moisture cannot soak into the lumber as quickly.
- Apply stain or paint according to the product schedule, not just when the wood “looks dry.”
- Add screens or curtains if insects are a problem in your area.
- Plan lighting, outlets, or a fan before you close up walls or roof details.
- Keep mulch, soil, and splashback below the bottom of the frame.
If you want electrical features, I would bring in a licensed electrician and pull the right permit instead of improvising with outdoor extension cords. That is one of the places where small shortcuts create big safety issues later. After the finish work is done, the last thing I do is step back and verify that the budget still matches the structure I actually built.
Budget for more than the frame
Most people price the lumber and stop there. I do not. A realistic gazebo budget has to include the foundation, roof covering, connectors, stain or paint, hardware, and any permit or inspection fees. Current market data puts the average gazebo build around $4,739, with projects ranging from roughly $400 to $15,500, and a rough per-square-foot estimate of about $75 to $100 depending on materials and finish level.
| Expense | Typical range | What changes it |
|---|---|---|
| Materials | $2,000 to $8,500 | Wood, metal, vinyl, brick, and roof choice |
| Full project average | About $4,739 | Size, labor, and structural detail |
| Per square foot | $75 to $100 | Complexity and finish quality |
| Roofing | About $2 to $30 per sq. ft. | Material durability and look |
| Stain or paint | $1 to $5 per sq. ft. | Prep work and product selection |
The mistakes I see most often are predictable: shallow footings, a frame that was never squared properly, cheap hardware at the joints, and a roof chosen for appearance instead of weight and weather. I would rather simplify the design than force a complicated version through a weak foundation. When the budget, structure, and finish match each other, the gazebo feels calm and deliberate instead of improvised.
The last checks I make before the gazebo becomes everyday space
Before I call a gazebo finished, I walk it like a user, not like a builder. I check that the posts are still plumb, the roof sheds water away from the structure, all exposed fasteners are tight, and the openings are wide enough for chairs, trays, and people to move without catching on corners. I also inspect the base after the first heavy rain, because drainage problems usually show up early if they are going to show up at all.
- Confirm the structure is still level after cure time and initial weather exposure.
- Recheck bolts, anchors, and brackets once the frame has settled.
- Look for gaps in stain, paint, or sealant around cut ends and joints.
- Make sure snow, leaf litter, and splashback cannot collect at the base.
- Schedule annual maintenance instead of waiting for visible damage.
If I build the project in that order, the result is far less stressful than it looks from the outside: choose the right shape, verify the site, anchor the footing, square the frame, finish the roof, and protect the wood. That sequence is what keeps a backyard structure dependable for years instead of turning it into a recurring repair list.